Paper Crafts
Easy Apple Tree Craft Using Paper Step-by-step Tutorial

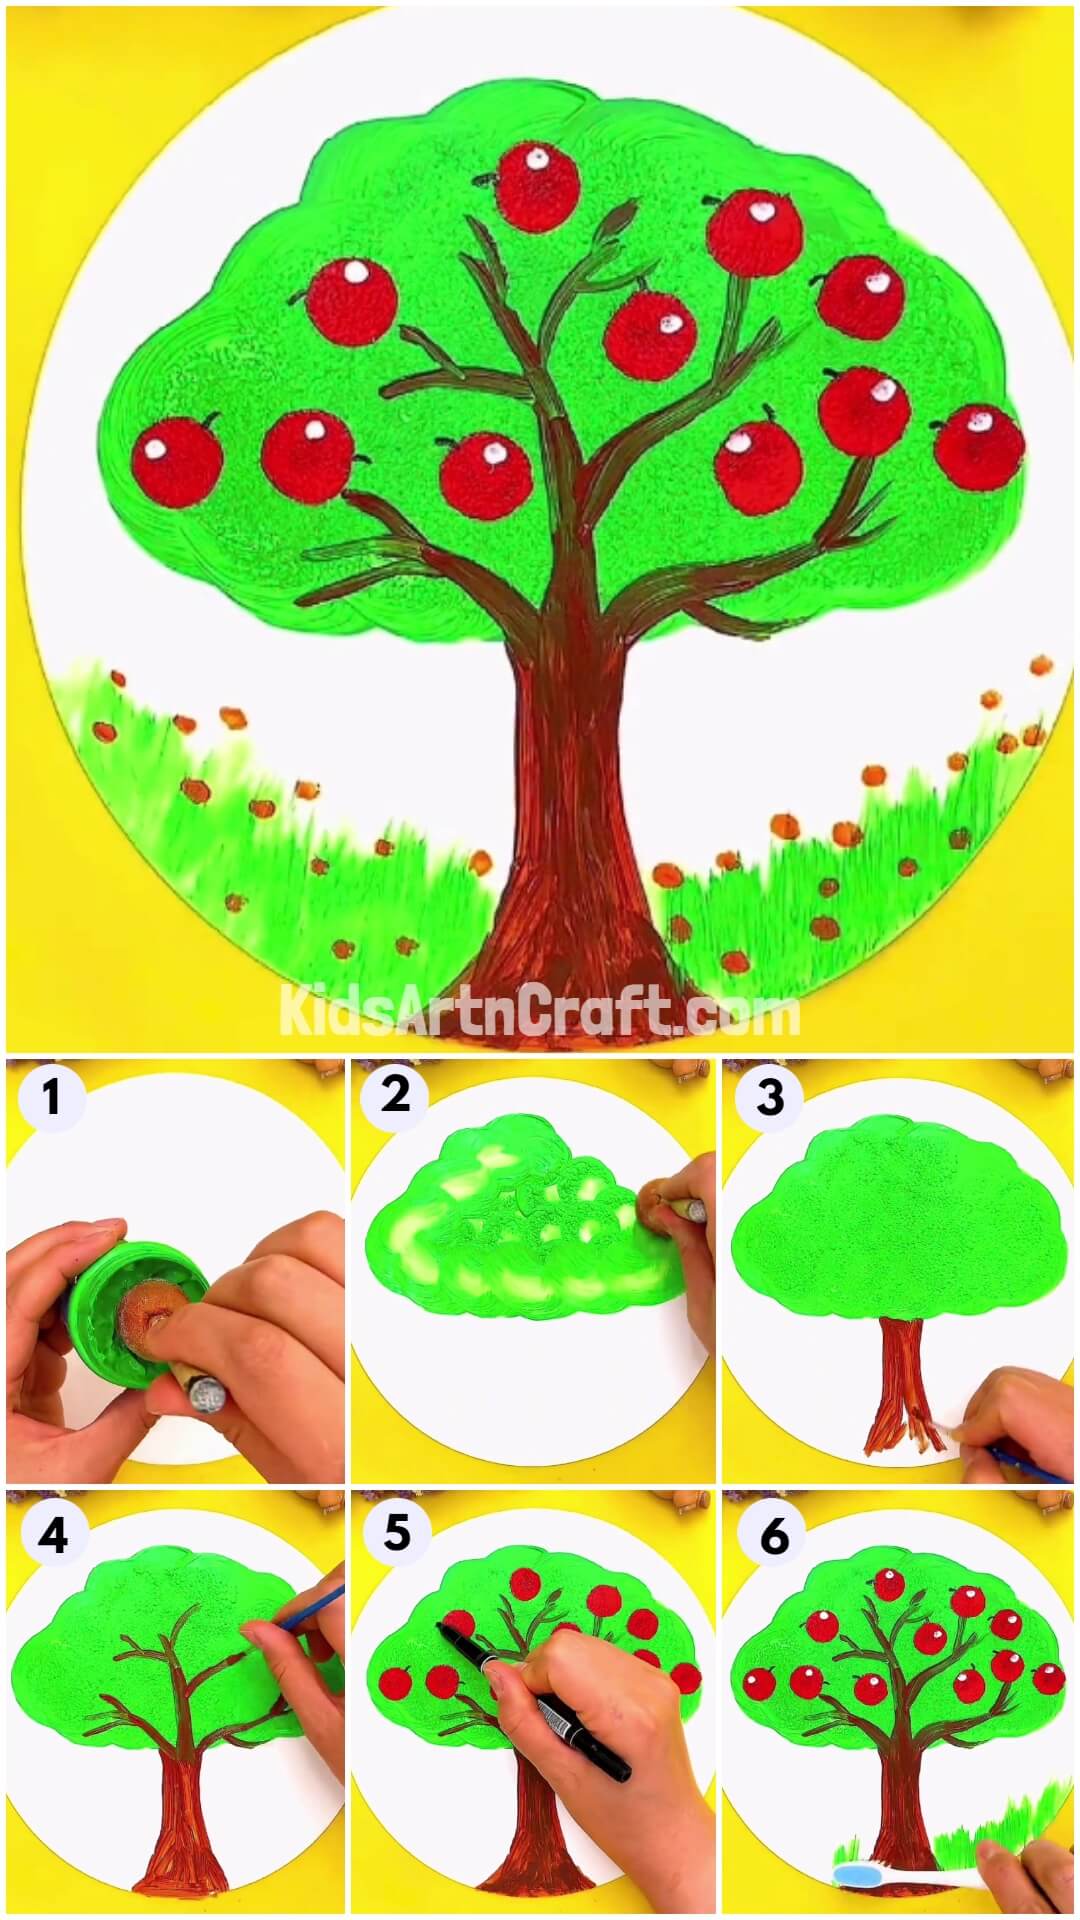
This tutorial will show you how to make a cool paper apple tree. It’s great for everyone, even young kids. You just need paper, glue, and a few other things. Let’s start crafting!
Hola! We all have heard of a saying since childhood, ‘An apple a day keeps the doctor away!’ Apples are greatly beneficial for our health. Parents should motivate their children to eat apples regularly. This is a fun and easy painting tutorial on how to make a simple apple tree craft. This painting idea will develop an interest in your kids toward eating apples. Also, they will be engaged in this bright and colorful painting activity for hours. So, why wait? Grab your art supplies and let’s get started!
Simple Apple Tree Craft Using Paper For Kids

Read More: DIY Easy Paper Chick Craft For Kids
Materials Required
- Craft sheet(White)
- Watercolors
- Scissors
- Black marker
- Paint brushes
- Toothbrush
- Cotton buds
Procedure
Step 1: Getting The Base Ready

Let’s embark on our painting journey by preparing the base. Take white craft paper and cut a big circle. This will become the base of our painting.
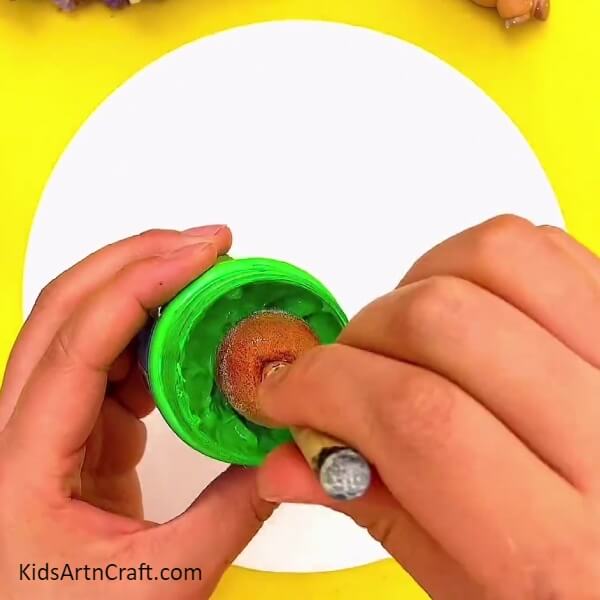
Step 2: Making The Crown Of The Tree
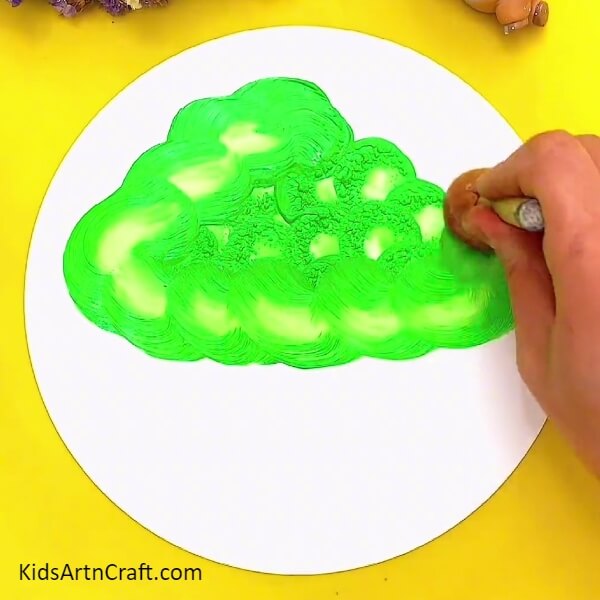
Using green paint, make the dense green crown of our apple tree.
Step 3: Painting The Trunk
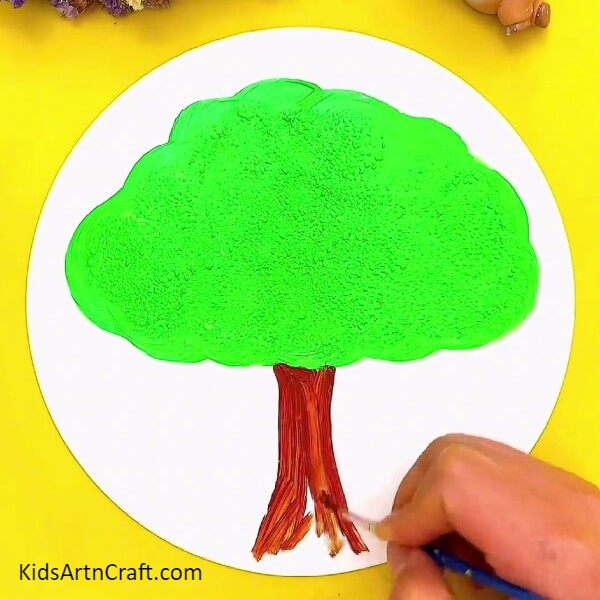
Using brown paint, make the trunk of the apple tree as shown.
Step 4: Painting The Branches
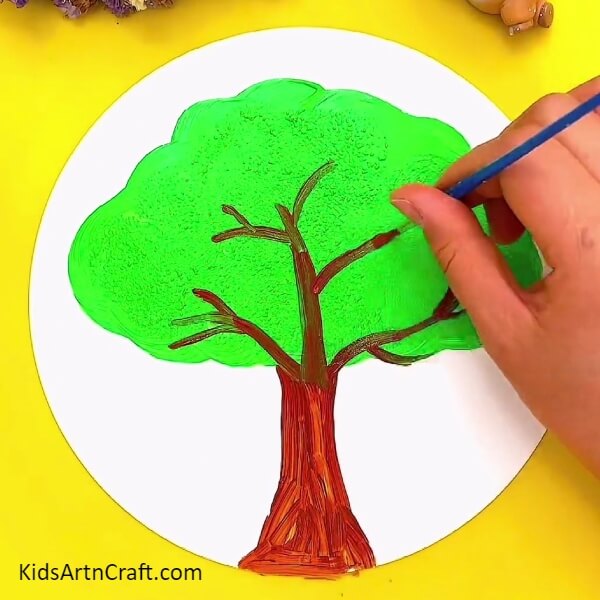
Now, using brown paint, make the branches and sub-branches of the apple tree as shown in the image.
Step 5: Making A Red Apple
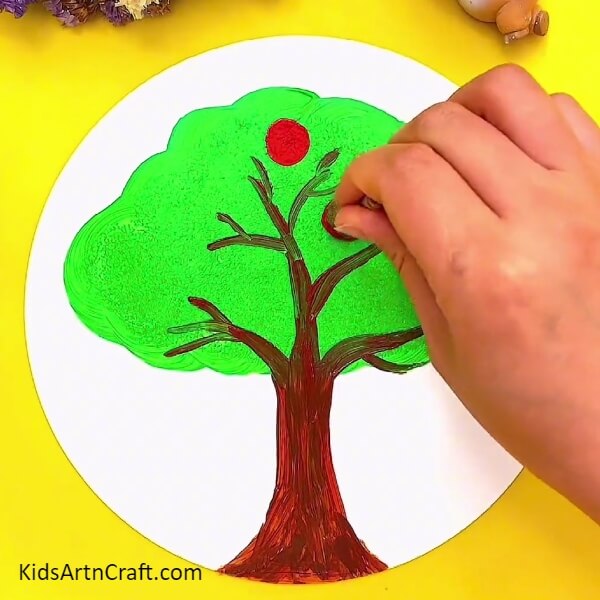
Take red paint, and make a small red circle to represent an apple on the tree as shown.
Step 6: Making More Red Apples
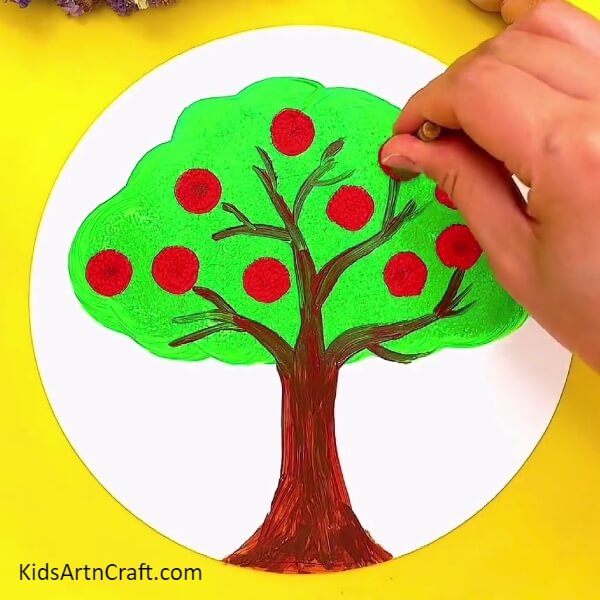
Repeating the above step, make more red apples on the crown of the tree.
Step 7: Drawing The Stalk Of The Apples
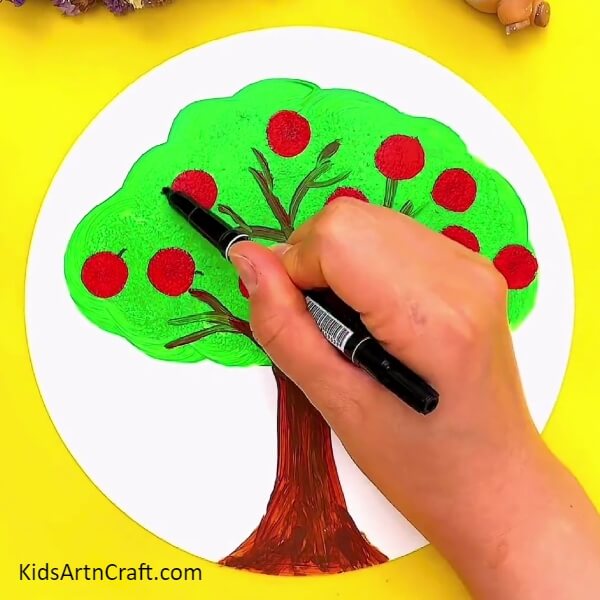
The apples are attached to the branches via a small stem called the stalk. Take a black marker, and draw the stalks on all the apples as shown in the image.
Step 8: Making White Spots
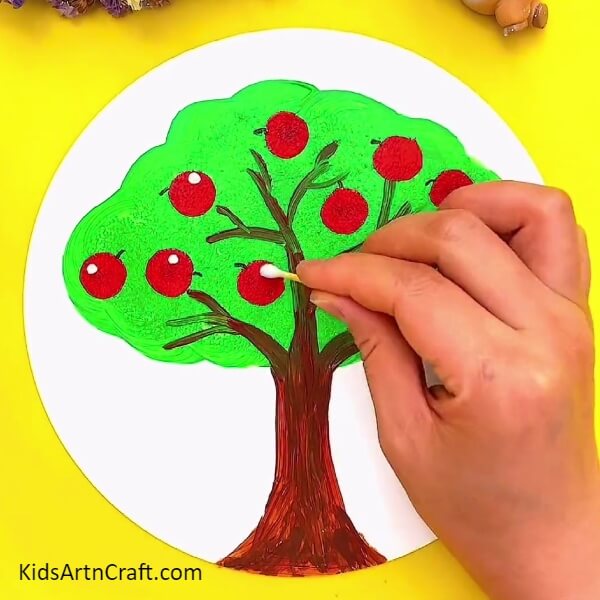
Take a cotton bud and make a small white spot on each apple. This will give depth to each apple and will enhance the overall appearance of the painting.
Step 9: Making The Green Grass Bed
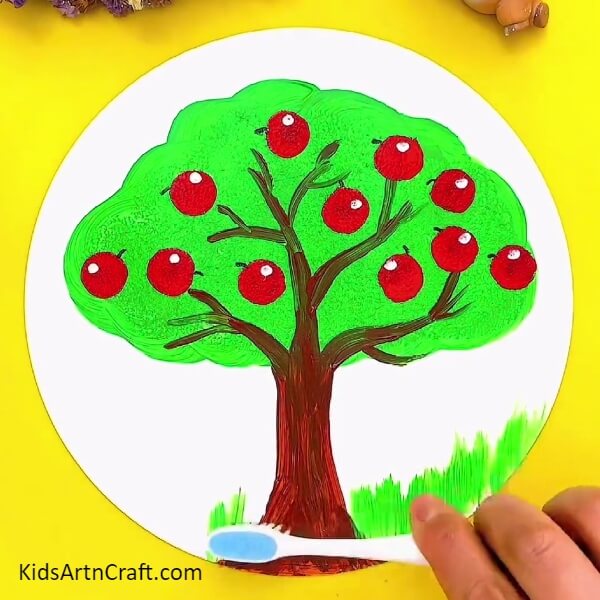
Take a toothbrush and apply green paint on its bristles. Make a straight grass bed at the bottom using the toothbrush as shown.
Step 10: Adding Red Flowers
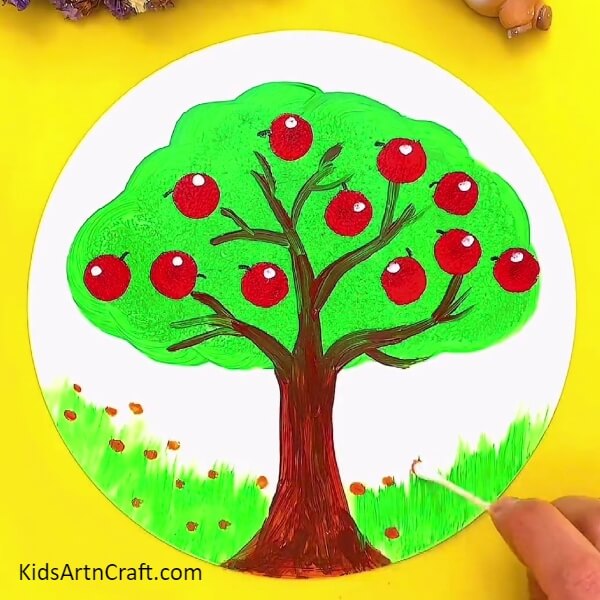
To make the flowers in the grass bed, dip a cotton bud in red paint and make small red prints to make the flowers as shown in the image.
The Simple Apple Tree Painting Is Ready!
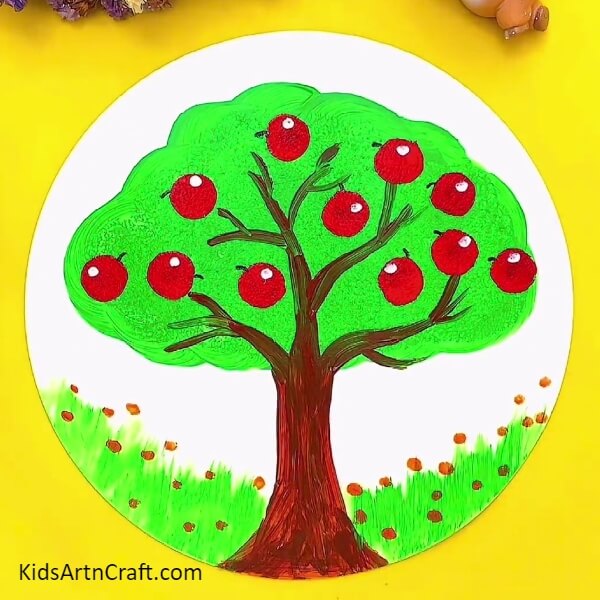
And that’s it, you have completed the apple tree painting in a few simple steps! You can add more visual elements to the art as per your choice and interest.
We hope you enjoyed making this wonderful art with us. The steps are described in simple language to simplify the whole process. Guide your kids during each step. This will also assist in their language development. They will be able to take instructions easily from their teachers in the classroom. The drawing and painting activities will further enhance their motor skills and hand dexterity. It is believed that drawing and painting also help in improving the handwriting of young children. Keep following our website for new ideas and fresh content.
Thank you for visiting our website!
Follow us on Youtube for art and craft tutorials and much more.
More Articles from Kids Art & Craft
- DIY Heart Shape Cat Craft for Valentine’s Day
- How to Make Easy Paper Snowflakes Tutorial
- Origami Crab Making Easy Tutorial For Kids
- Paper Strip Apple Craft Tutorial For Kids
- Easy Paper Butterfly Craft For Kids