


Paper Crafts
Vibrant Paper Flower Pot Tutorial For Beginners

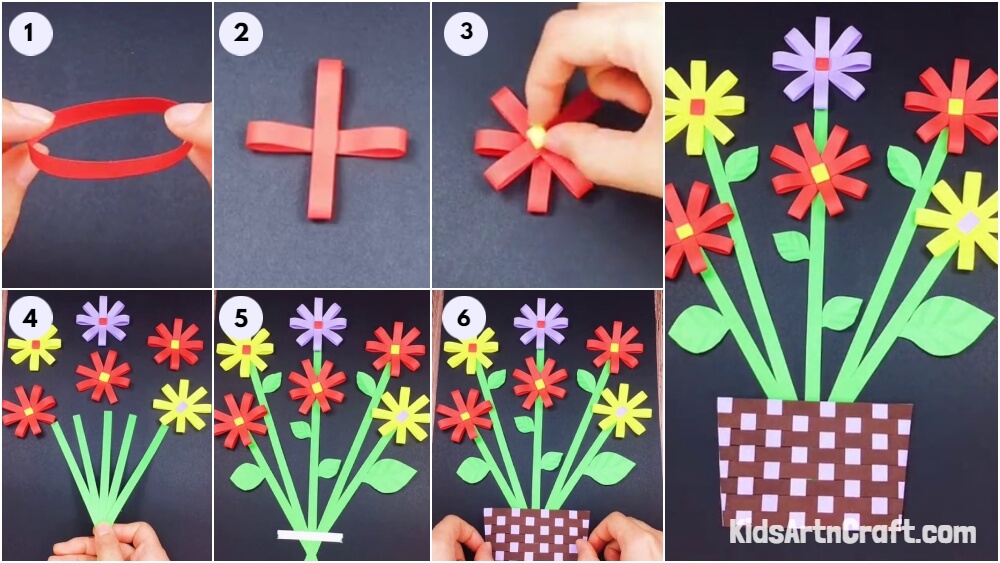
This tutorial will provide a step-by-step guide on how to make a beautiful and vibrant paper flower pot, perfect for beginners. Learn how to make this easy DIY project and add a unique touch to your home decor!
Looking for a wholesome, vibrant and colourful paper craft idea? We are back yet again with an incredible craft idea that is both fun and educational for children. This one can be easily incorporated at various art related as well as nature related events, classes and workshops. Making the most use of the coloured papers lying around the house, this idea would surely be the at the top of the to-do lists of your little ones, you can easily create this one while looking for parent-child time. So grab all the coloured papers, let’s begin by following this step-by-step guide to the colourful world of flowers!
DIY Paper Flower Pot For Beginners

Read More: DIY Paper Butterfly Easy Craft For Kids
Materials Required
- colorful paper
- A pair of scissors
- Any adhesive or glue
- A double-sided tape
Procedure
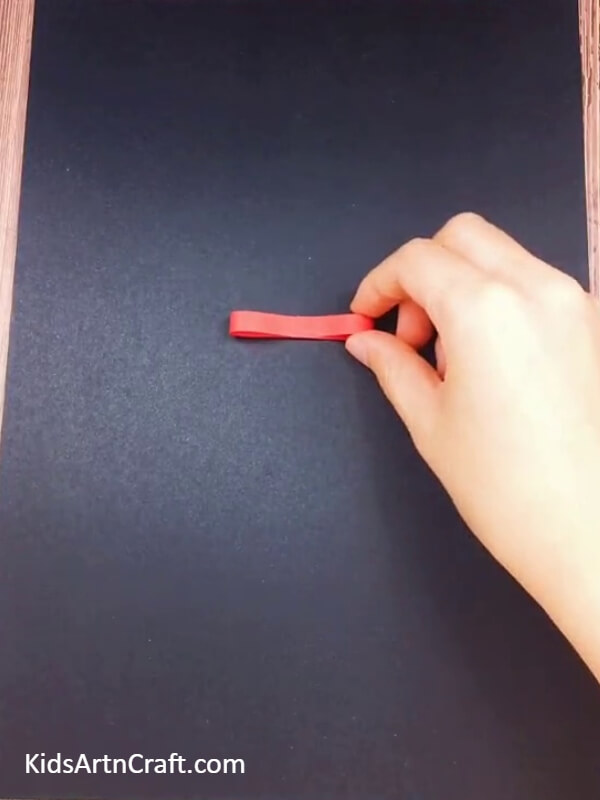
Step 1: Cutting A Stripe Out Of The Red Coloured Paper
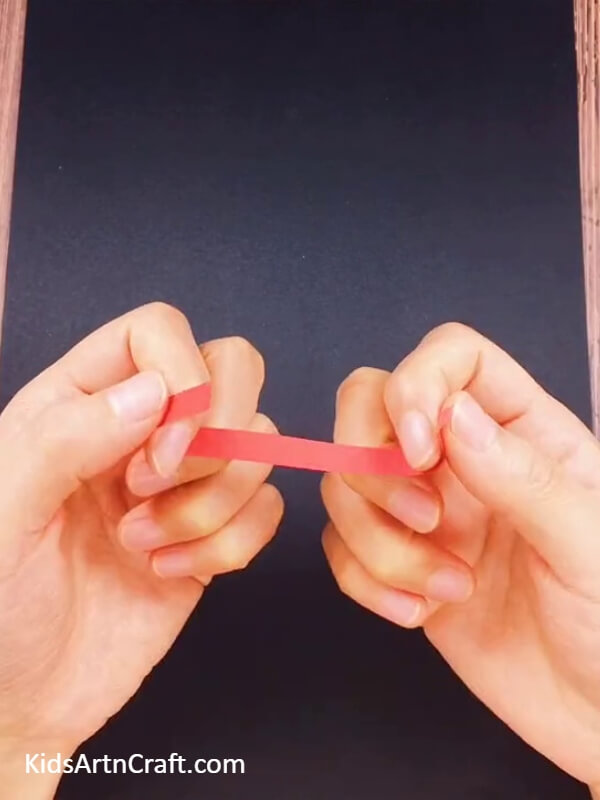
For the first step, take a red-coloured sheet of paper, and cut a stripe out of it using a pair of scissors.
Step 2: Creating A Ring Out Of The Stripe
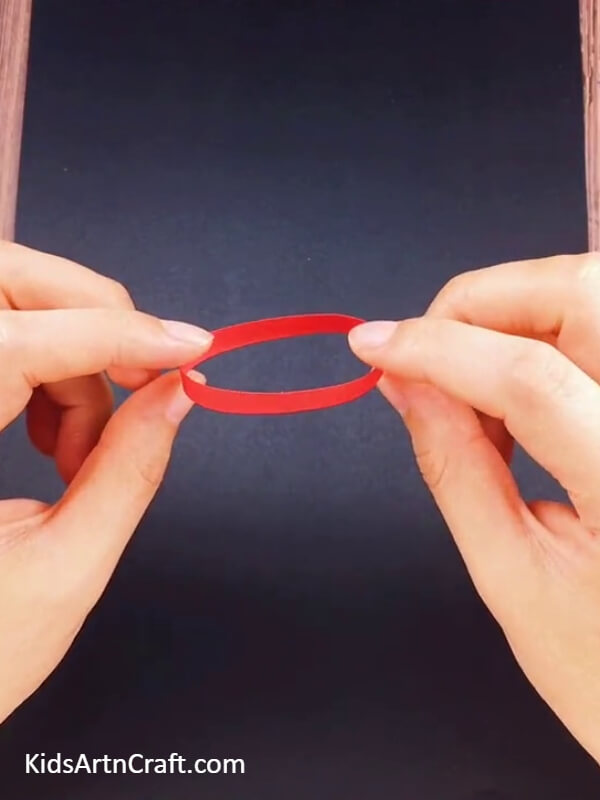
Next, you are supposed to create a ring out of the red stripe by pasting two of its ends using the adhesive.
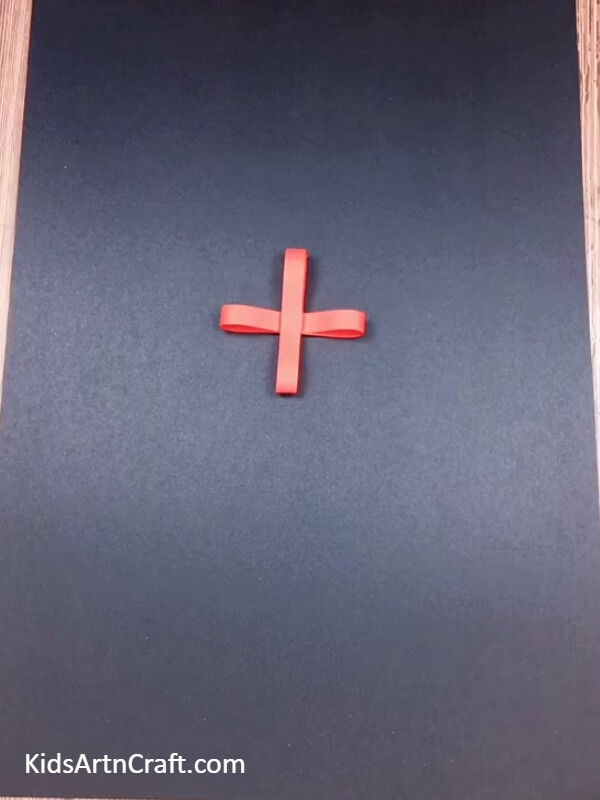
Step 3: Pasting The Ring From The Middle
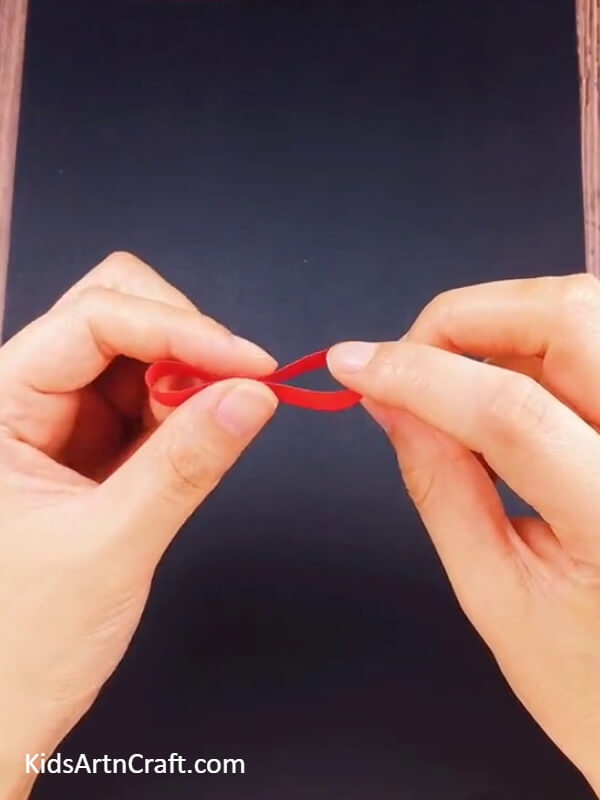
Next, you are supposed to squeeze the ring from the middle and paste this portion using the adhesive.
Step 4: Pasting The Cutout On The Black Paper
Now, you are supposed to take a black-coloured sheet of paper and place it in your work area. Now, take your ring cutout and paste it on the black-coloured sheet of paper.
Step 5: Pasting Another Such Cutout On The Paper
Now, cut another stripe and paste these ring cutouts on the black sheet too.
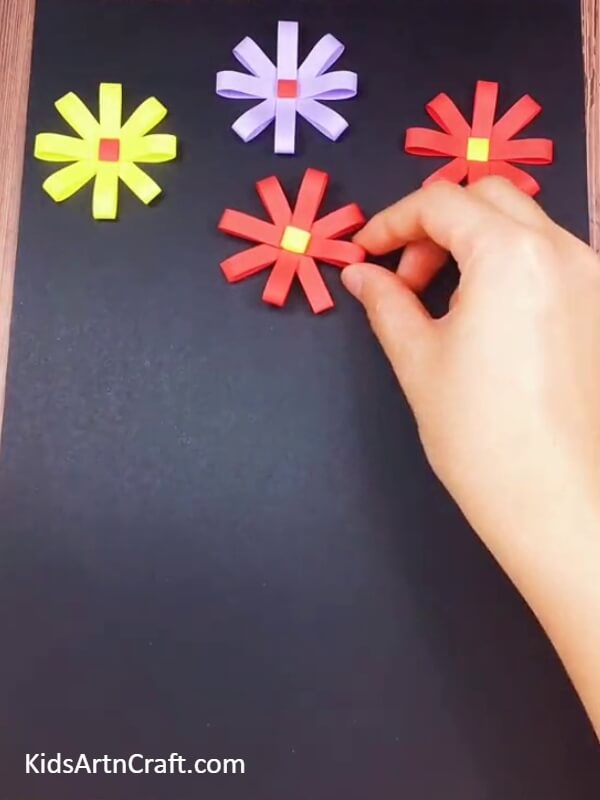
Step 6: Adding Two More Such Cutouts
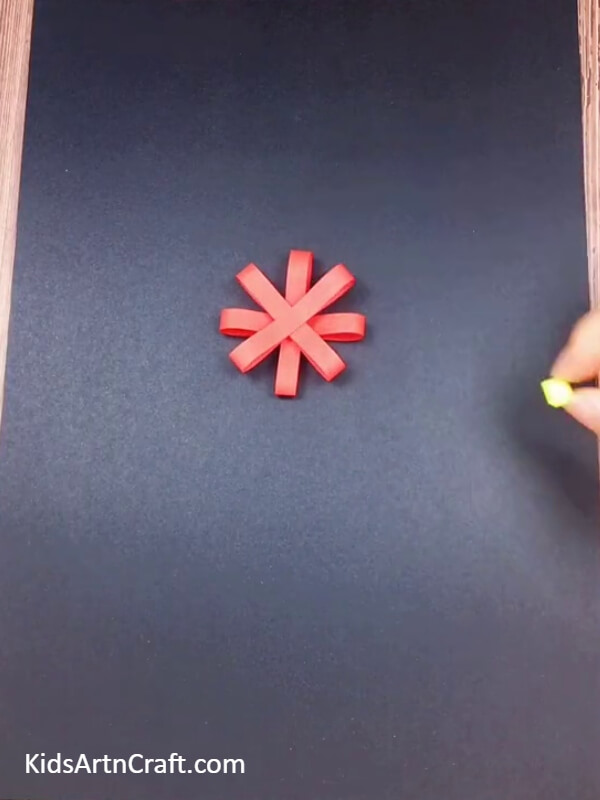
Next, add two more such cutouts on the black paper using the adhesive. Make sure the pattern in which you are pasting creates the shape of a flower.
Step 7: Pasting A Square Cutout
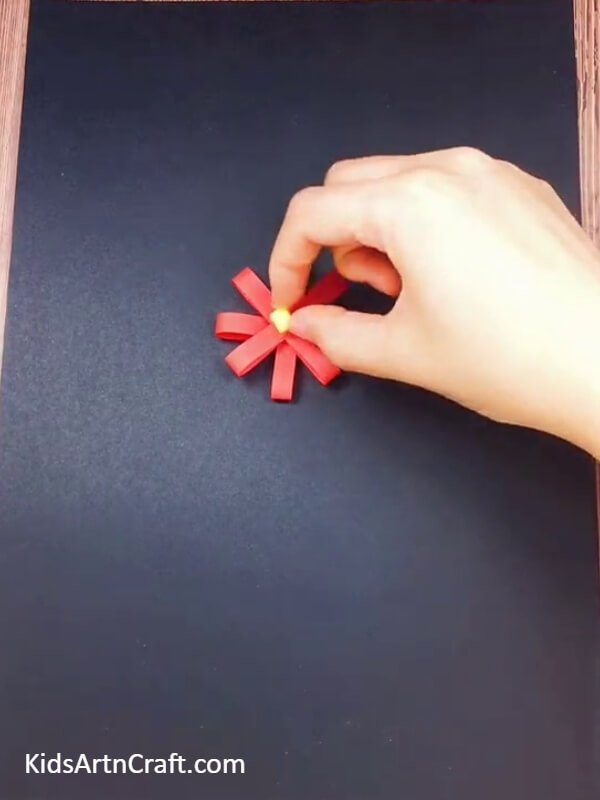
Now for the middlemost portion of the flower, cut a square out of the yellow-coloured sheet of paper using the scissors and then paste it right at the midpoint of the flower pattern.
Step 8: Adding More And More Flowers
Now, by following the similar steps as above add more and more flowers of various colours. Here, we have taken red , yellow and purple colours.
Step 9: Cutting More Stripes Of The Green Coloured Paper
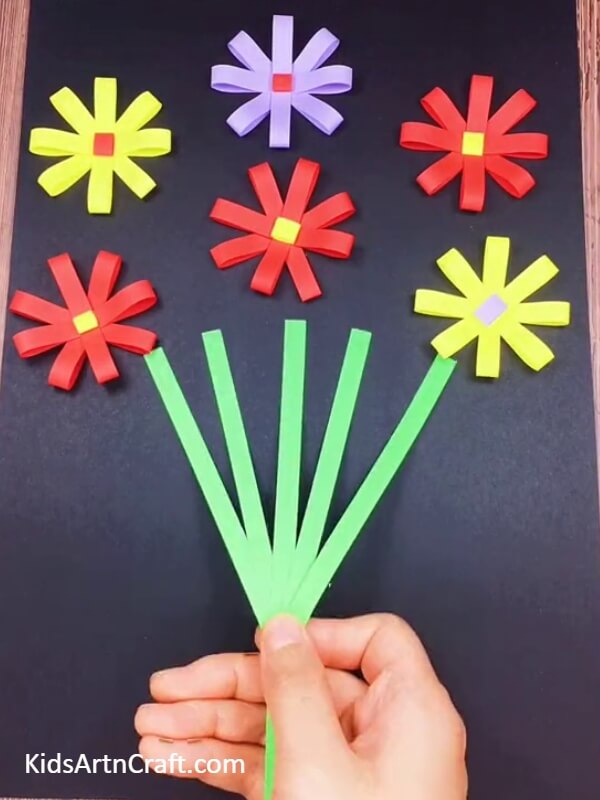
Next, you are supposed to cut five stripes out of the green-coloured sheet of paper. Paste all the stripes together as shown in the image below, using the adhesive.
Step 10: Creating Leaf Cutouts Of Various Sizes
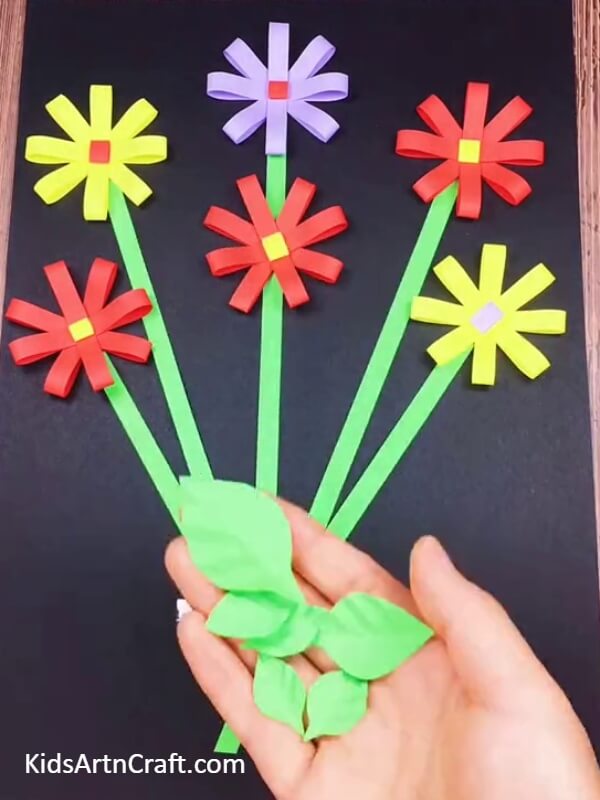
Next, you are supposed to take the green-coloured sheet of paper and cut out leaves of various sizes.
Step 11: Pasting The Whole Design
Now, paste all the leaves on the stems using the adhesive. Place a double-sided tape on the stem cutout cluster.
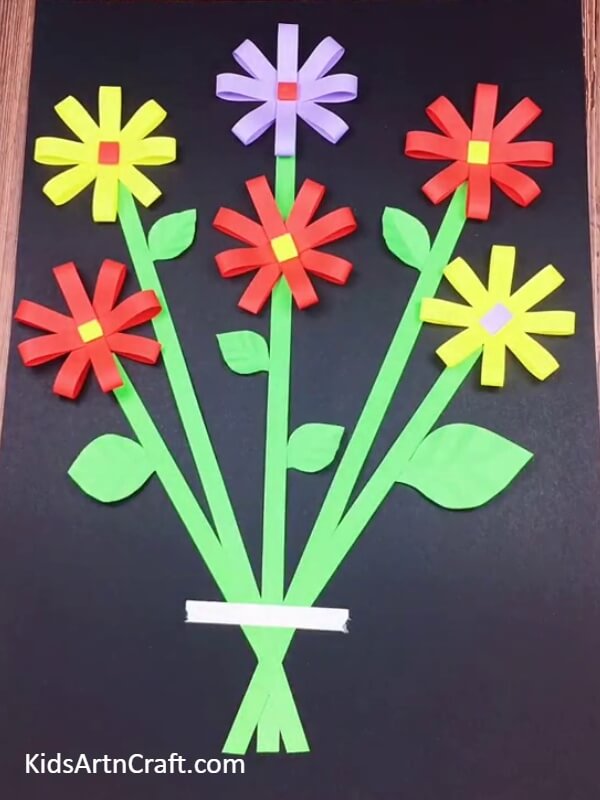
Step 12: Pasting The Basket Cutout
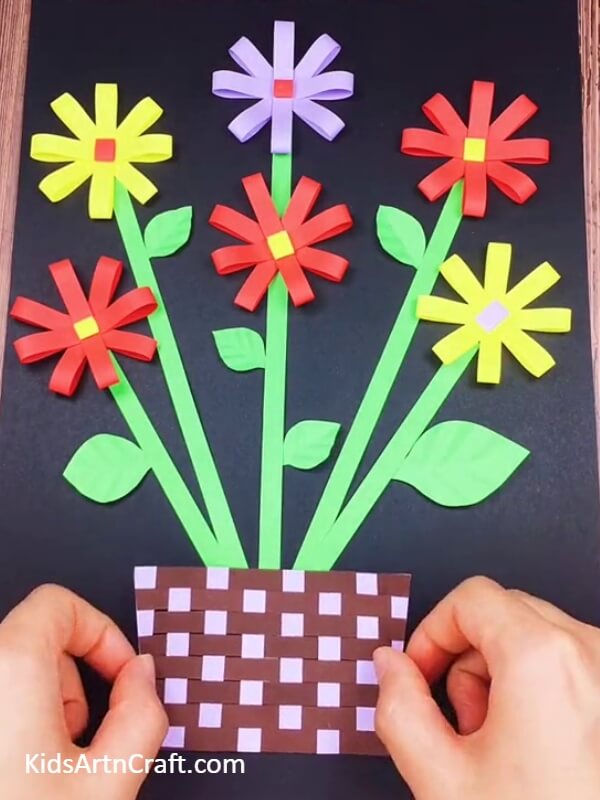
Next, you are supposed to paste the basket cutout by placing it on the double-sided tape. For preparing the basket, you will need a brown and purple coloured sheet of paper. Cut the purple sheet into the shape of a basket. Then fold this sheet and create partial cuts on the paper (cut on the folded area and not the edges). Then cut stripes out of the brown-coloured sheet of paper.
Now to create this pattern, weave all the brown stripes all through the cuts and slits. Lastly, take the adhesive and put it on the leftover portion of the stripes from either side and paste them. Your basket is ready!
And Voila! You Are Done With This Amazing Craft Idea !!
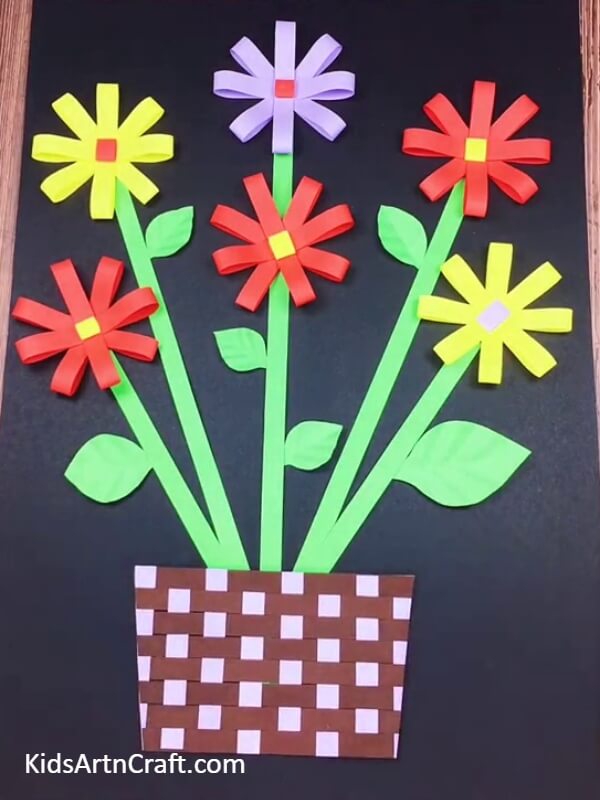
The final image is truly a sight to behold! This paper craft idea is a delightful activity and the steps are just as good as the final results. This idea is suitable for kids of 6 to 8 years of age and the adults should assist and encourage the little artists throughout the activity. And prepare to get astonishing results while all the youngsters use their own creativity to create their own unique flower baskets! So grab the materials and let their creativity run free!
Do let us know what you think about this amazing and colourful craft idea in the comment section below and do not forget to check out our other posts for more such unique and fun to make art, craft and origami ideas for kids. Until then, happy crafting!
Follow us on Youtube for art and craft tutorials and much more.
More Articles from Kids Art & Craft
- How to Make Paper Umbrella Craft for Kids Tutorial
- How to Make Easy Paper Snowflakes Tutorial
- DIY Paper Crafts Video Tutorial fo All
- Summer Paper Fan Step by Step Tutorial for Kids
- DIY Easy Paper Chick Craft For Kids


