


Recycled Crafts
Hot Air Balloon Craft With Pistachio Shell Tutorial For Kids

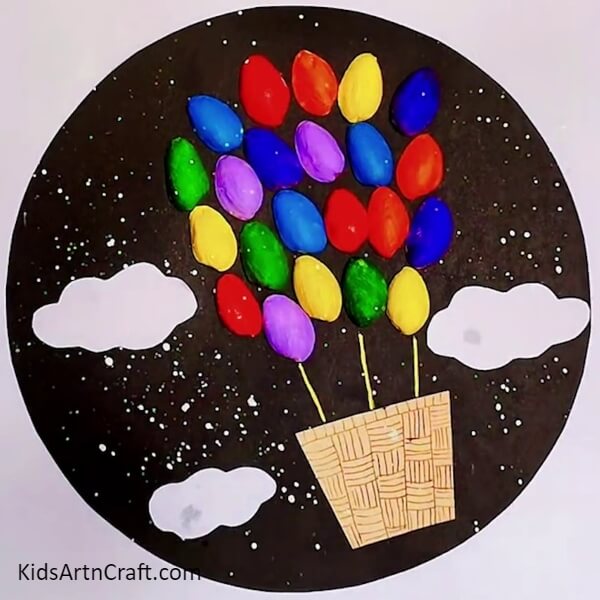
Beautiful Pistachio Shell Hot Air Balloon Craft To Make At Home
Materials Required
-
Pistachio shells (cleaned and dried)
-
Paintbrush
-
Watercolors (assorted colors)
-
Golden and black glitter pens
-
Cloud cutouts
-
Paper Cut Basket or Gondola
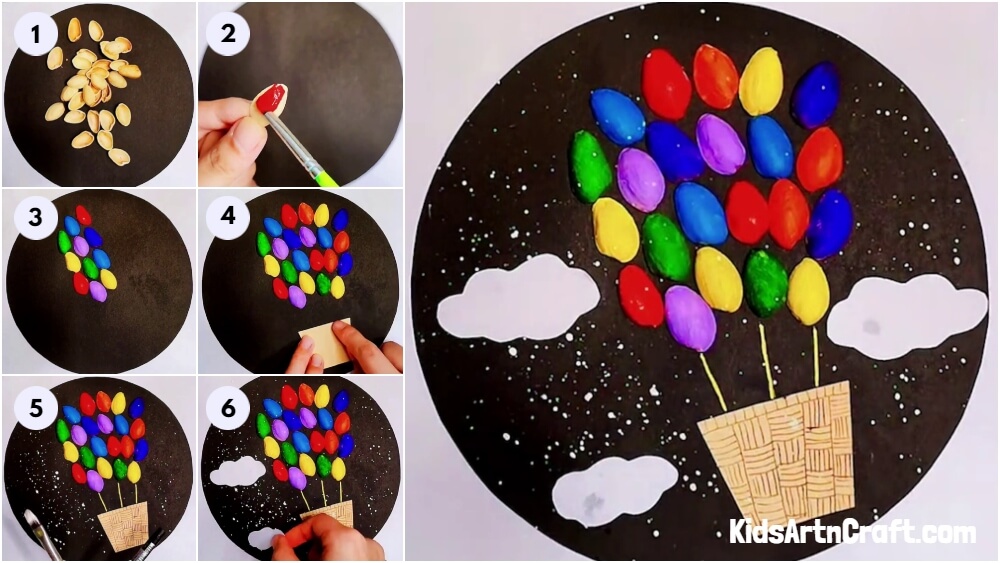
Procedure
Step 1: Preparing the Pistachio Shells
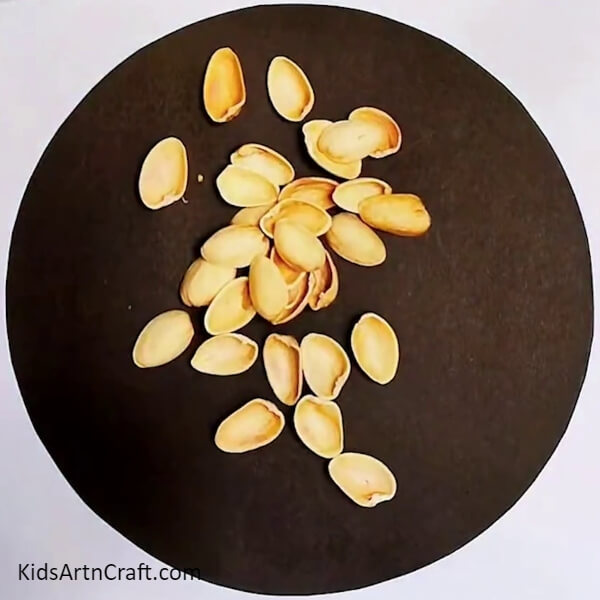
Ensure that the pistachio shells are clean and completely dried. This will help the paint adhere better to the surface.
Step 2: Painting the Pistachio Shells
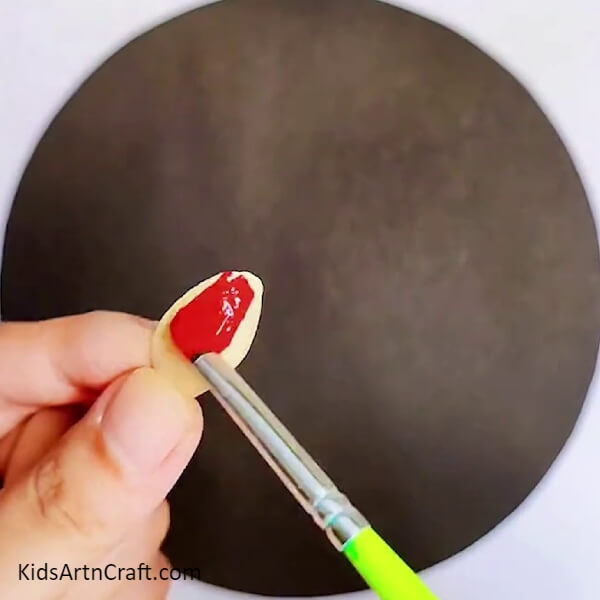
Using a paintbrush, apply watercolors to the outer surface of the pistachio shells. Encourage children to experiment with different colors and create unique patterns. Allow the paint to dry completely.
Step 3: Arranging the Shells in a Straight Line
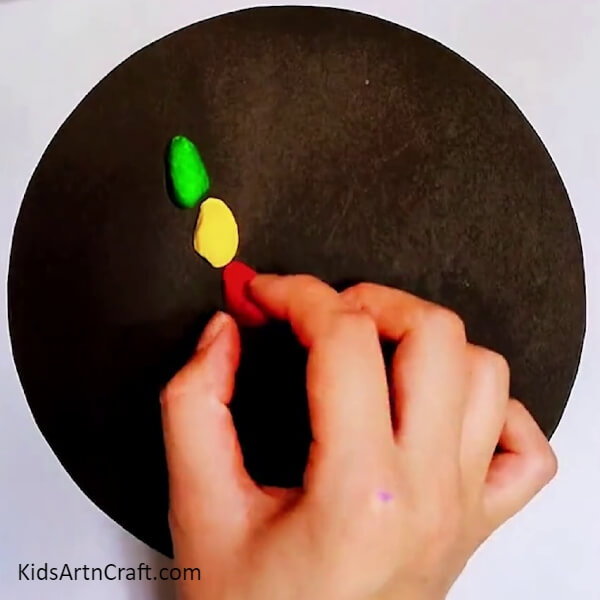
To perfectly stick them to the paper, follow the given order as shown in the image. Make sure they are closely pasted so that there are no spaces left among them.
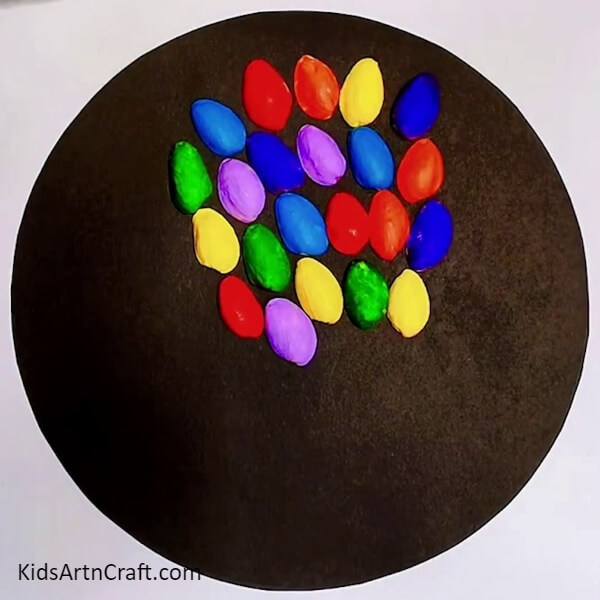
Step 4: Glue the Painted Shells

Once the paint has dried, paste the painted pistachio shells in the order shown in the above image. Children can also draw patterns, lines, or any design of their choice.
Step 5: Adding 2-3 More Layers
Step 6: Creating a Basket
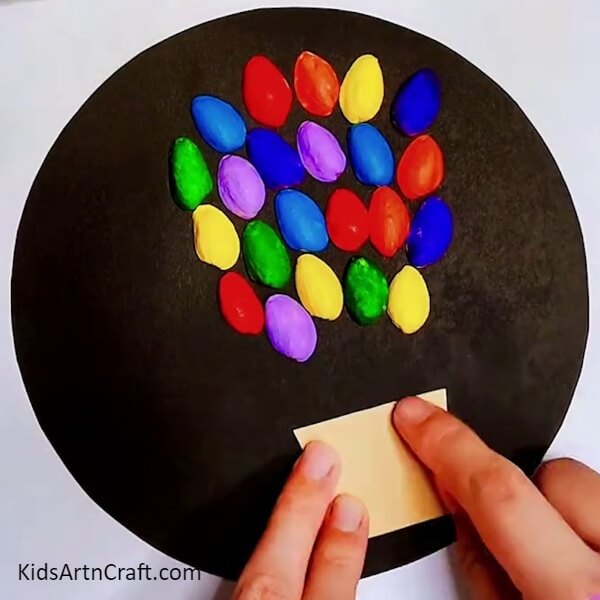
To create the basket for the hot air balloon, you can use a small paper cutout or any other suitable material. Carefully attach the basket to the bottom of the painted pistachio shell using glue or tape. Ensure it is securely fixed in place.
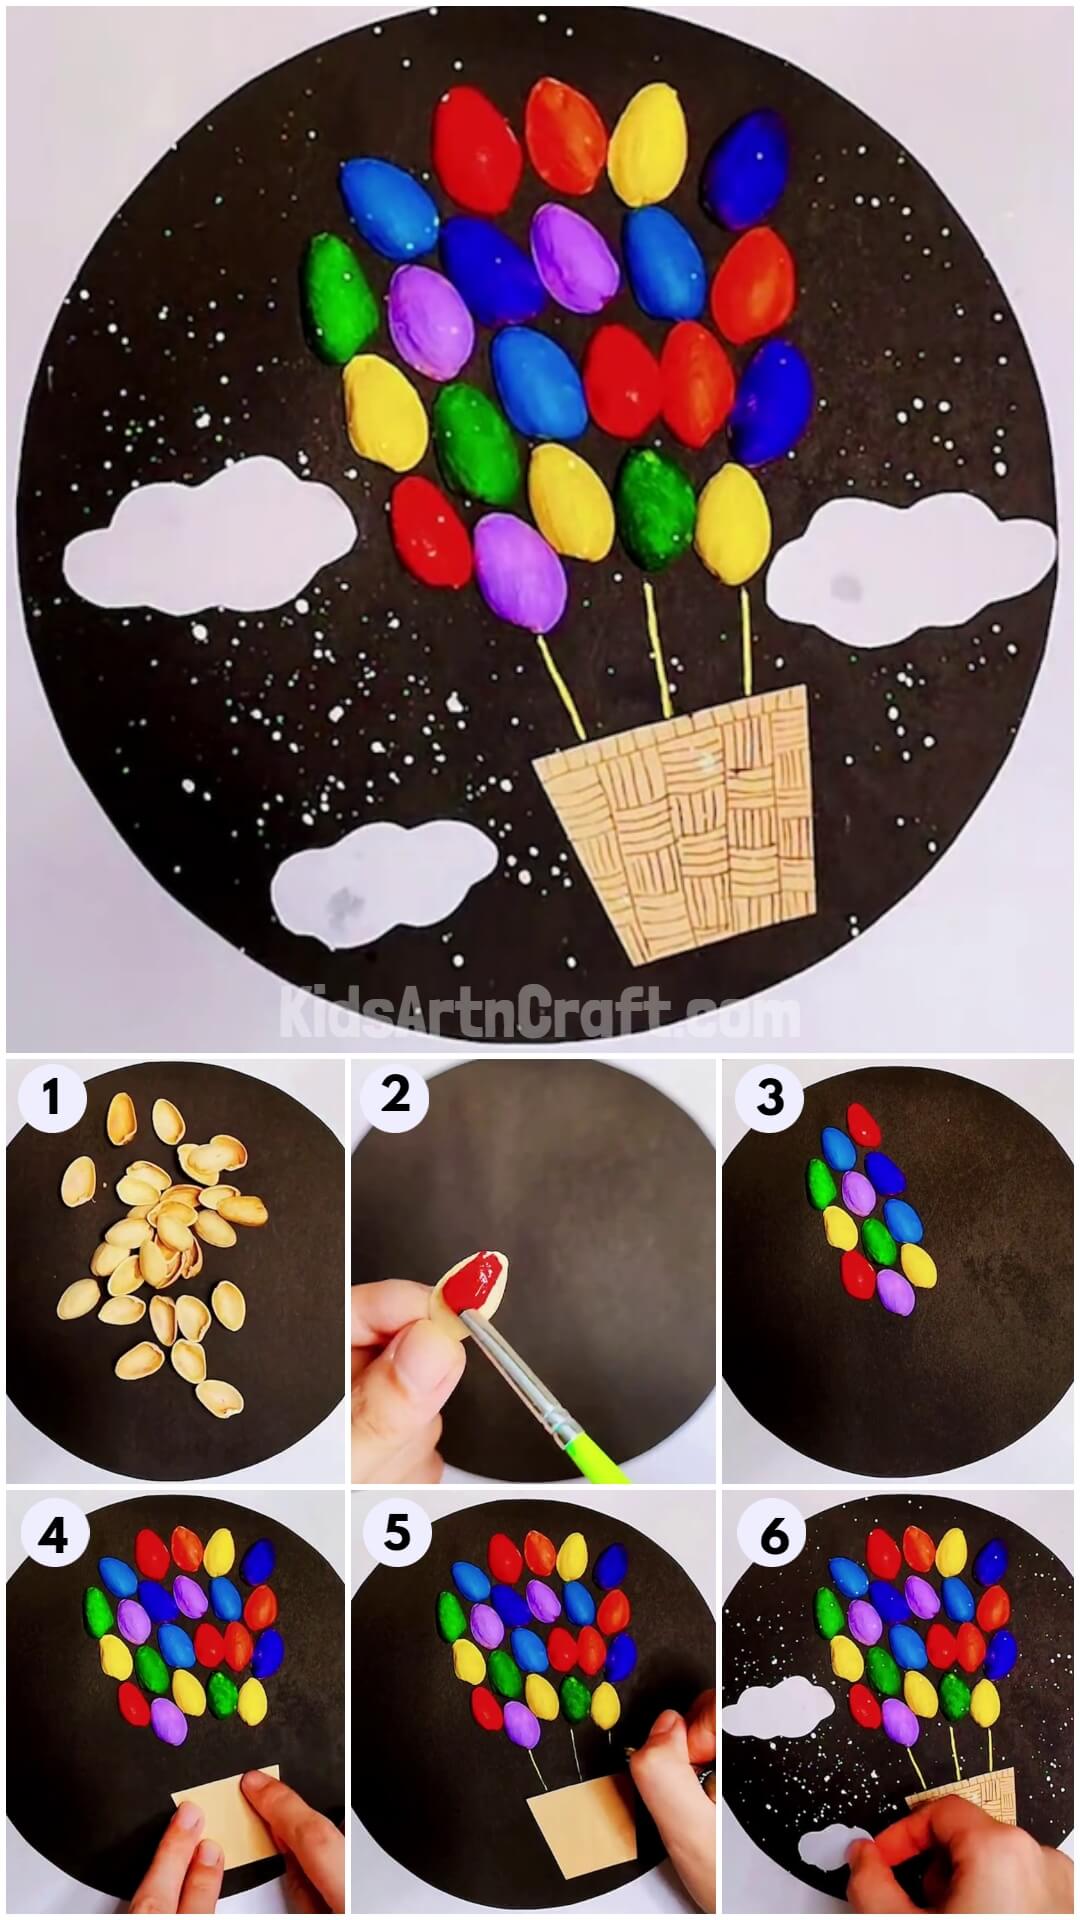
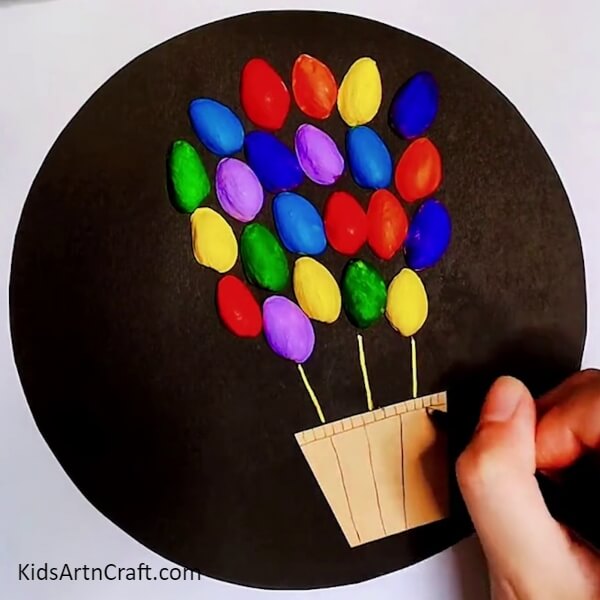
Step 7: Connect the Basket with the Shells
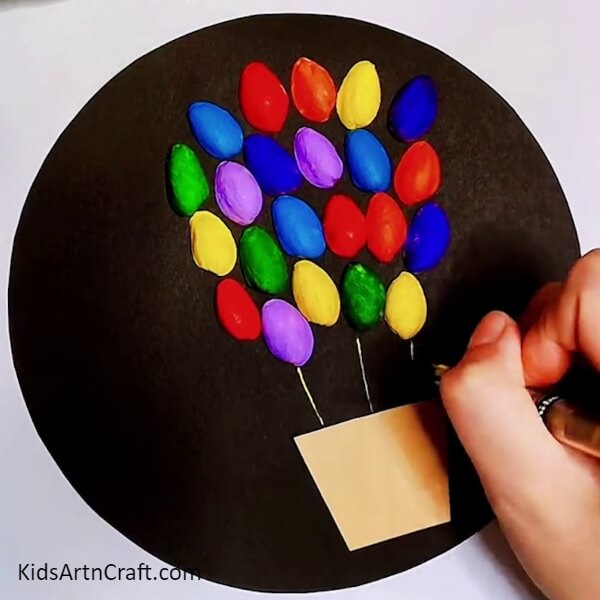
Now, to connect the basket or gondola with the painted shells, sketch a few lines with the help of a pen. Refer to the image above for reference.
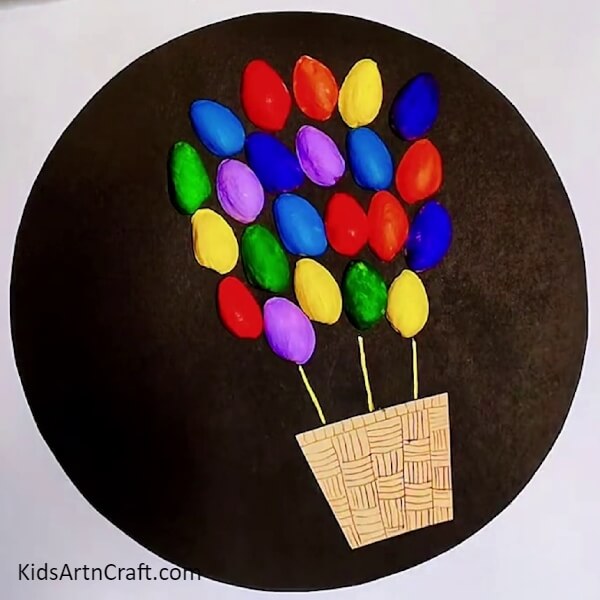
Step 8: Creating a Check Pattern on the Basket
Have you ever seen a gondola or the basket of an air balloon? If yes, then you may have noticed a check pattern on it. If not, don’t worry! We have attached an image of what it looks like. Follow it and draw a check-like pattern on the basket.
Step 9: Decorating the Basket
Encourage children to further embellish the basket with their creativity. They can add small paper flags, ribbons, or any other designs they desire.
Step 10: Sprinkling White Watercolor using a Paintbrush
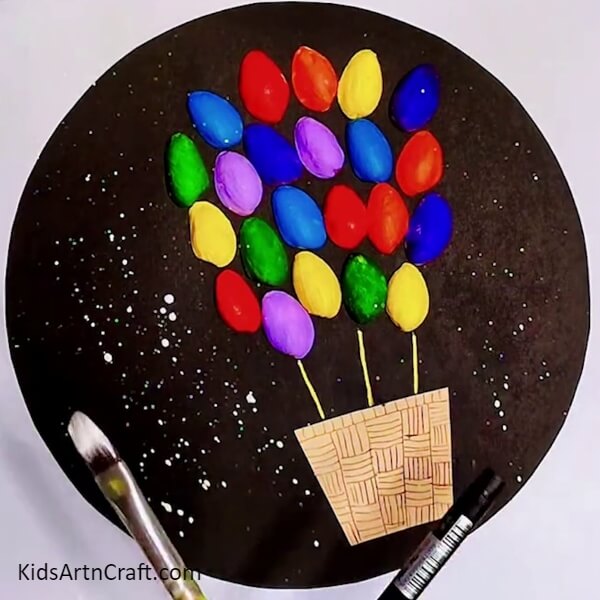
Allow children to review their hot air balloon craft and make any desired changes. In this step, we used a brush to sprinkle white watercolor prints in the background. You can use any color of your choice. Make sure you have evenly sprinkled the white watercolor all around.
Step 11: Attaching Clouds
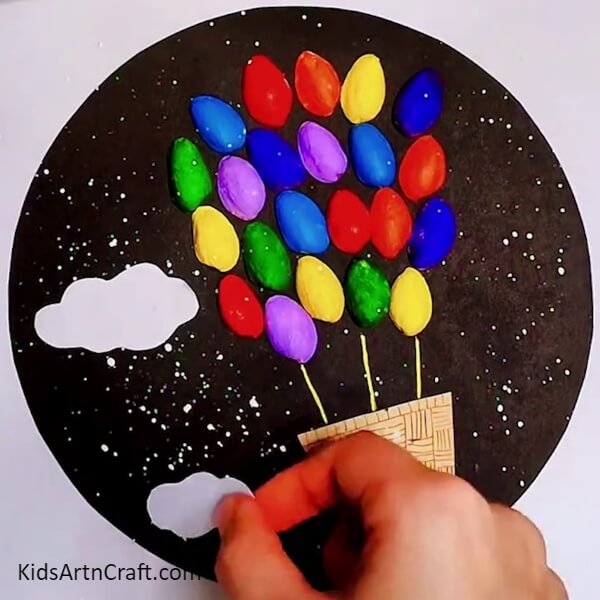
Congratulations on creating your own colorful hot-air balloon craft
Follow us on Youtube for art and craft tutorials and much more.
More Articles from Kids Art & Craft


