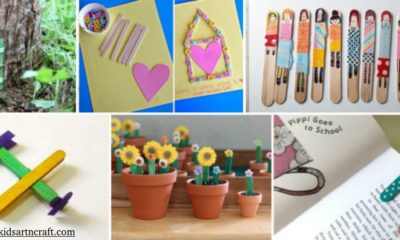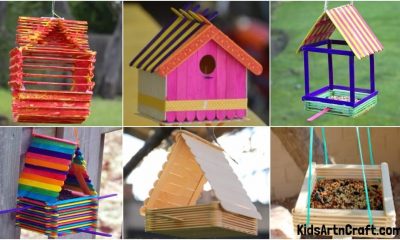


Popsicle Stick Crafts
DIY Popsicle Stick Toy Craft Tutorial For Beginners

Learn how to create a fun and creative toy from Popsicle sticks with this easy DIY step-by-step tutorial which is perfect for beginners!
Welcome to our DIY Popsicle Stick Toy Craft Tutorial For Beginners! In this tutorial, we will walk you through the basics of crafting your own toys out of popsicle sticks and other materials. Whether you’re a beginner or an experienced crafter, you’ll be able to create your own unique toys from the comfort of your own home! You just need some ice cream sticks to make it! It might look difficult to make but it isn’t. You just need to understand the techniques properly. So, collect all the materials required, and let’s begin with making this toy craft.
Easy Popsicle Stick To Craft Tutorial
Read More: Caterpillar Crafts & Activities for Kids
Materials Required
- Ice cream Sticks
- Scissors
- Elastic Rubber Bands
- Glue
- Craft Cutter
- Craft Wire
Procedure
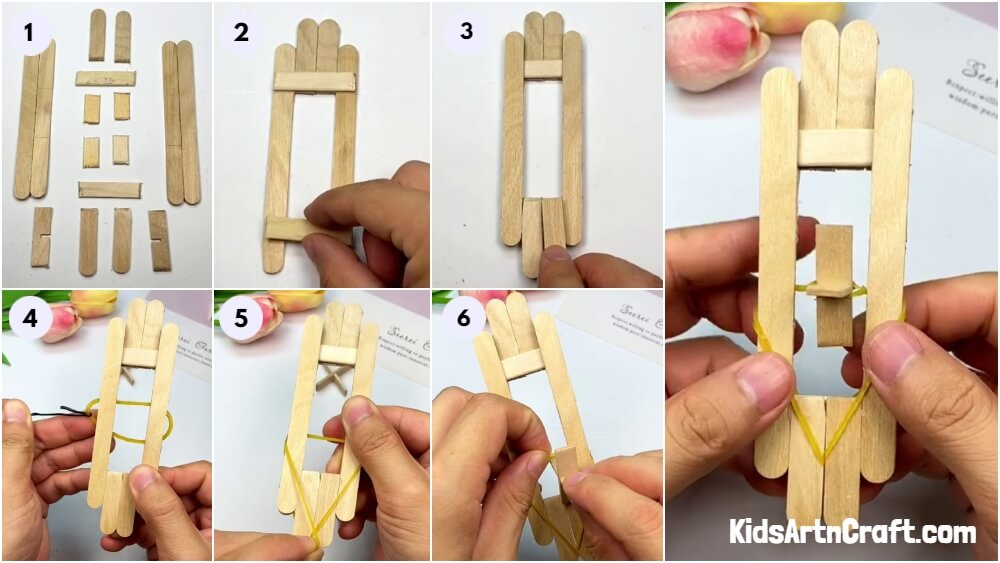
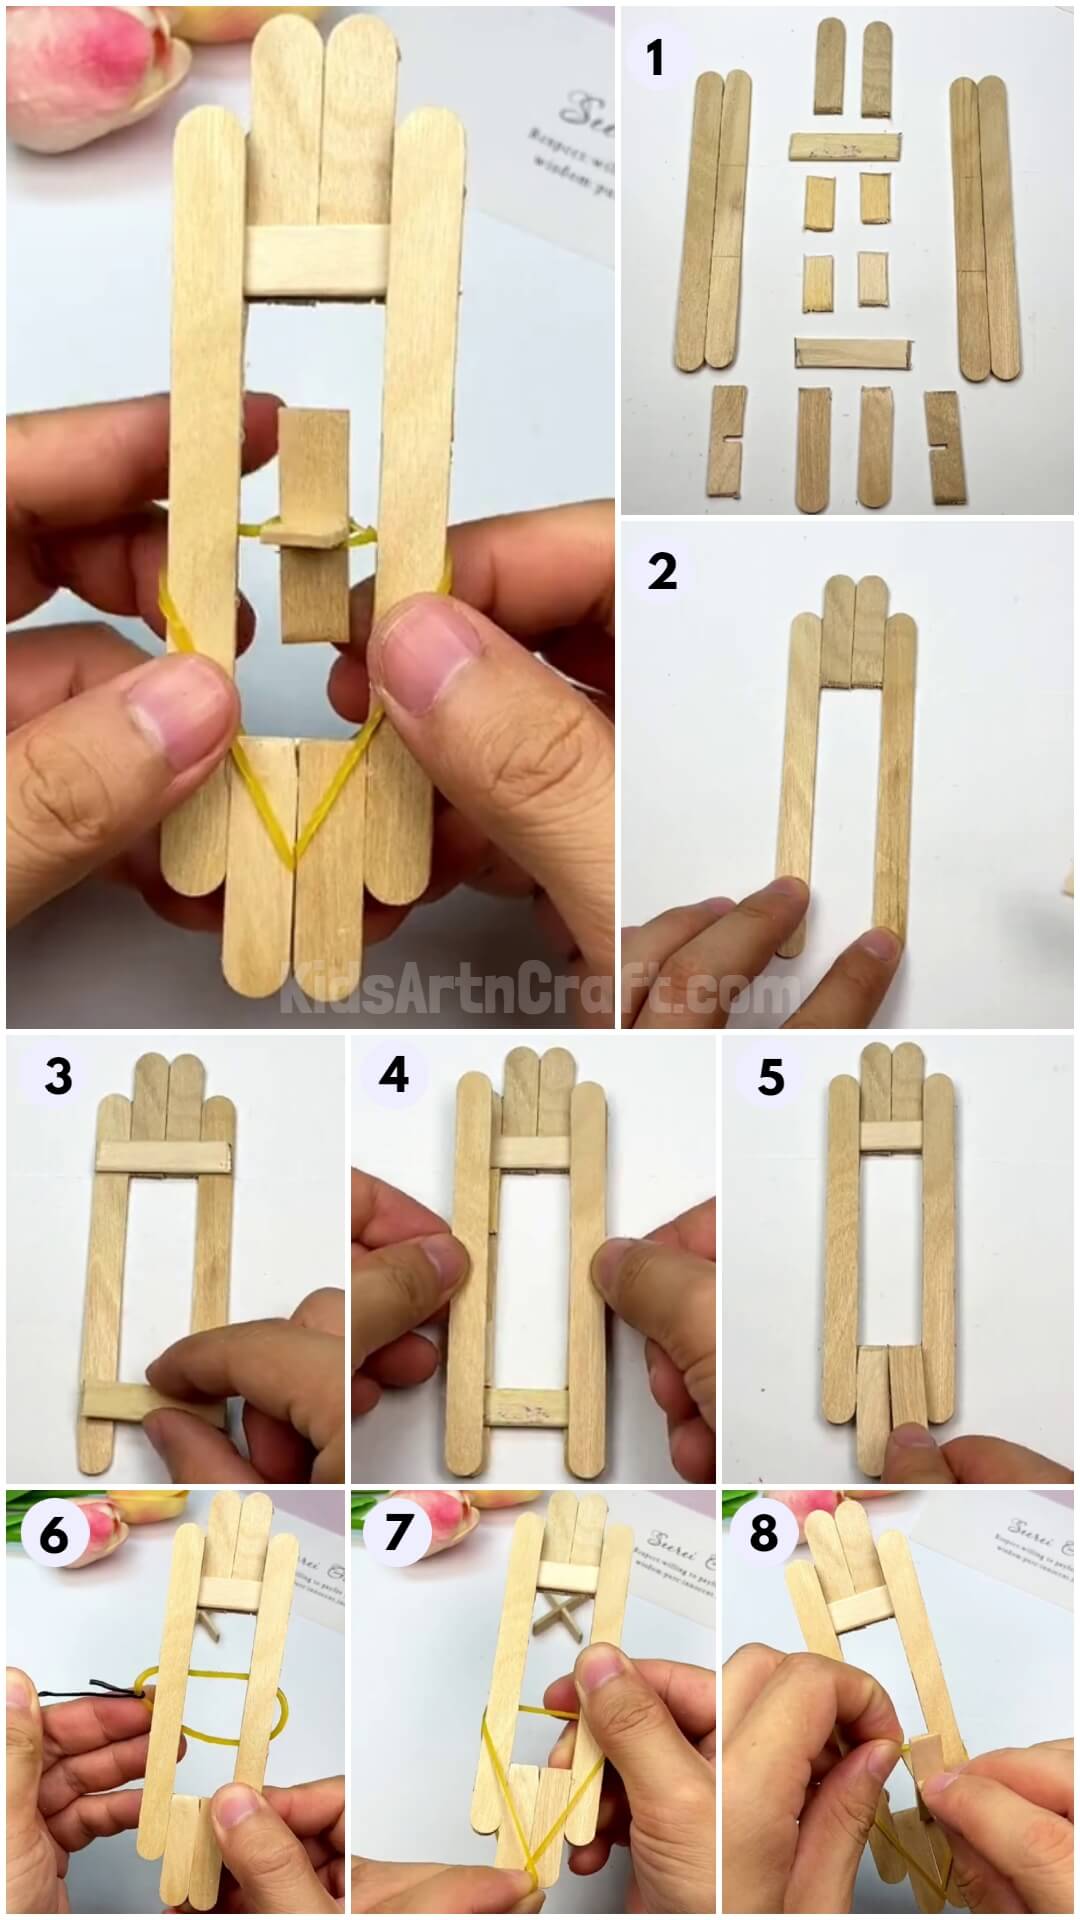
Step 1: Cutting The Ice Cream Sticks Into Different Shapes
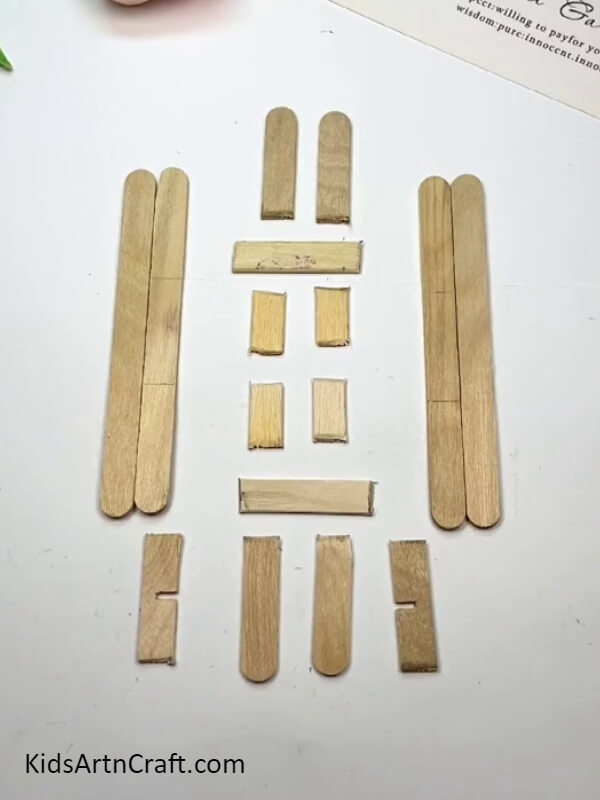
Take nine ice cream sticks and set four aside. Now using craft cutter, cut two of the other sticks into three pieces each. Then, taking another stick, trim the curved ends off and cut this trimmed stick into four small pieces. Moving on to another stick, trim off the curved edges again and cut the trimmed stick into two big pieces. Do the same with the last ice cream stick as well and make a cut in the middle of one of the sides of each piece. See the picture below for reference. You now have sixteen pieces of ice cream sticks in different shapes and sizes.
Step 2: Pasting The Sticks Together
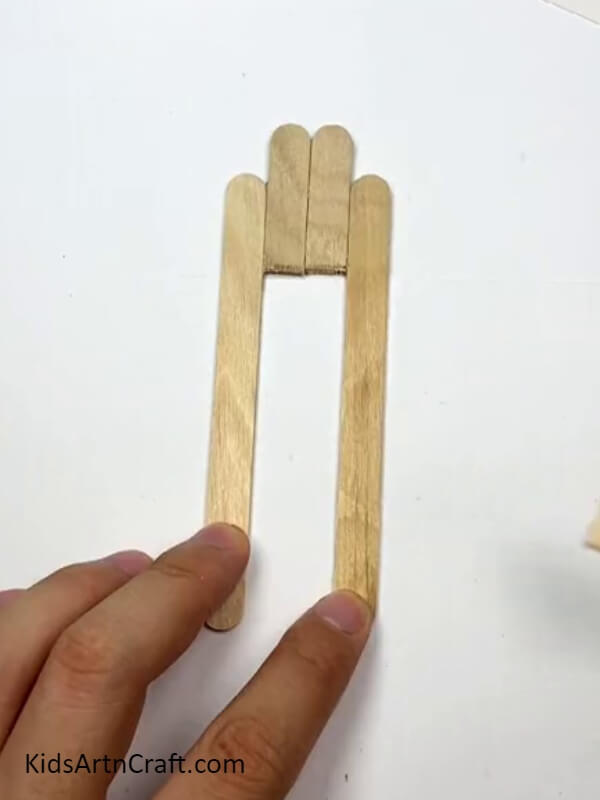
Place the two intact ice cream sticks parallel at a distance from each other. Now, place two smaller pieces with curved edges between these sticks placing them at the top. Half of these small sticks should be positioned above the sticks on the sides and half in between. Applying glue on the thin sides of the sticks, paste them together. See the picture for reference.
Step 3: Pasting Two Pieces On Top Of The Sticks
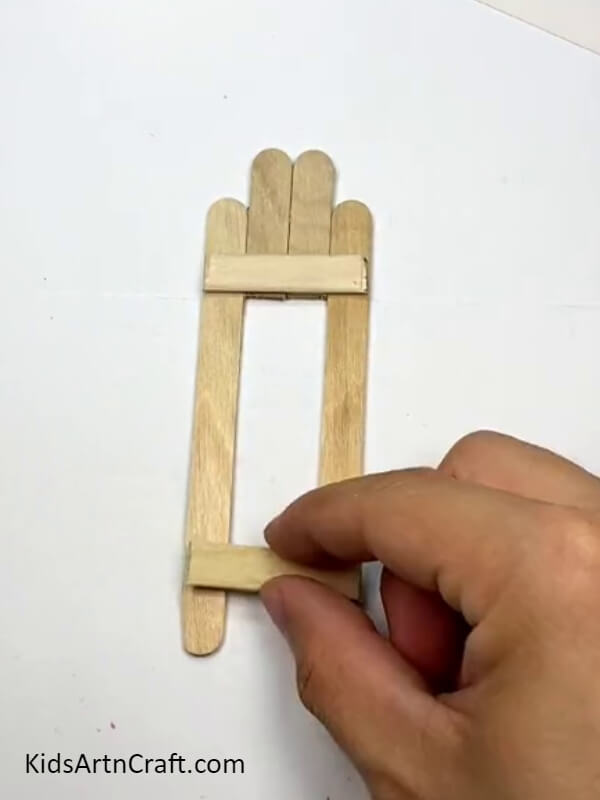
Take two pieces with trimmed ends and place one at the point where the two pieces you placed in the previous step end the other at the bottom following the distance kept by the piece at the top from the ends of the sticks on its sides. These two pieces should act like a bridge between the two sticks on the sides. Finally, paste these sticks on both the small and the big sticks lying below.
Step 4: PastingThe Smallest Pieces On The Sticks
Take the four smallest pieces from the set you made earlier and place one on each big ice cream stick right below the bridge stick at the top and the other two right above the bridge stick at the bottom. Now, paste them on the big sticks below.
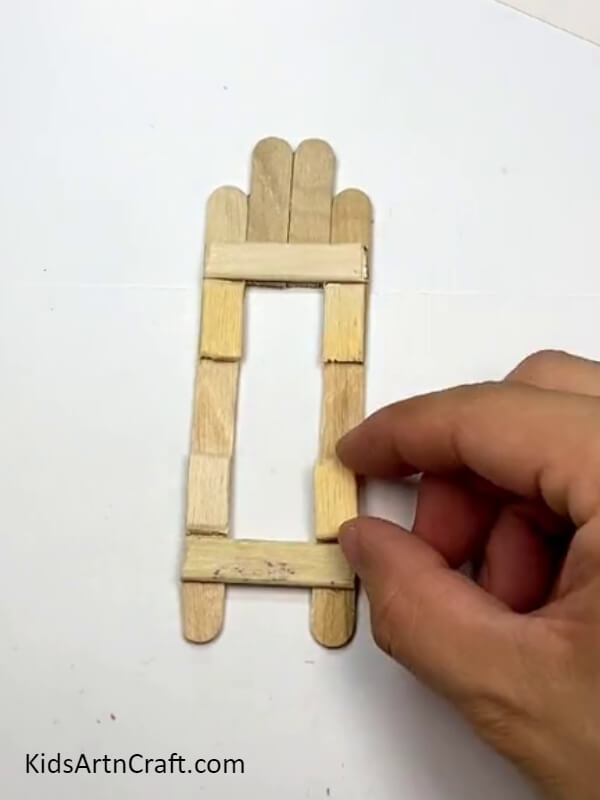
Step 5: Pasting The Other Two Intact Sticks
Take the other two, intact sticks and place them on the intact sticks already placed and paste them to the bridge sticks and all the four smallest sticks below respectively to overlap the first two intact sticks.
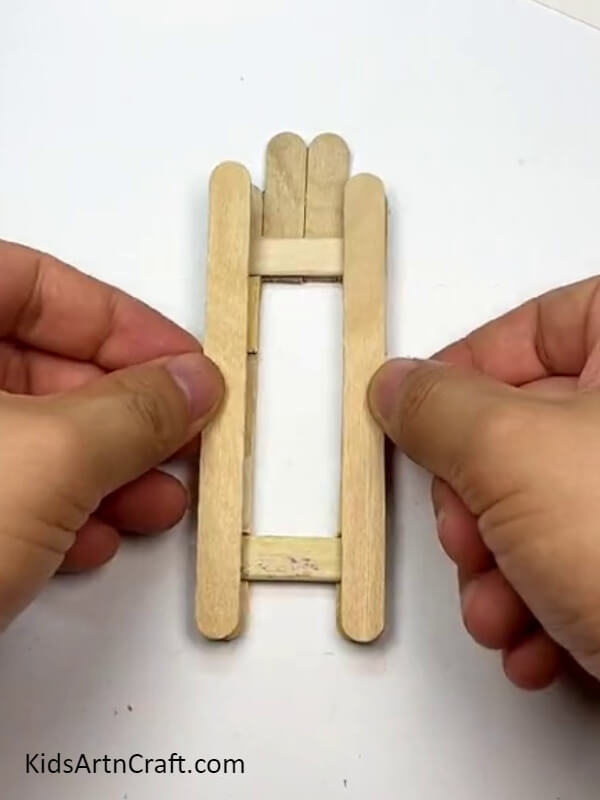
Step 6: Pasting Two More Curved Pieces
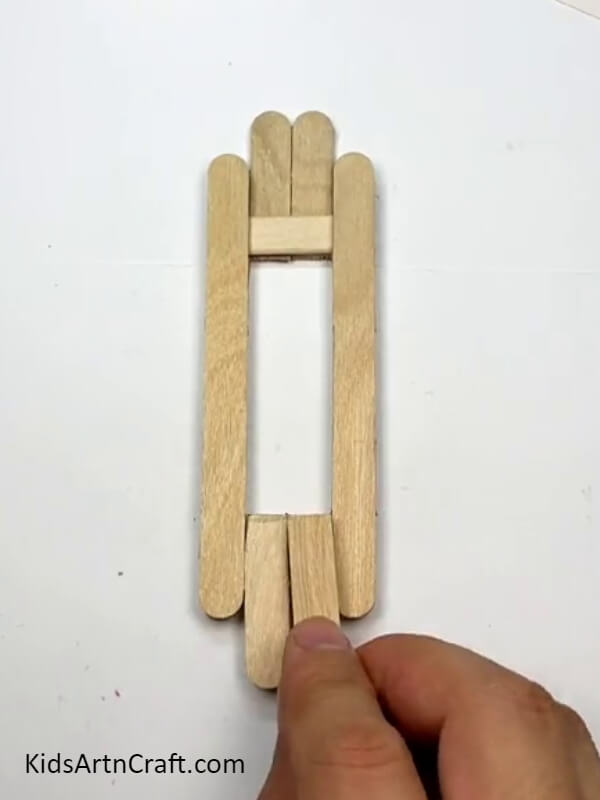
Take two more small curved pieces and paste them on top of the curved pieces at the bottom lying between the big two sticks as shown in the picture.
Step 7: Locking The Final Two Pieces Together
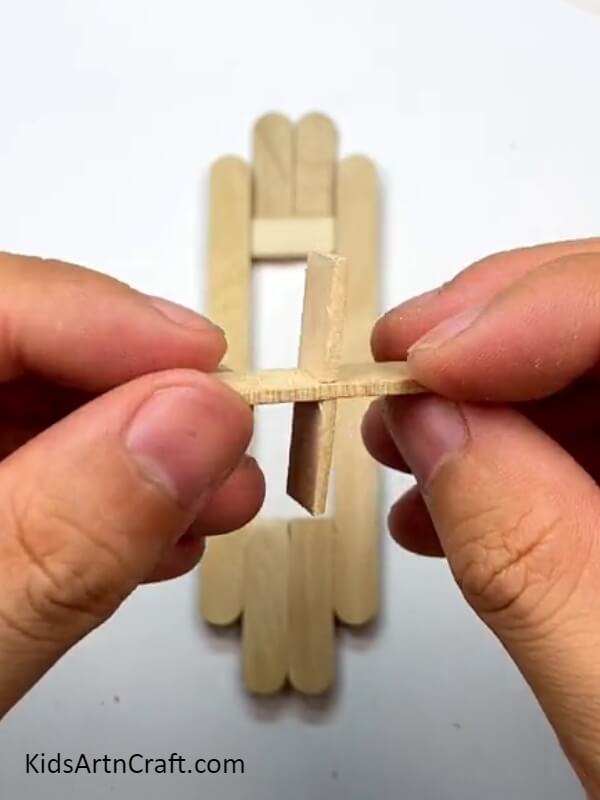
Take the final two pieces with the small cuts in the middle and join these cuts by locking them together and inserting one cut into the other creating a cross shape as shown in the picture.
Step 8: Attaching Rubber Band In The Hook-Shaped Wire
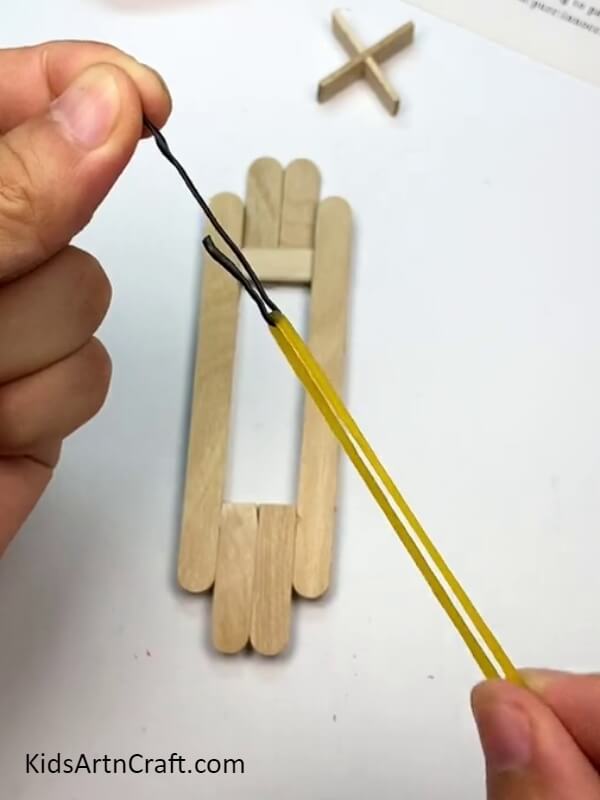
Twist a piece of craft wire into a hook shape and put the rubber in the hook. Stretching the elastic to its limits as shown in the picture.
Step 9: Using The Wire As A Needle
Pass the wire between the four big sticks to use it as a needle to take the rubber band through it. See the picture for reference.
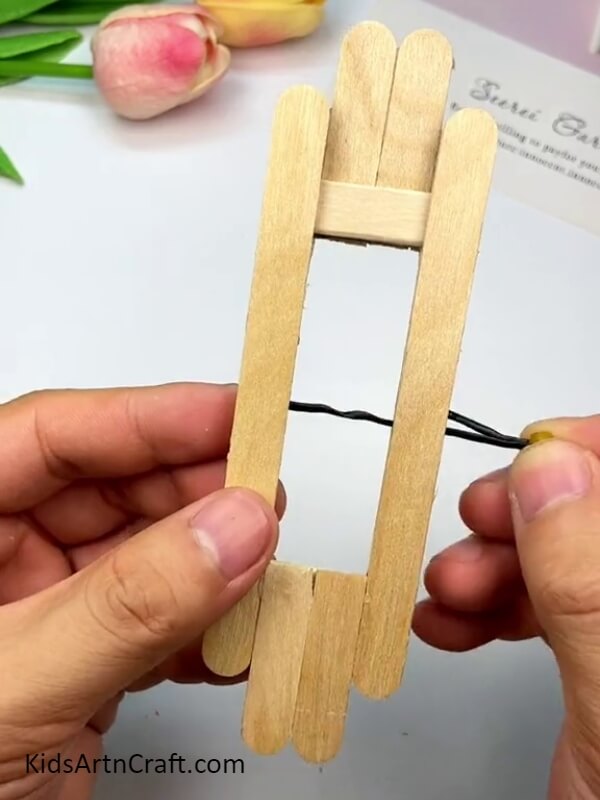
Step 10: Placing The Elastic Rubber Band Between The Sticks
With the help of this wire, drag the rubber band in the gap between the big sticks as shown in the picture.
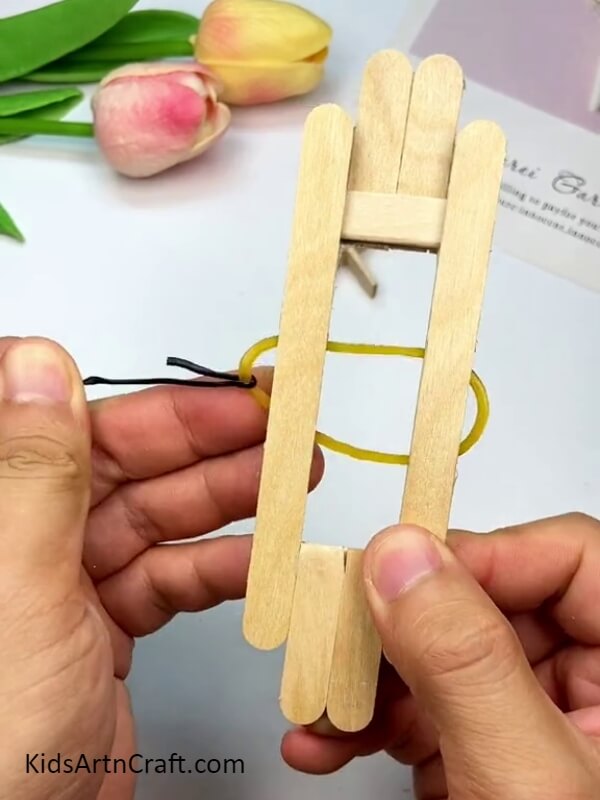
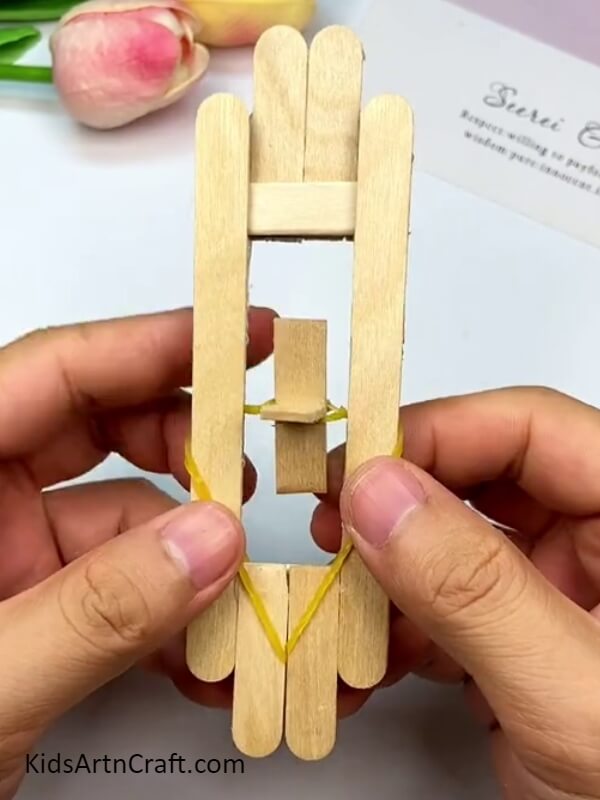
Step 11. Bringing The Rubber Band Over The Sticks At The Bottom
Bring the left side of the rubber band over to the smaller stick at the bottom by pulling the rubber band and fitting it in between the two small pieces at the bottom. Repeat the process on the right side of the rubber band as shown in the picture.
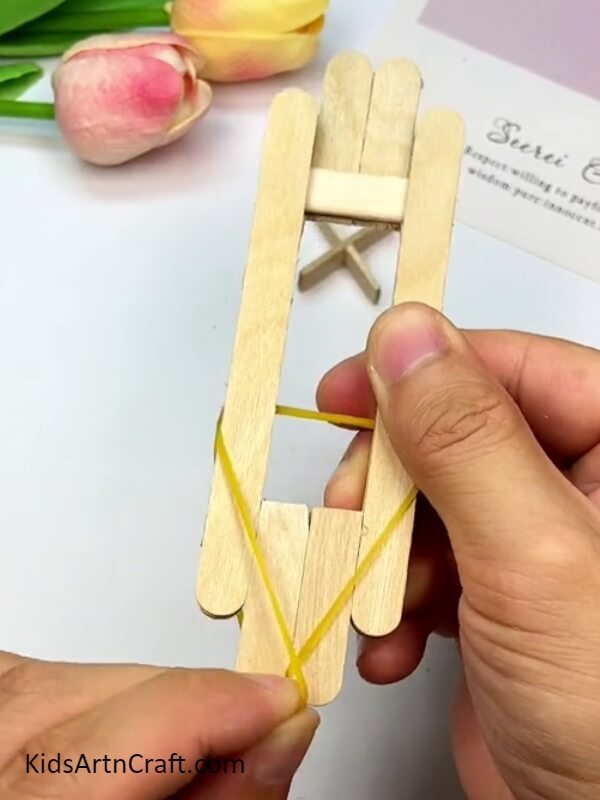
Step 12: Tying The Rubber Band On The Cross
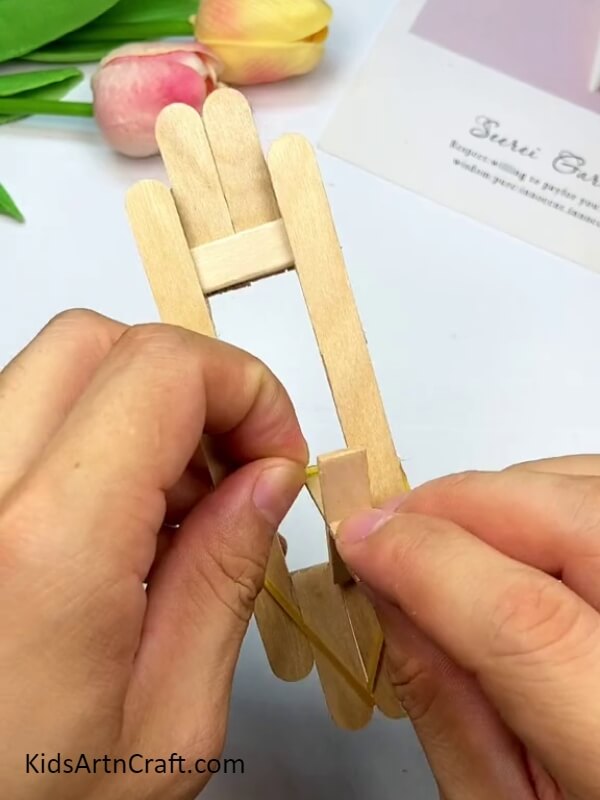
Take the cross shape you made earlier and tie the part of the rubber band bridging between the two big sticks onto it. The rubber must be set right in between the cross with two blades on each side.
Popsicle Toy Craft With A Wheel In The Middle
This brings an end to today’s tutorial and we are left with a brilliant craft. Spin the wheel in the middle to play with the toy!
This tutorial taught you good cutting, aligning, and pasting skills! You learned to make a toy which is quite a unique craft in itself. You can play with it or gift it to your friends and cousins! Or you can make it a fun activity with your class fellows or friends and play with it afterward as well! Keep practicing the techniques you learn in these tutorials and keep growing!
Some More Toy Craft Tutorial
Create Toy Car Craft Using Straw & Bottle Cap For Kids
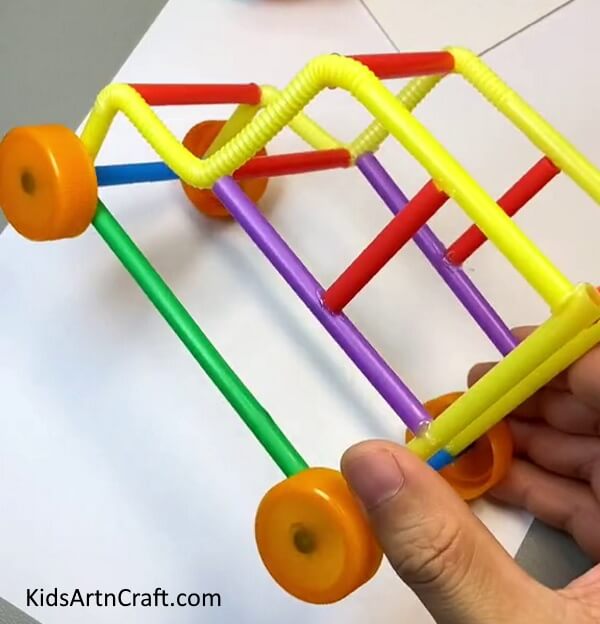
Image Source/Tutorial: Kids Art & Craft
This is a fun and easy activity for kids to make their own toy car using only a few simple materials such as straws, tape, and markers. It’s a great way to get creative and encourage imaginative play. Kids will love creating their own car and playing with it!
Creative Toy Car Craft With Straw And Bottle Caps
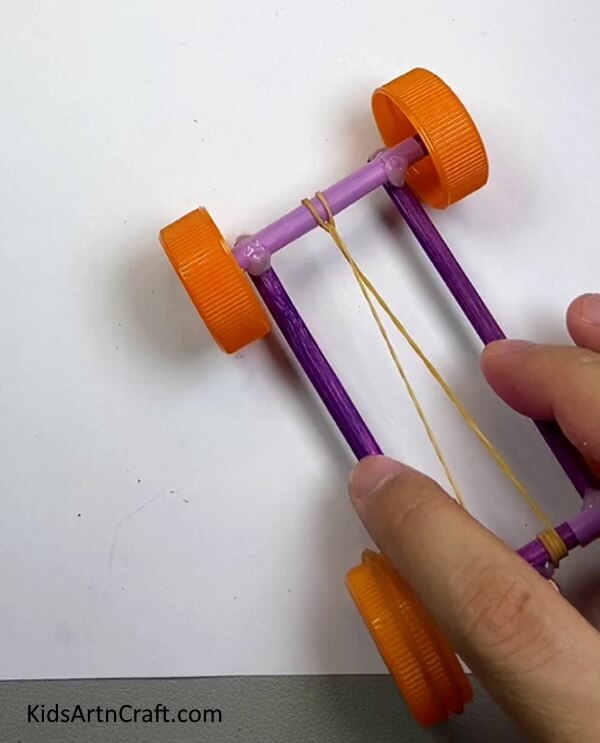
Image Source/Tutorial: Kids Art & Craft
This fun and creative craft is an easy way to make your own toy car! All you need are some chopsticks, bottle caps, and a few other materials to create a unique toy car. It’s an excellent way to express your creativity and bring playtime to life.
Follow us on Youtube for art and craft tutorials and much more.
More Articles from Kids Art & Craft
- DIY Christmas Yarn Wreath Ideas
- Farm Animal Crafts for 3-Year-Olds
- Advent Calendar Crafts for 2023 – Easy Homemade DIYs
- Nativity Crafts for Kids
- Easy Cute Paper Crafts Video Tutorial for All