


DIY and Crafts
Recycled Giraffe Art and Craft Using Fall Leaves and Peanut Shells

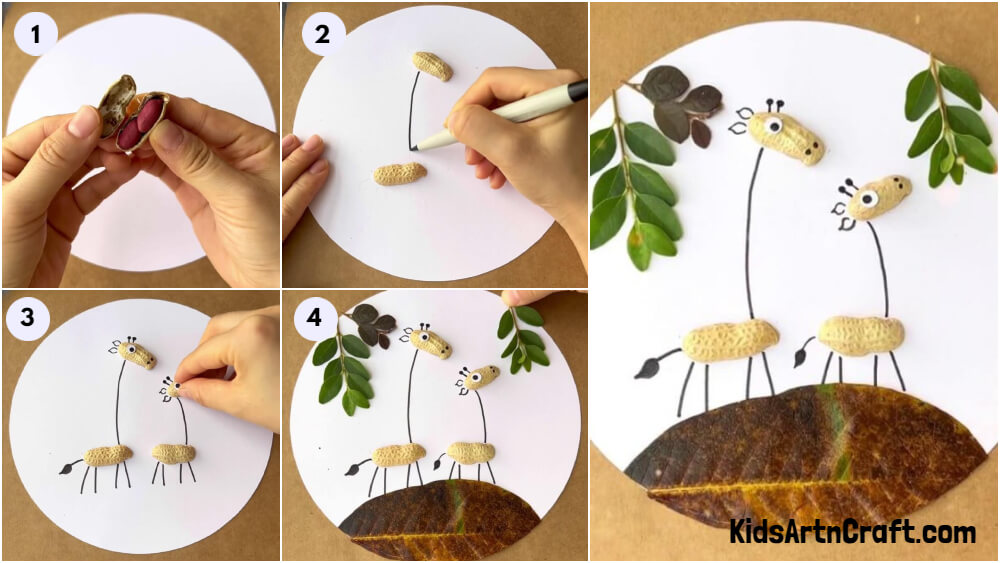
Create something unique and fun with Fall leaves and peanut shells! Learn how to make a recycled Giraffe craft for the home, perfect for the Fall season. Get creative and bring a burst of color and life to your home with this easy-to-make art project.
Looking to get creative with recycled materials? Try making a giraffe sculpture using fall leaves and peanut shells! Not only is it a fun activity, but you can put your unique spin on it. This craft involves repurposing natural materials that might otherwise go to waste. Surprisingly, the result is a unique and adorable giraffe sculpture. It could be a great decoration for your room. So, what are you waiting for? Grab your things and here we go!
Recycled Giraffe Art and Craft Using Fall Leaves and Peanut Shells For Kids
Read More: Sunflower Seeds Flower Craft – Step-By-Step Tutorial
Material Used:
-
Dark/light-Colored Fall Leaves
-
Peanut Shells
-
Glue
-
Black Marker
-
Scissors
-
A Cardboard Or Round Paper Base
Procedure
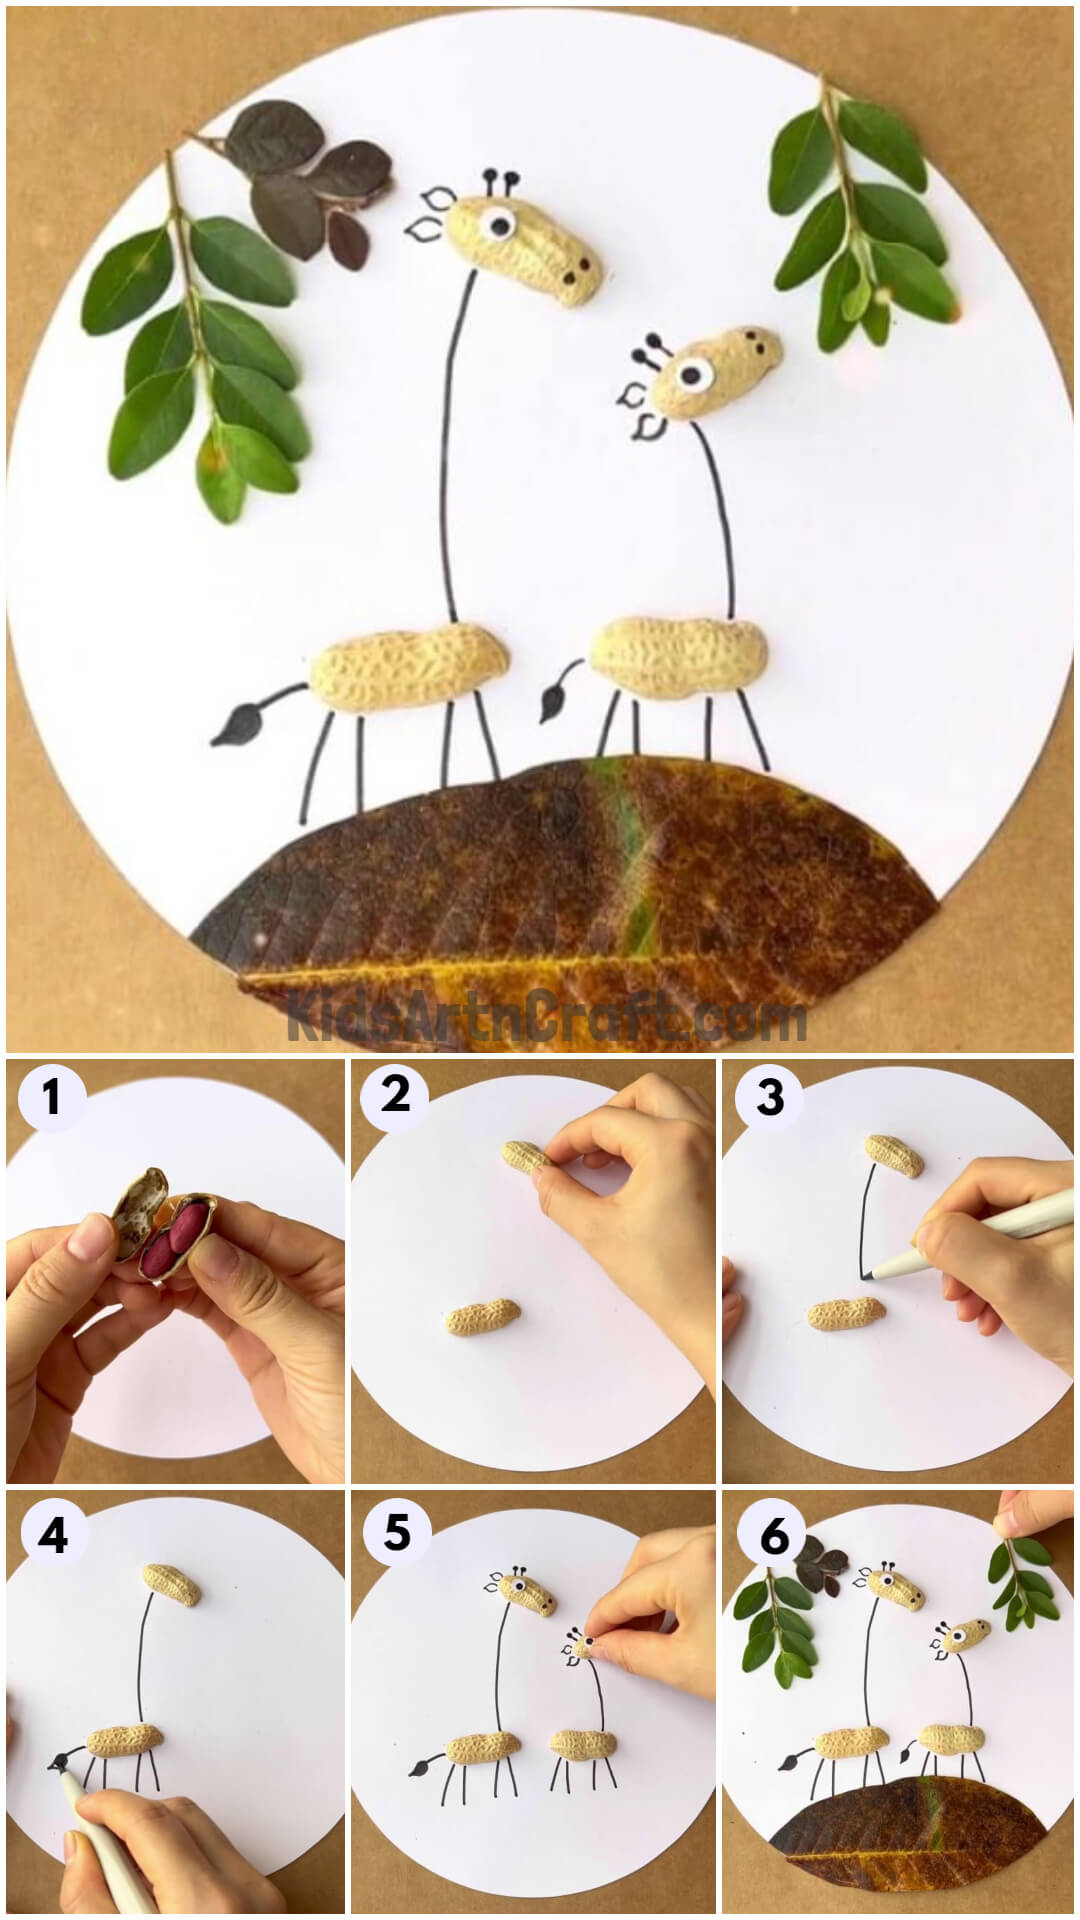
Step – 1: Collect And Cut Peanut Shells
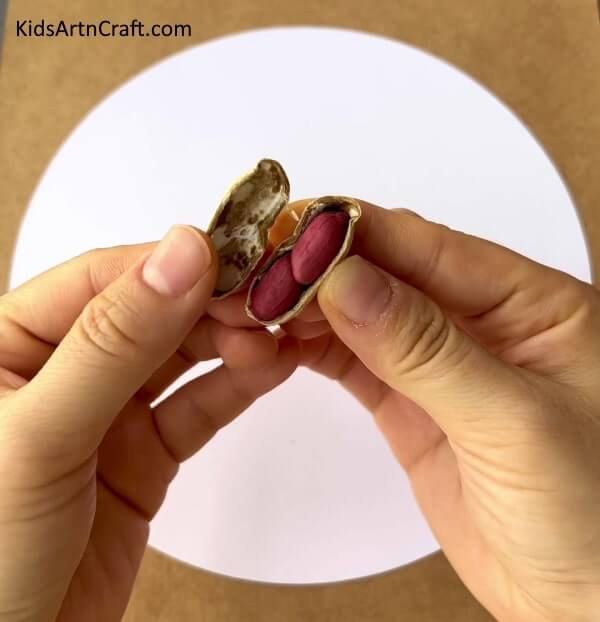
Collect peanut shells and use scissors or crack them open by hand to cut them into small pieces.
Step – 2: Glue The Peanut Shells
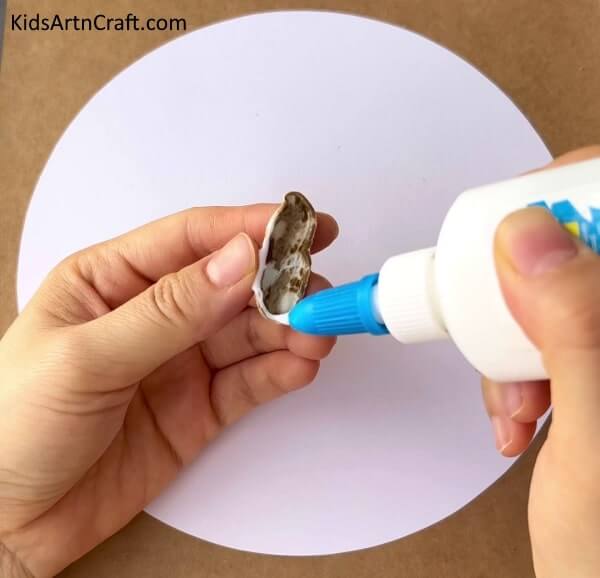
In this step, apply glue to the corners of the cracked-open peanut shells.
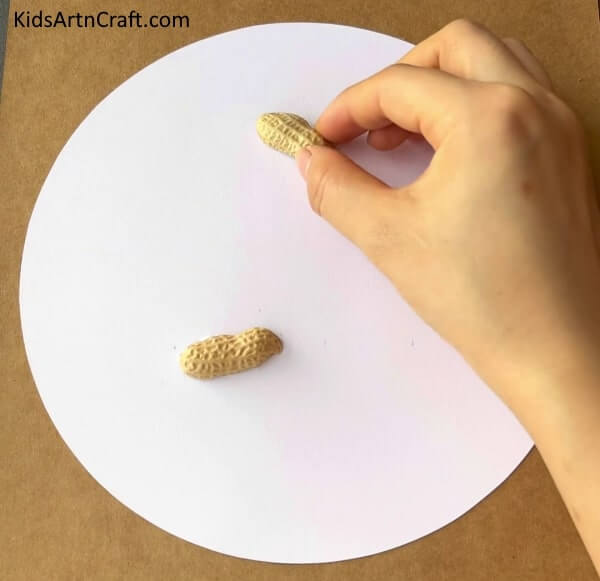
Step – 3: Attach Peanut Shells To Giraffe Body
Step – 4: Sketch The Giraffe Outline
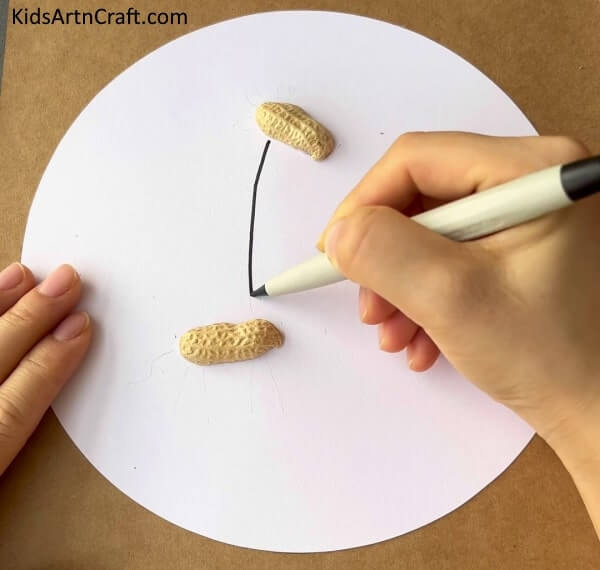
Using a black marker, sketch a curved line from the head to the body of the giraffe. Refer to the above image for guidance.
Step – 5: Sketch Additional Details
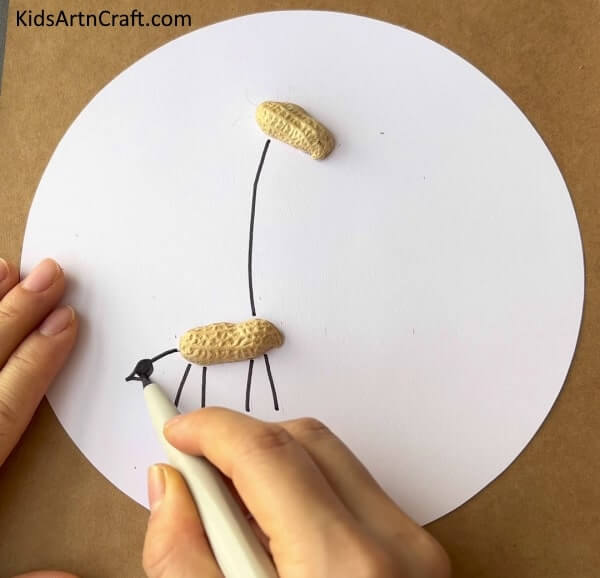
Sketch other details such as the tail and legs of the giraffe.
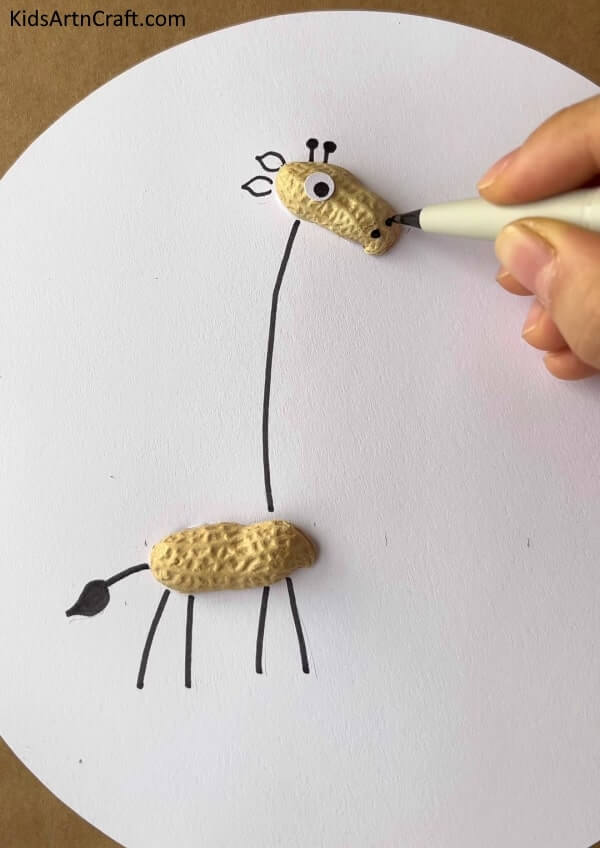
Step – 6: Add Eyes To The Giraffe
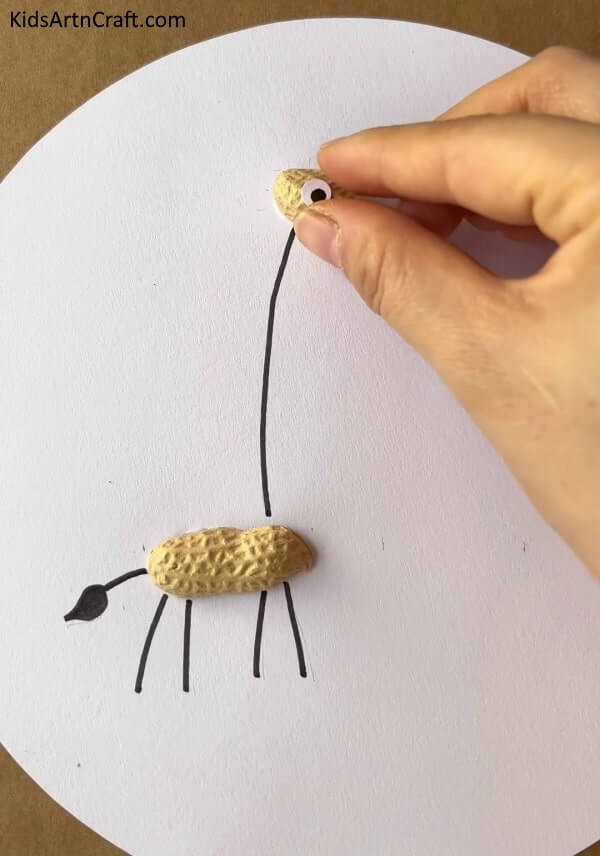
For the eyes, use two small round white paper and black cut paper pieces. Place them one by one on the peanut shell of the giraffe’s head, positioning them as desired.
Step – 7: Draw Nose, Eyes, And Ears
Step – 8: Make a Baby Giraffe (Optional)
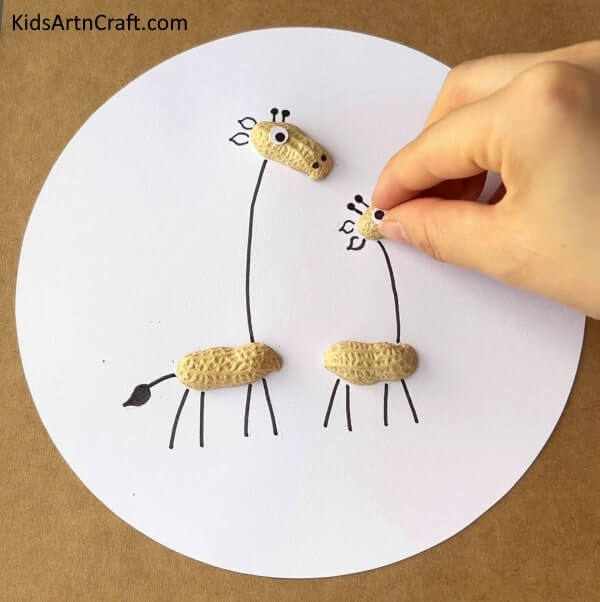
After you have completed the parent giraffe, you can try adding a baby giraffe. To do so, simply repeat the same process as we did for the main one. We will see you in our next steps below.
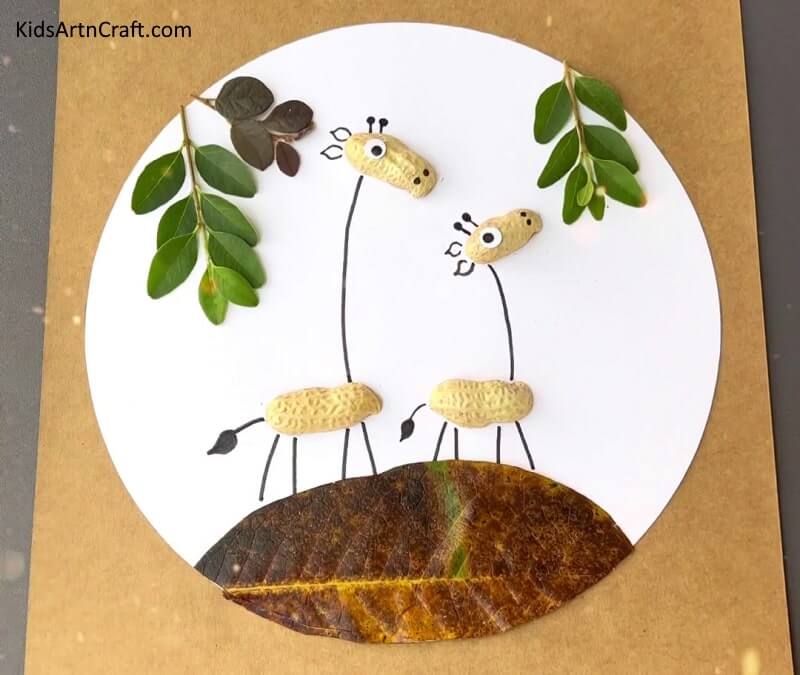
Step – 9: Place a Dark-Colored Fall Leaf
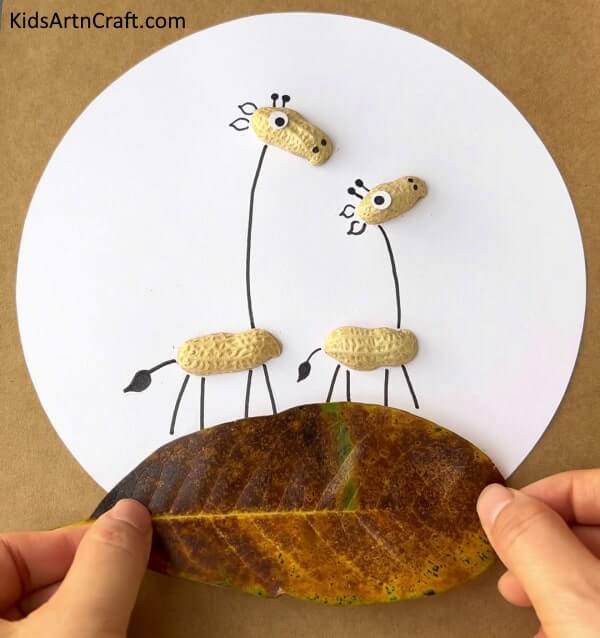
Place the large dark-colored fall leaf under the giraffe in one corner of the base. This will serve as the ground for both the giraffe.
Step – 10: Trim The Fall Leaf Base
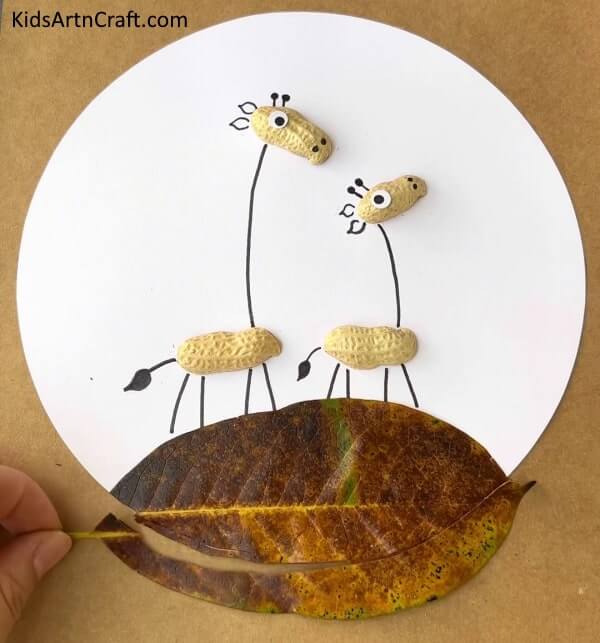
Cut it using scissors, ensuring that the excess leaf around the round paper base is trimmed. Do it in a way so that the leaf perfectly matches the shape of our round base.
Step – 11: Add Light/Dark Colored Fall Leaves
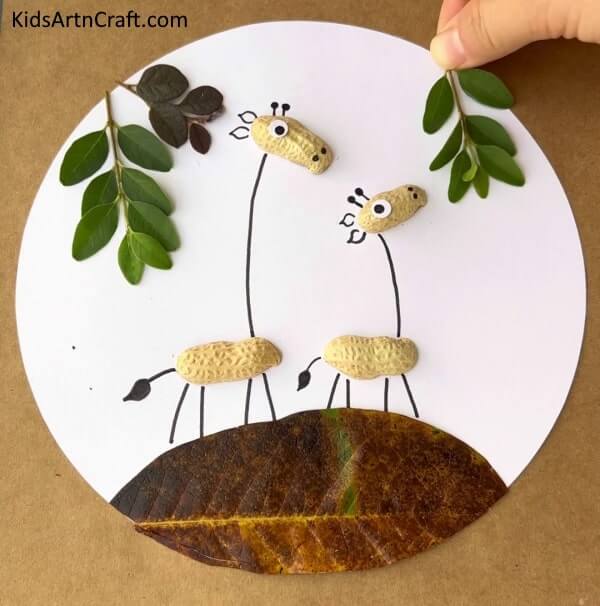
To add a realistic touch, try adding 4-5 light/dark-colored fall leaves in the top two corners. This will be the canopy under which our adorable giraffe is standing.
Final Step: Enjoy Your Recycled Giraffe Art
And we are done! We hope you enjoyed this one as much as you always do. See you next time with more fascinating crafts. Until then, happy crafting!
Some More Peanut Shell Craft Tutorial
Crafting Giraffe Designs with Peanut Shells for Kids
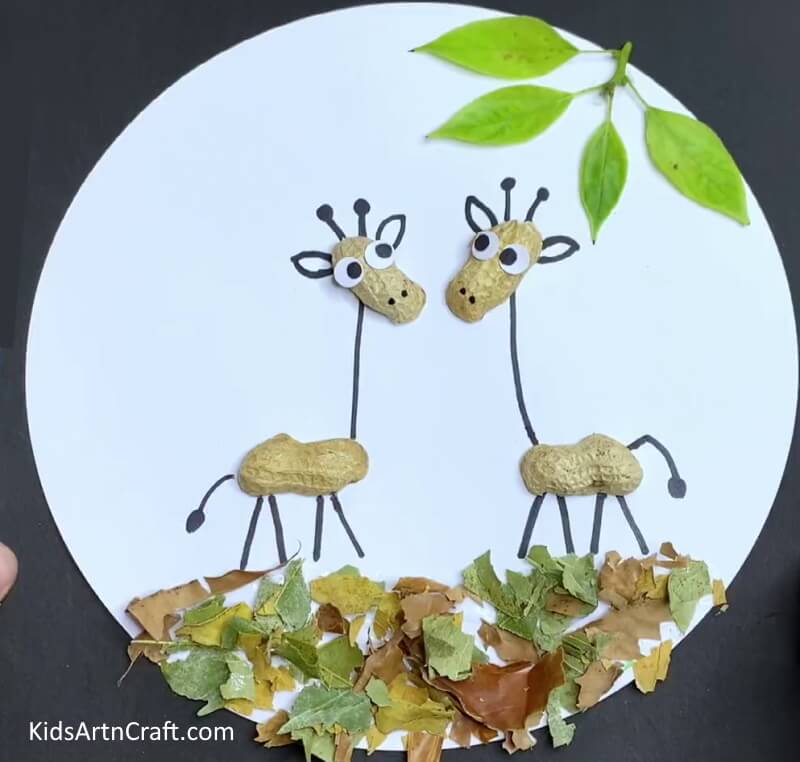
Image Source/Tutorial: Kids Art & Craft
Crafting with kids is a great way to bond and create memories. Giraffe designs made with peanut shells is a fun and easy activity for children of all ages. It’s a great way to teach them about art and creativity while having a fun time together.
Construct a Bunny Artwork With Peanut Shells
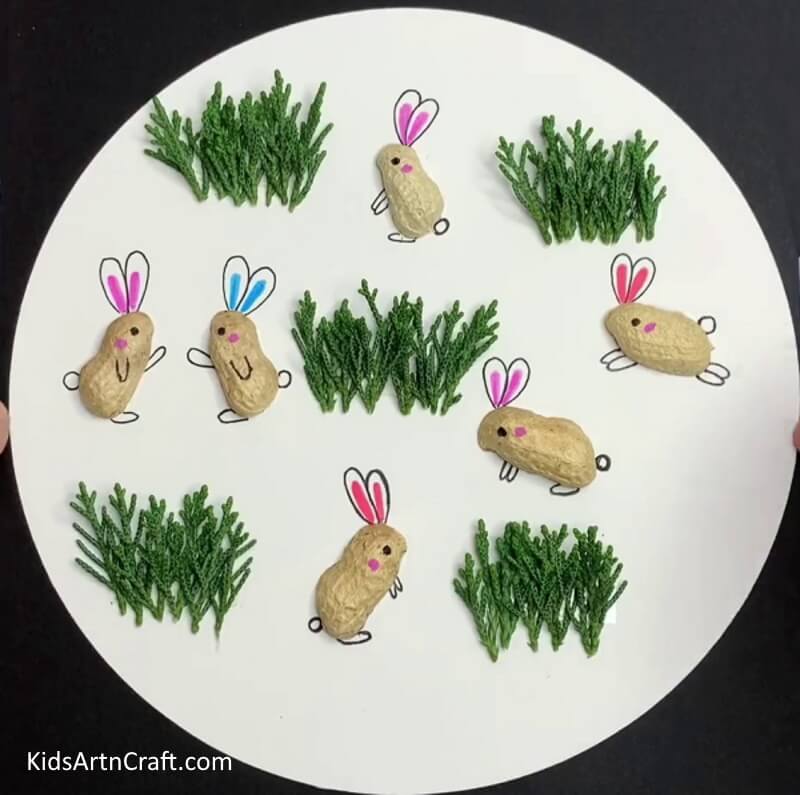
Image Source/Tutorial: Kids Art & Craft
This fun and creative activity will have kids of all ages crafting their own bunny artwork with peanut shells. The bunny artwork can be used for a variety of purposes like decorating a bedroom, or craft room, or even making a unique gift. Get creative and have fun!
Constructing a Recycled Peanut Shell Dog Craft For Youngsters
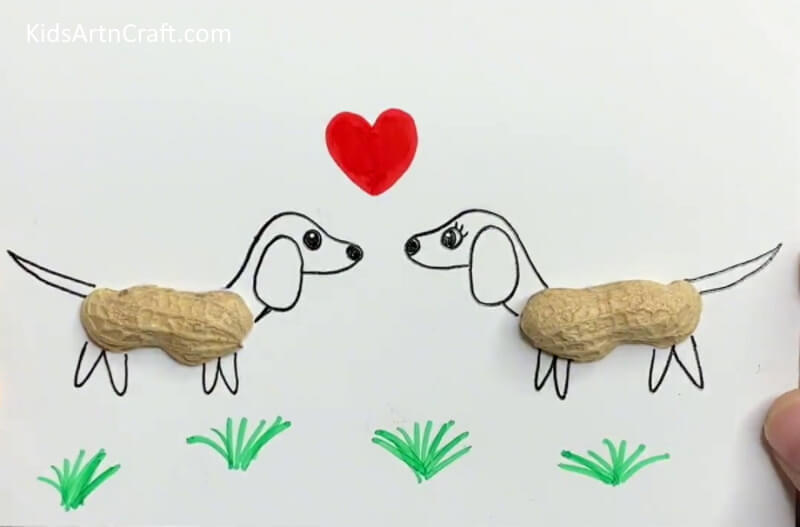
Image Source/Tutorial: Kids Art & Craft
Constructing a Recycled Peanut Shell Dog Craft is a great activity for young children. It helps teach them about recycling and encourages creativity. It’s also a fun way to spend time with your child.
FAQs
What supplies will I need to make recycled giraffe art and crafts using fall leaves and peanut shells?
You will need fall leaves, peanut shells, cardstock, scissors, glue, and a black marker.
How do I make the giraffe’s body?
Trace a large circle onto the cardstock and cut it out. Glue the peanut shells onto the circle to make the giraffe’s body.
How do I make the giraffe’s head?
Trace a smaller circle onto the cardstock and cut it out. Glue the peanuts shells onto the circle to form the giraffe’s head.
How do I make the giraffe’s legs?
Cut four pieces of cardstock and fold them in half. Glue the peanut shells onto the folded pieces to form the giraffe’s legs.
How do I make the giraffe’s ears?
Cut two circles out of cardstock and glue the peanut shells onto them. Glue the circles onto the giraffe’s head.
This craft activity is a great way for children to use their creativity to make something special. Teach kids about the importance of recycling materials in our daily lives. Stay tuned for more super fun art and craft activities, as it is a long journey and we will guide you towards it.
Follow us on Youtube for art and craft tutorials and much more.
More Articles from Kids Art & Craft
- Creative Way To Make Sunflower Seed Shell Tree Craft For Kindergarteners
- Super-Easy Bookmarks Crafts That Kids Can Make Themselves
- Cute Origami Star Flower For Kids – Step-By-Step Tutorial
- 3D Cactus Paper Craft Tutorial for Kids
- Potato Stamping Art Ideas for Kids


