


Clay Crafts
Learn To Make Walnut Shell And Clay Turtles Craft

Make a fun and creative turtle craft with walnut shells and air-dry clay! Perfect for a rainy day craft or a summer camp activity, this turtle craft is sure to bring a smile to your face! Learn how to make these adorable turtles with our step-by-step instructions.
Who doesn’t like turtles? Beautiful sea creatures that glide through the waters. Ever thought about how you could make a turtle craft with something you eat? Welcome to this step-by-step tutorial on how to make Walnut shells and clay turtles! In this tutorial, you will learn to make turtles from just walnut shells and clay. You can easily make this beautiful and fun craft following this step-by-step tutorial. Let’s go and make this beautiful creature and spark our creativity! Let’s get started!!!
DIY Walnut Shell Turtle Craft Tutorial
Read More: Caterpillar Crafts & Activities for Kids
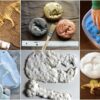
Materials Required
- Walnut shells
- Different coloured Clay
- Black sketch pen
Procedure
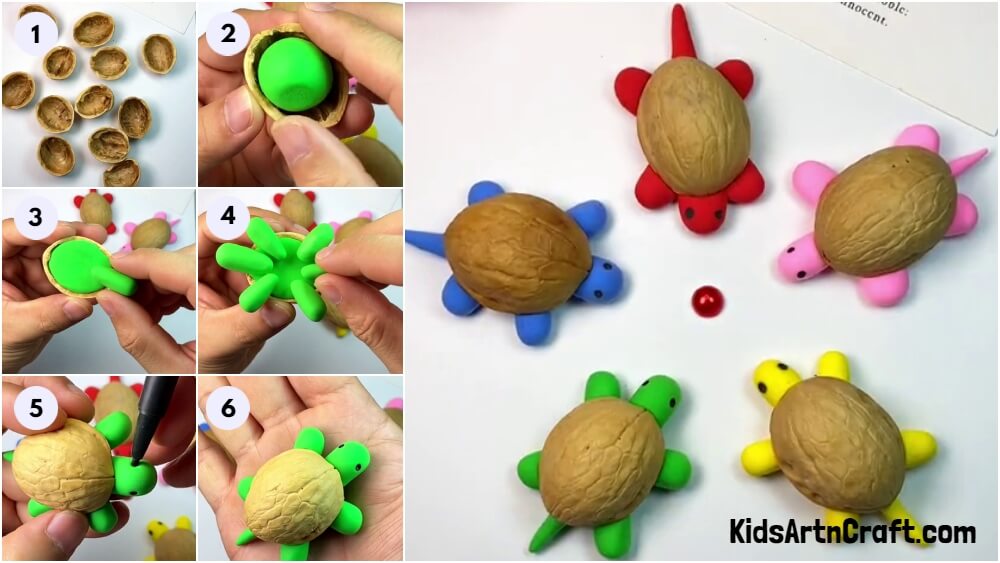
Step 1: Gather Walnut Shells
Your first step would be to gather walnut shells. Gather shells that are big and sturdy!
Step 2: Press A Ball Of Clay Into The Walnut Shell
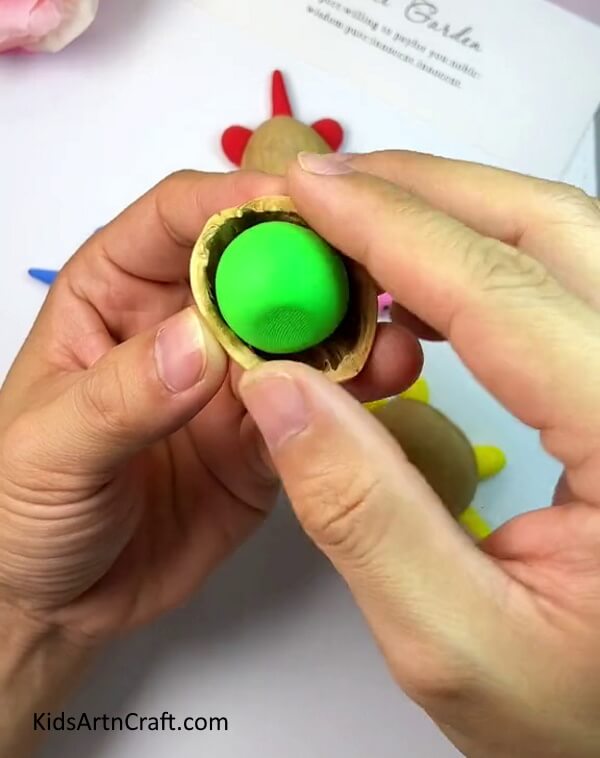
Grab some green clay and roll it into a big ball. Press this clay ball inside the walnut shell and fill in the space. Make sure you fill in enough clay.
Step 3: Make The Neck And Head Using More Clay
Take another piece of clay and roll it into a cylinder-like shape. Make sure one end is thicker than the other. The thicker portion will be the face of the turtle.
Step 4: Attach The Neck To The Body
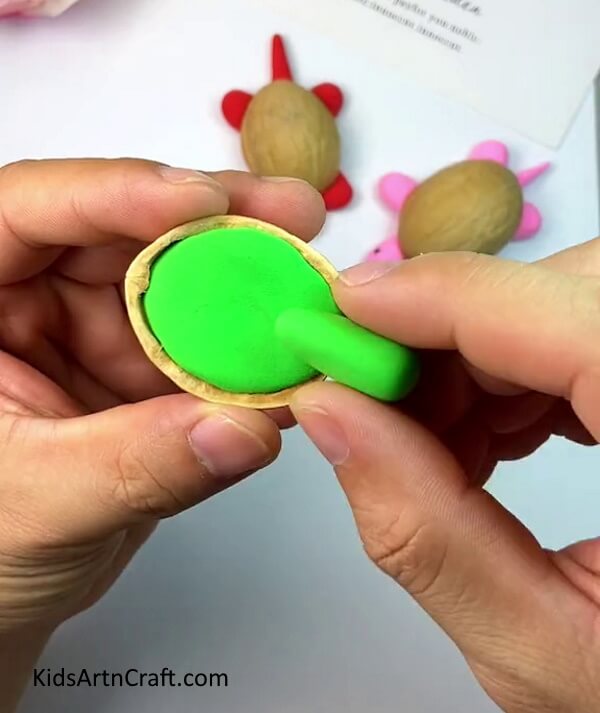
Attach this neck to the walnut body of the turtle. Press it down carefully, so that the clay sticks.
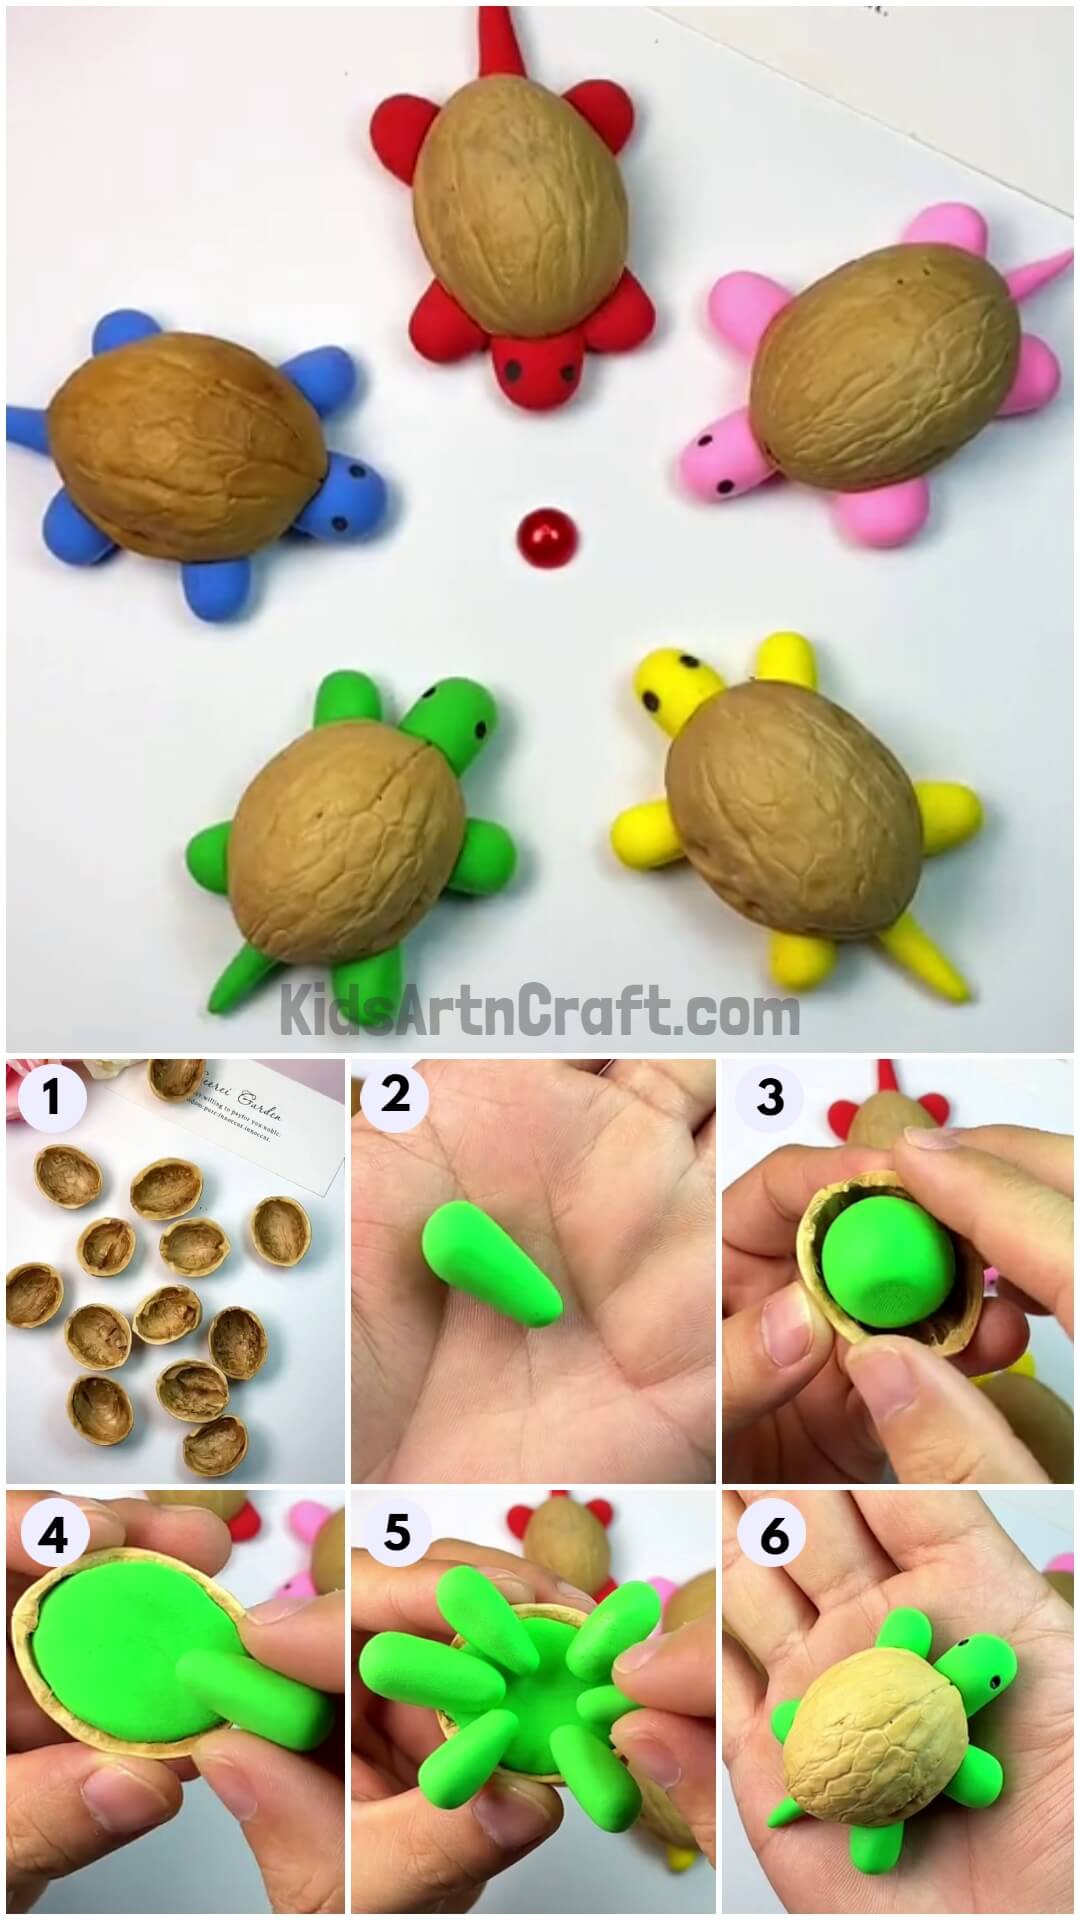
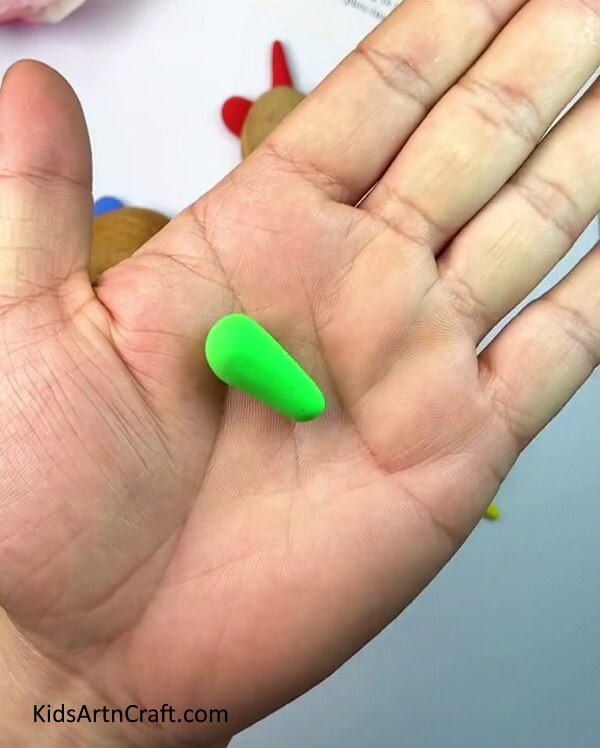
Step 5: Rolling More Clay To Make The Limbs And The Tail Of The Turtle
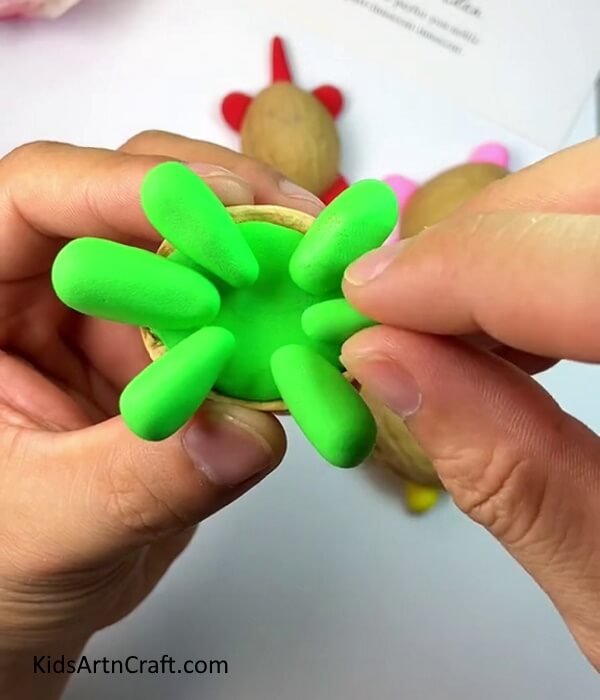
Using more clay make 4 slightly smaller cylinders as compared to the face. Even these should have one broader end. Press these onto the body, two limbs on either side of the turtle. Make one last small cylinder, for the tail. While rolling this piece of clay, make one end pointed. This pointed end should be sticking out when you attach the tail to the turtle.
Step 6: Make The Eyes Of The Turtle
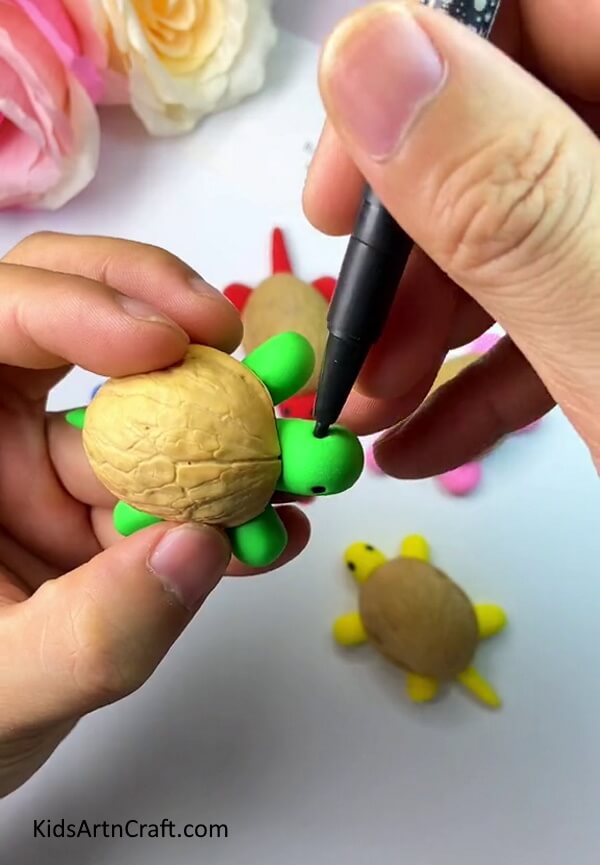
Once you have all the clay stuck properly. pick up your black sketch pen to make the eyes of the turtle. Draw two dots on the face of the turtle.
Step 7: Make Sure Everything Is Attached Properly

For a last good measure, press everything together to make sure everything is attached properly.
Congratulation! Your Clay Turtles Craft Is Done
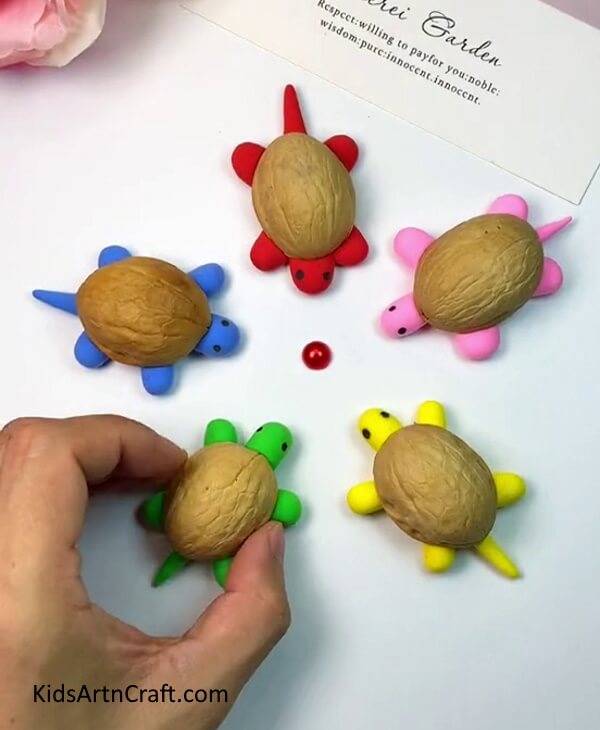
And Ta-da! Your Walnut Shell and Clay Turtles Craft is done and ready!!
Some More Turtle Craft Tutorial
Crafting a Turtle Using Clay For Children
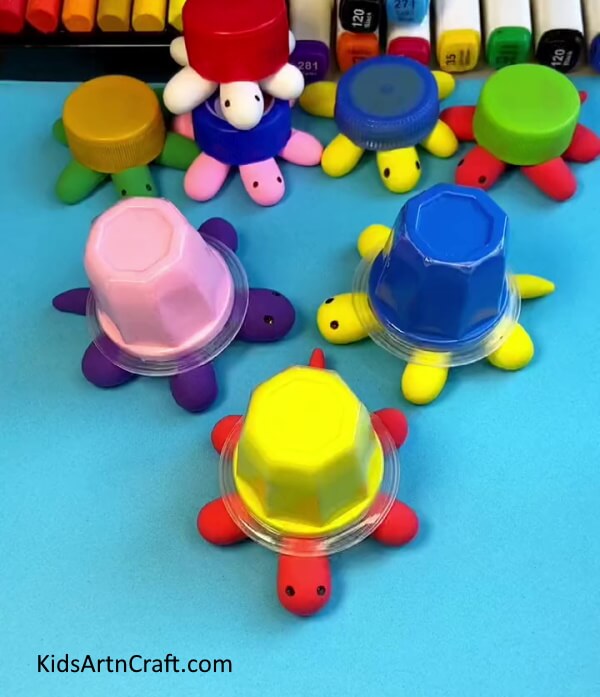
Image Source/Tutorial: Kids Art & Craft
Crafting a turtle out of clay can be a fun and creative activity for children. It’s a great way for them to use their imagination while developing fine motor skills. With a little guidance, children can make a unique and beautiful turtle that they can be proud of.
Following this step-by-step tutorial, anyone can easily learn to make this fun craft. Using just some walnut shells and colourful clay, you can make this amazing creature in minutes. Let your creative spark flow, and make a few more turtles using different coloured clay to make a whole turtle family. This craft is perfect for craft projects and decorations and teaches children to use something as basic as walnut shells to make beautiful creations.
It is super easy and quick to make and kids and adults alike, can easily catch on to the steps with this tutorial and showcase their creativity. So give it a try and engage your kids and yourself in a fun craft-learning activity!
Hope you like this creative and quick-to-make Walnut Shell and Clay Turtles Craft step-by-step tutorial and that it helped you learn something new. We would love to hear your thoughts in the comment section below.
Be sure to visit our other articles for more craft and DIY ideas!
Follow us on Youtube for art and craft tutorials and much more.
More Articles from Kids Art & Craft
- Fairies in Jar Craft Ideas for Kids
- DIY Christmas Yarn Wreath Ideas
- Farm Animal Crafts for 3-Year-Olds
- Advent Calendar Crafts for 2023 – Easy Homemade DIYs
- Nativity Crafts for Kids