


Clay Crafts
Colorful Clay Tree Artwork Tutorial For Beginners

Make a one-of-a-kind art piece with this bright clay tree craft for beginners. Follow our easy instructions to learn how to make clay art and make a stunning artwork that is sure to be noticed.
This tutorial brings to you a craft involving a tree and some clay dough. It’s very simple to make and beginner friendly as well and working with the clay dough can be a lot of fun. You can use different colours of your own choice while making clay moulds for the decoration of the tree. So, collect all the material required and let’s start making this craft.
Easy To Make Colorful Clay Tree Artwork For Kids
Read More : Beautiful Clay Cherries Craft Step-by-step Tutorial For Kids
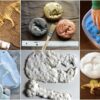
Materials Required
- A plain cardboard sheet
- A pair of scissors
- A black sketch pen
- Clay doughs in different colours
- Toothpicks
Procedure
Step 1: Starting With The Cardboard Sheet
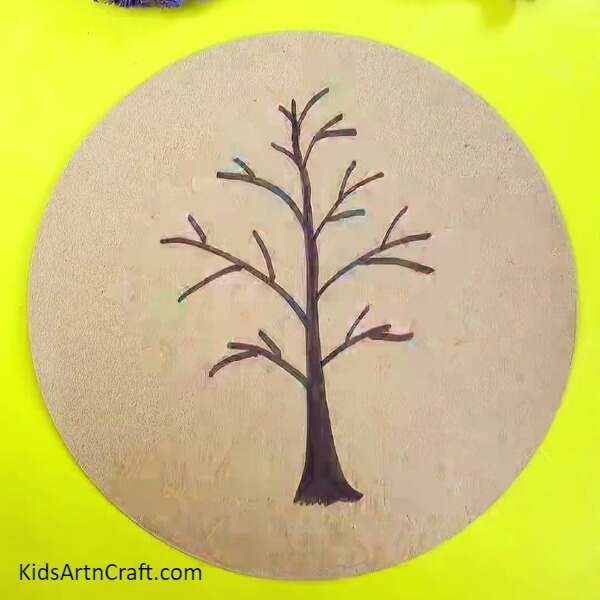
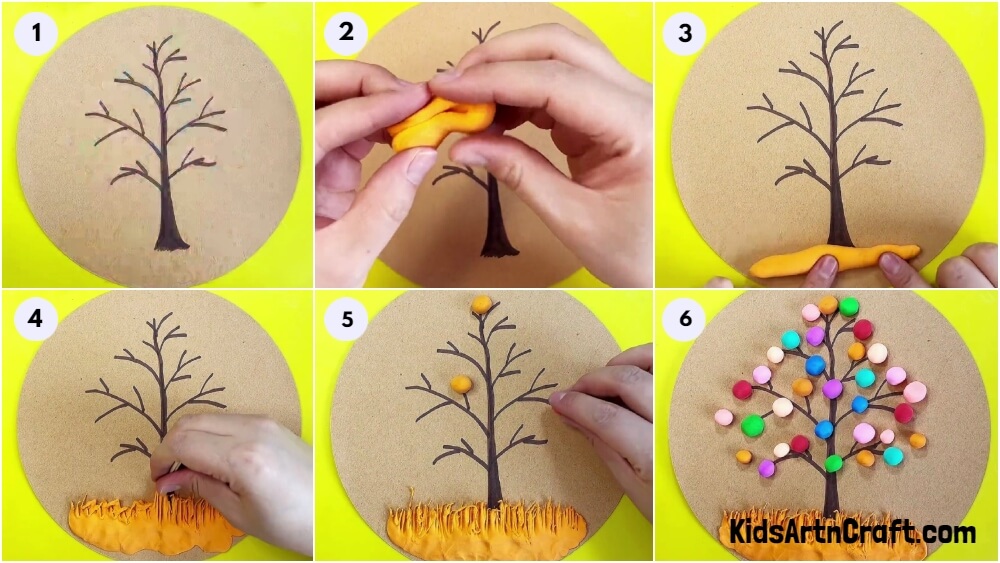
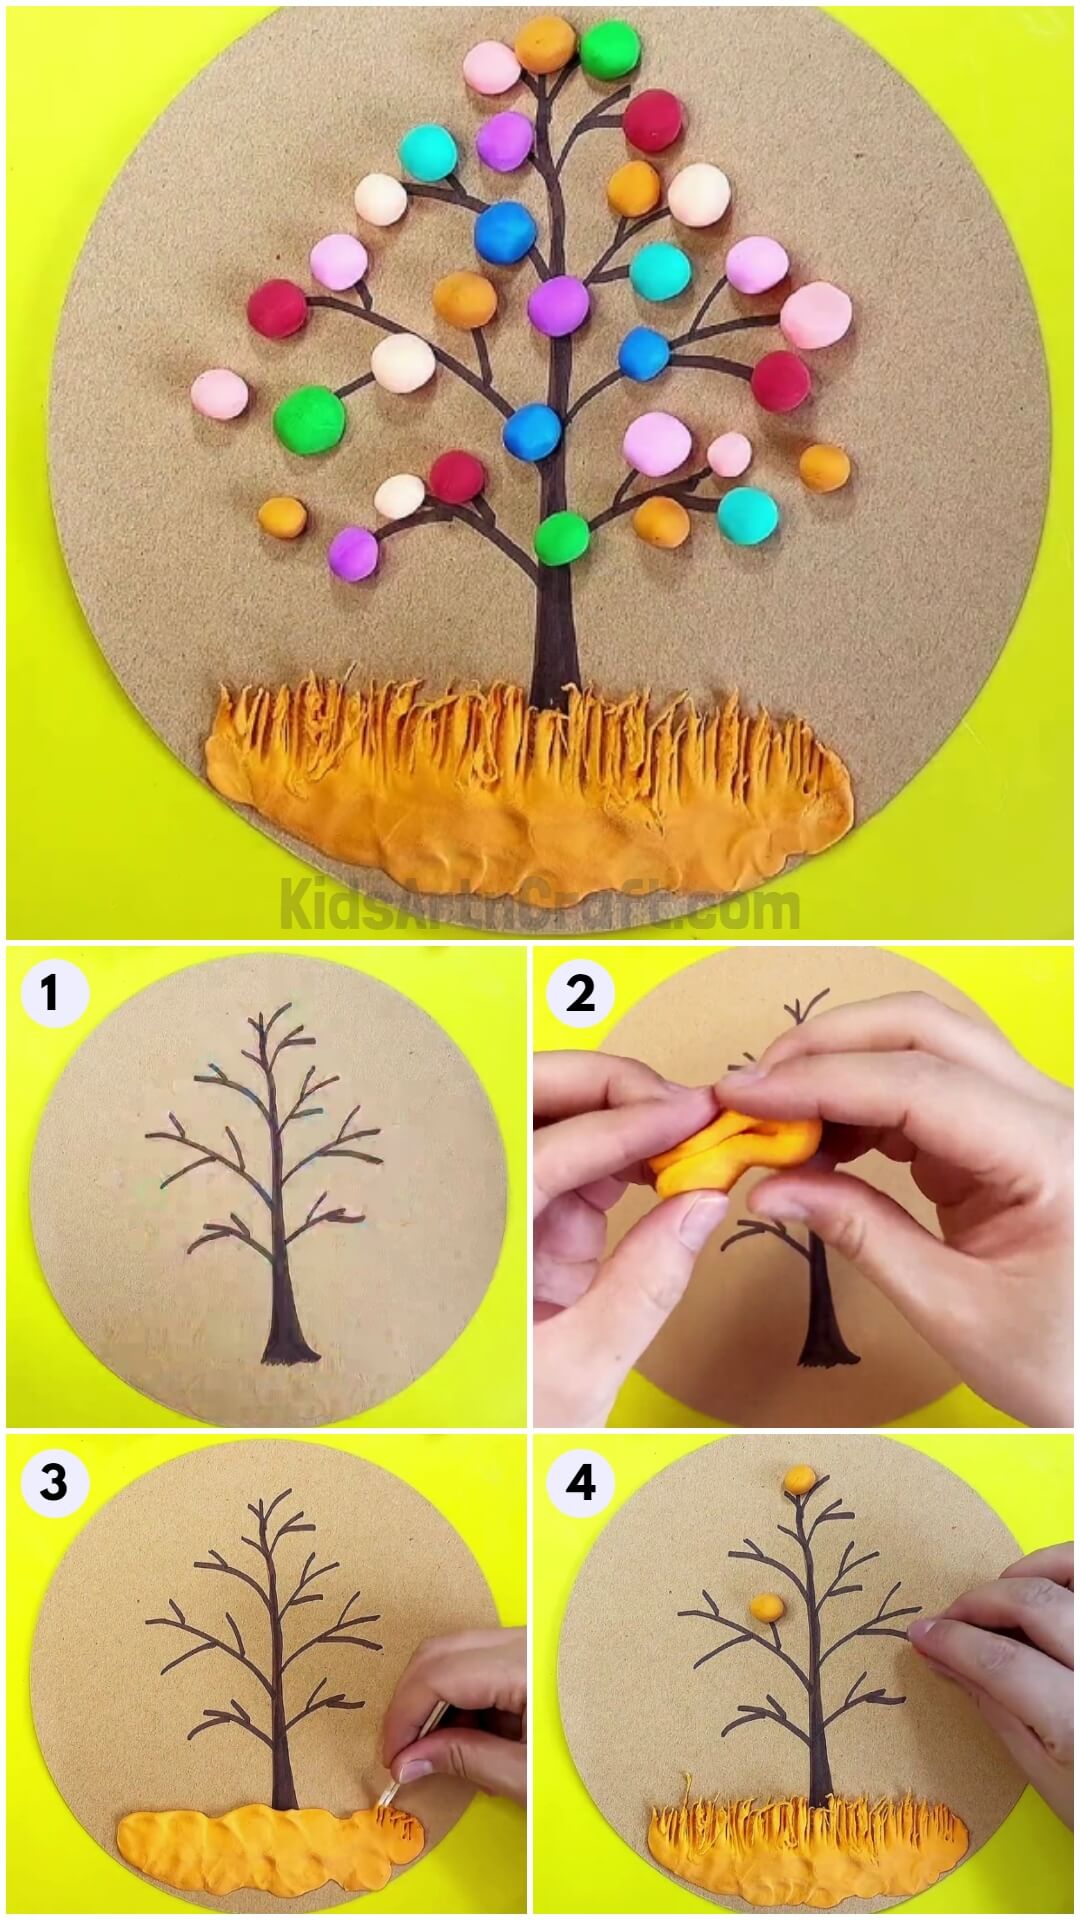
Take a plain cardboard sheet and cut a circle out of it. Place the cardboard sheet on the table. Now, make a vertical three trunk throughout the middle section of the sheet. The trunk should be thick at the bottom while getting thinner throughout the upper section. Draw four branches on the left side of the trunk and five branches on the right side of the trunk. The branches should be thin and a little curved. See the picture below for reference.
Step 2: Working With The Clay Dough
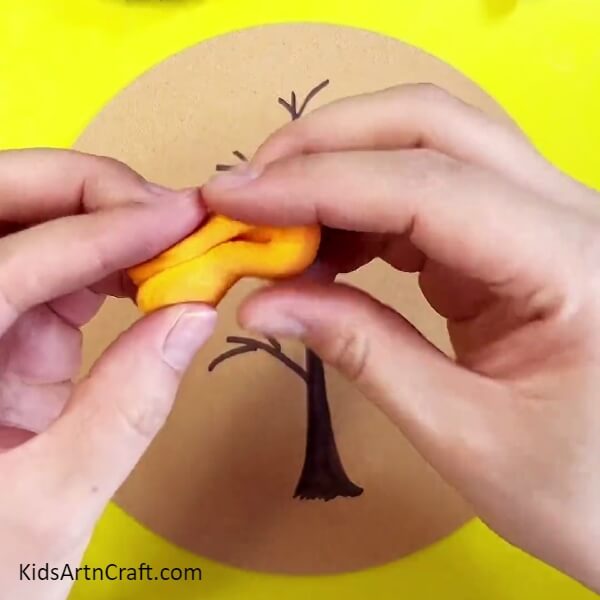
Take some yellow clay and start moulding it to make it more flexible. See the picture below for reference
Step 3: Placing The Clay On The Cardboard
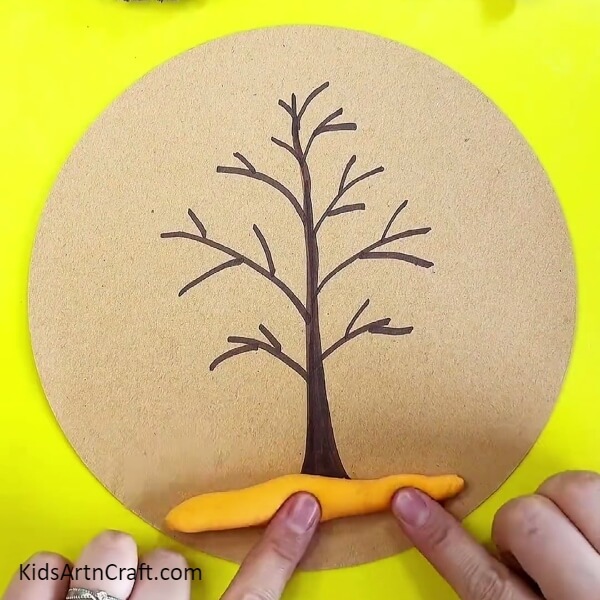
Stick the clay at the bottom of the cardboard sheet right below the tree trunk. Place the mould in a way that the entire bottom circumference gets an equal share of the mould as shown in the picture below.
Step 4: Making Marks On The Mould
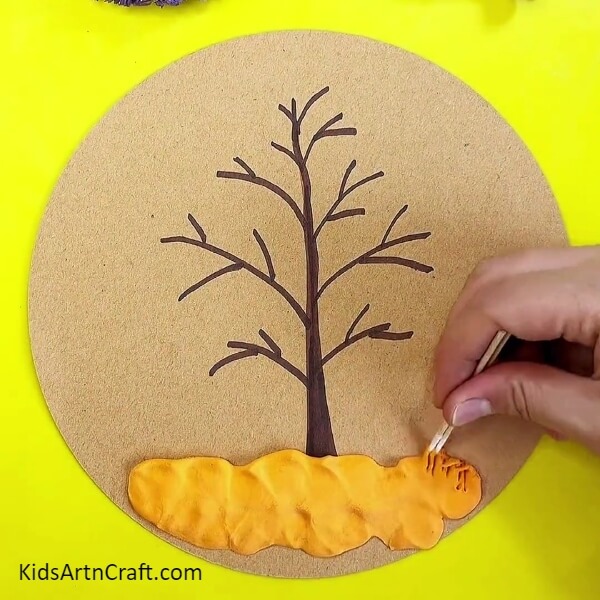
Spread the mould throughout this section covering the space below the tree. Now, take two toothpicks and start carving vertical lines on the top right side of the clay at the bottom. See the picture below for reference.
Step 5: Making More Marks On The Mould
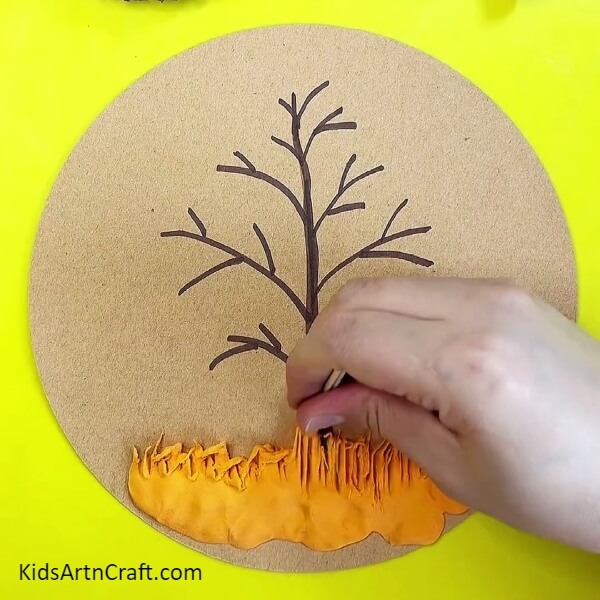
Make these vertical marks throughout the top section of the clay mould using the same two toothpicks. See the picture below for reference.
Step 6: Making Some Clay Balls
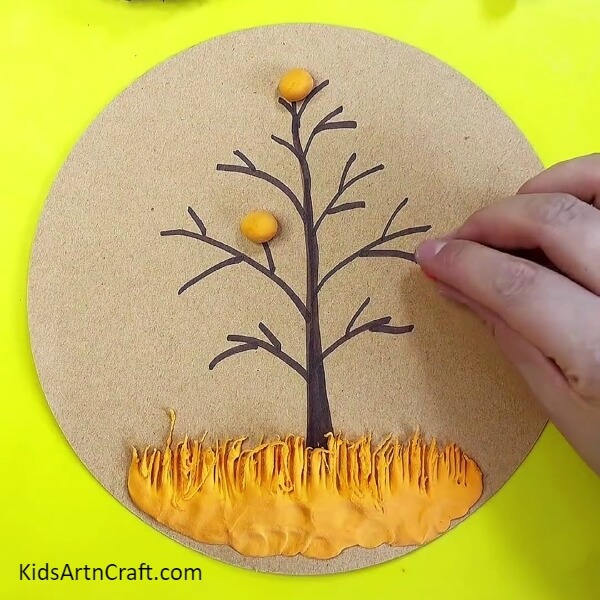
Take some more yellow clay and mould small balls out of it. Now, place these balls on the branches of the tree drawn on the cardboard sheet. One on the top, one on the right side and one on the left. See the picture below for reference.
Step 7: Making Some More Clay Balls Using Different Colours
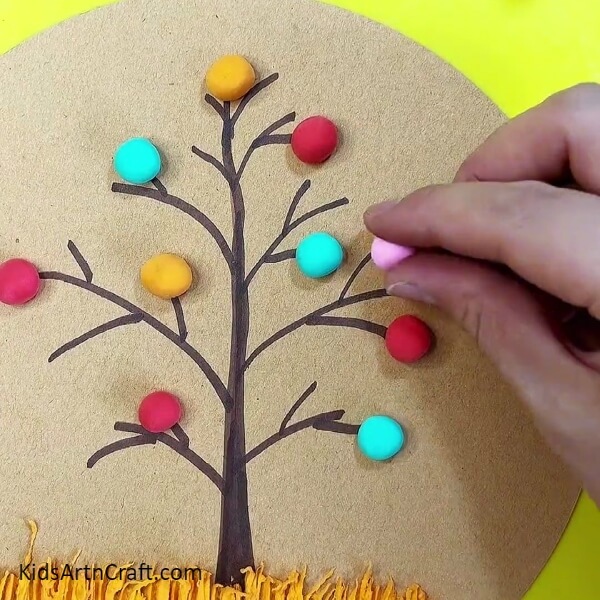
Take some blue clay dough and mould some balls out and place them on the branches as well. Now, mould out some more balls out of red clay dough and place them on the branches drawn on the sheet. Finally, repeat the process on some pink clay dough and place them on the branches too. These balls should be placed at the tip ends of the branches. See the picture below for reference.
Finally, The Colorful Clay Tree Artwork Craft Is Ready
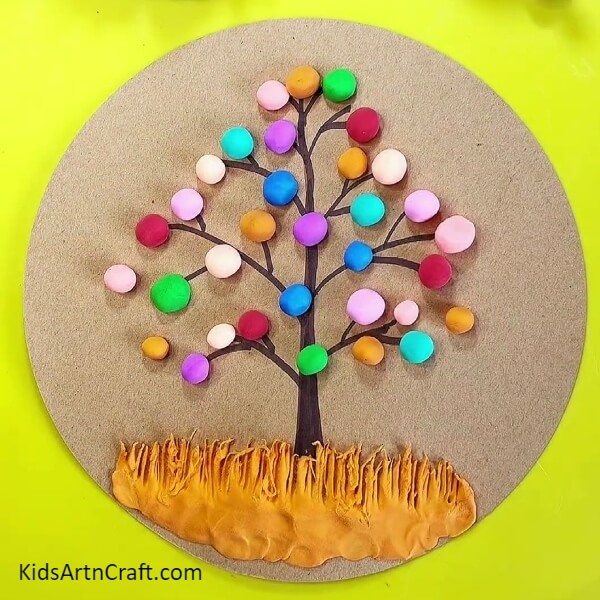
Mould similar balls out of white, dark blue, green and purple clay doughs. Now, place them on the empty branches on the cardboard sheet filling the empty spaces in the tree covering each tip and even the inner spaces of the branches. See the picture below for reference. The tree now has plenty of decorations and beautiful ground beneath as well.
With this, our today’s tutorial is complete and we have a beautiful tree craft in our possession. You learned great moulding and shaping skills in this craft. You can hang it on the walls of your room or paste it into your art book. You also learned to draw on cardboard sheets instead of general standard paper sheets. Keep practising the techniques that you learn in these tutorials and keep inventing new ideas to experiment with those techniques. Work hard and keep up the good work.
See many more tutorials to come up with new craft ideas to offer. Till then, good luck and goodbye.
Thank you for visiting the website.
Follow us on Youtube for art and craft tutorials and much more.
More Articles from Kids Art & Craft
- Plant Garden Artwork Craft Using Clay And Peanut Shells
- Easy to Make Cactus Desert Artwork Craft Using Clay
- How To Make Caterpillar Eating Apple Using Clay
- Cute Mushroom Garden Decor Craft For Beginners
- How to Make Clay Flower Easy Tutorial for Kids