

Kids Activities
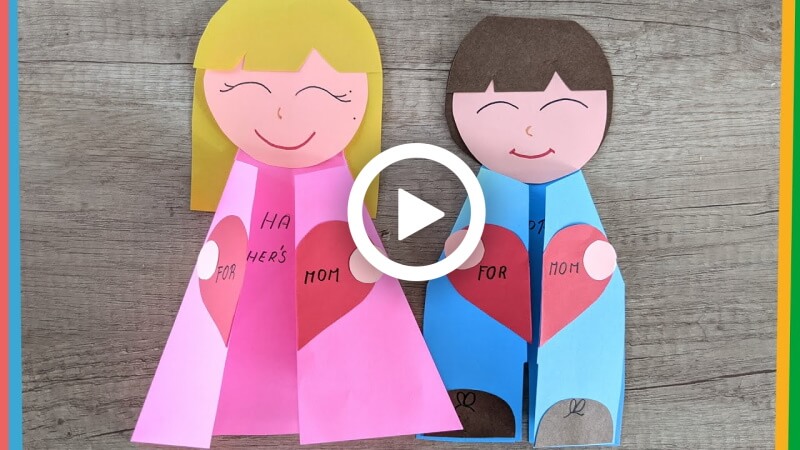
Easy to make Mother’s Day Card Idea

Note: Please follow the previously shared guidelines and feedback.
Easy Mother’s Day card for gifting your mother, aunt, grandma, etc. It’s super easy, and you will enjoy making it. On Mother’s day don’t buy gifts from outside; instead, make handmade things for your mother, as it will be filled with love and care. This beautiful card is very easy, and it takes very little time. It’s a beautiful piece for decoration as well as for gifting, and it does not require a lot of materials to make it. You will definitely enjoy making it.
Try it with lots of love for your mother, and she will love it. This Mother’s Day card is good for decoration, as you can place it and decorate your space. Here are some step-by-step procedures for making this lovely-looking Mother’s Day card. Try it and gift it to your loved ones, it will surely bring a huge smile to their face.
Easy to make Mother’s Day Card Idea
Materials required:
- A4 sheets
- Scissors
- Glue
- Pen
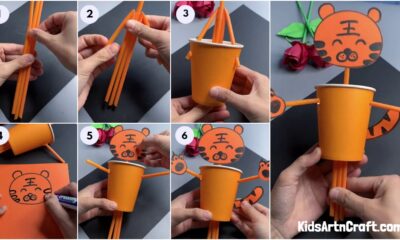
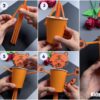
Procedure:
Reference:
- Take an A4 sheet and hold the top right corner of the paper, and fold it towards the lower left side.
- Break it down until it looks like a right-angled triangle, and even see that all the corners touch each other.
- In the end, you will notice a rectangle shape left out; you just have to take a pair of scissors and cut out that rectangle shape.
- Now unfold the sheet, and you will notice a line in between.
- Fold one side towards the line and do the other side the same.
- You will notice a triangle shape left out. Take the scissors and cut out that triangle shape.
- Now open the sheet and from the end line cut the top part as shown in the video. DO the same with the other end line.
- Take a sheet and cut out a circle. Take another sheet and put the circle into it.
- Now fold a little bit of the sheet towards the circle and glue it up.
- Take a scissor and curve both sides of the glue-up portion, it will look like a face with hair.
- Now take a pen and draw the face on the circle.
- Take the head-shaped paper and paste it on the triangle-shaped paper.
- Take a sheet and cut out a heart.
- Now cut the heart from the middle and paste it on both sides of the triangle-shaped paper.
- Take a sheet and cut out a 2 small circles and paste them on the heart.
Read More:
- Mother’s Day Origami Ideas That Kids Can Make
- 10+ Fine Motor Activities for Toddlers
- Easy Paper Craft Ideas for Kids
- 3D Christmas Pop-Up Card
- Cool Outdoor & Indoor Math Games for Kids