


Clay Crafts
Face Clay Decoration Step-by-Step Tutorial for Kids

Discover how to make a one-of-a-kind and amazing clay face decoration with this simple guide. Use your imagination to create something special and show it off to your pals!
This tutorial brings to you a unique paintings of faces exhibiting different expressions. You will be using sketch pen and clay doughs to make this painting. A rather odd combination, isn’t it? Not in the universe of craft. Craft has a beautiful property of converting odd thing into wonderful art. We will be using this clay to form hair on the heads of the faces. Each head will have its own specifically moulded clay hair inspired by different objects found in our surroundings like flowers, spirals, carrots, etc. Now, how cool is that! So, collect all the material required to make this unique painting and let’s go.
DIY Awesome Face Clay Decoration
Read More: How to Make Worm Using Clay For Kids
Materials Required
- A white sheet of chart paper
- A pencil
- A black and a red sketch pen
- A big tape
- A circular object
- Clay dough in all different colours
- A tooth pick
Procedure
Step 1: Starting With The Round Object
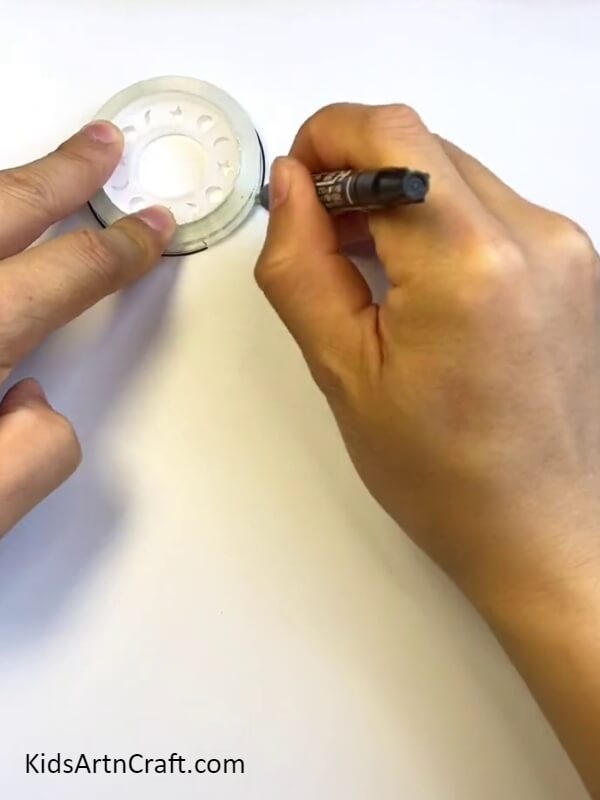
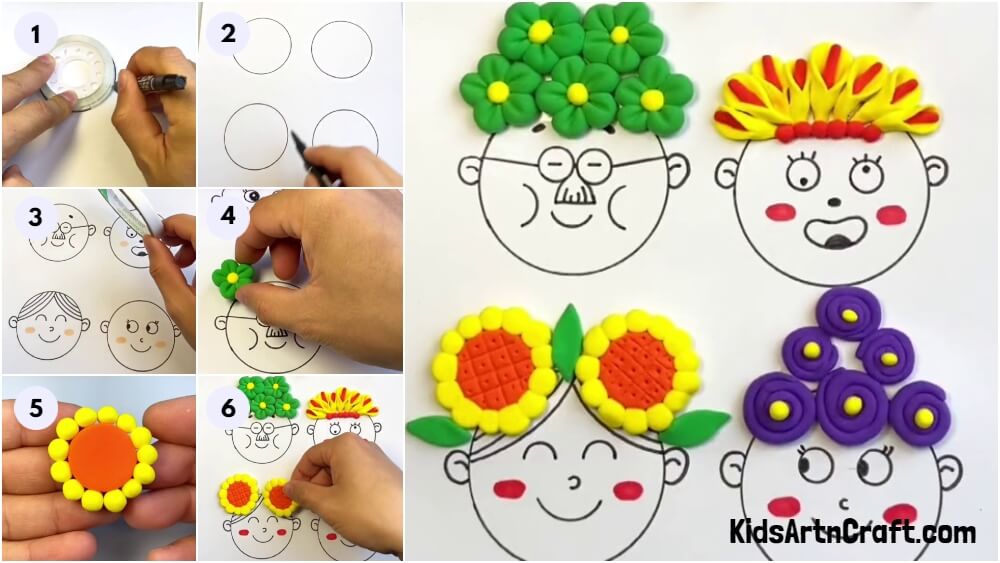
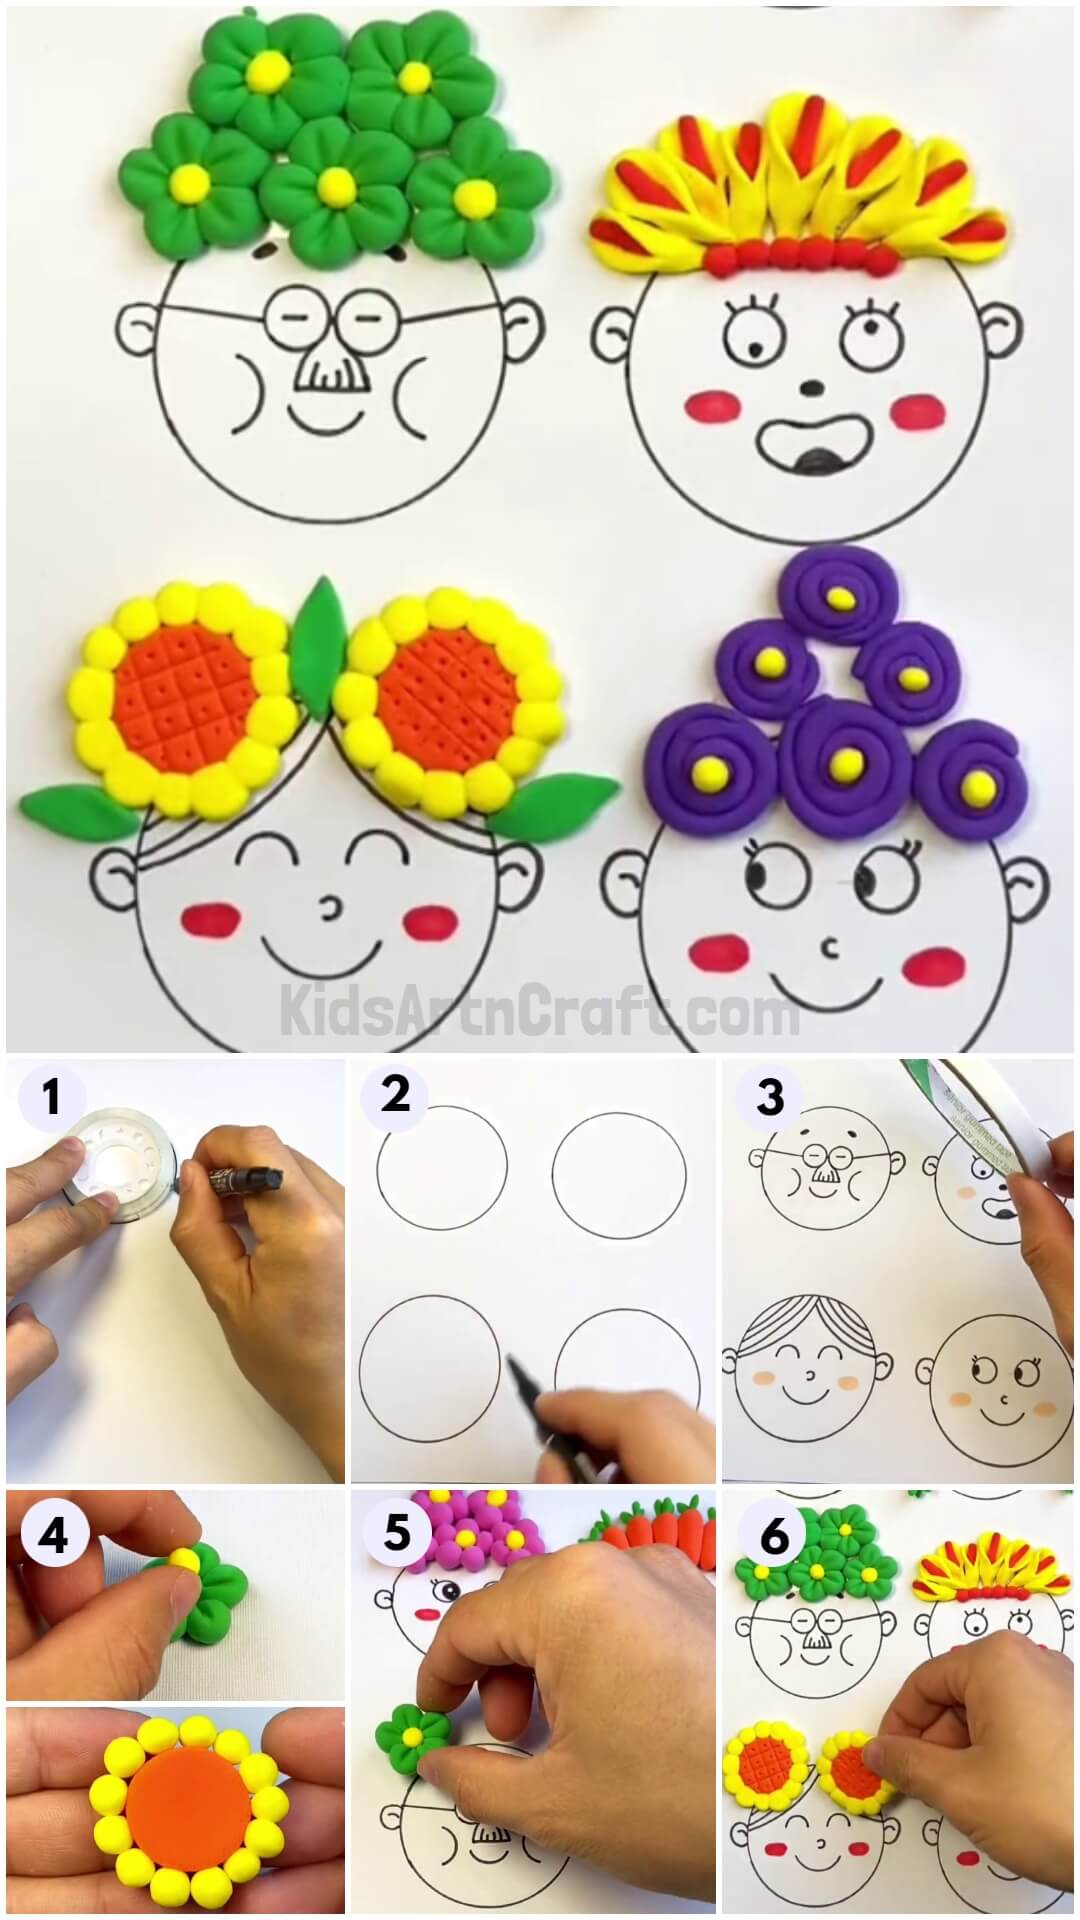
Take a white sheet of paper and place it on the table. Now, place a round object at the top left side of the sheet. Finally, outline the circular object on the sheet using a black sketch pen as shown in the picture below.
Step 2: Making Five More Similar Circles
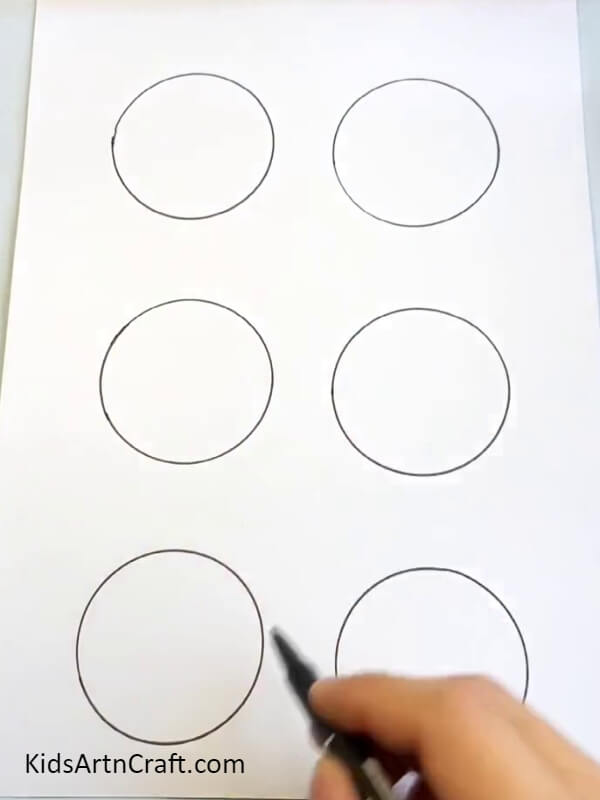
Using the same circular object and the same black sketch pen, draw five more circles on the sheet. Two below the circle you drew earlier making a vertical alignment of the shapes and the rest three circles next to each circles drawn on the sheet. Don’t forget to See the picture below for reference. We now have a total of six circles drawn on the sheet.
Step 3: Making Faces On The Circles
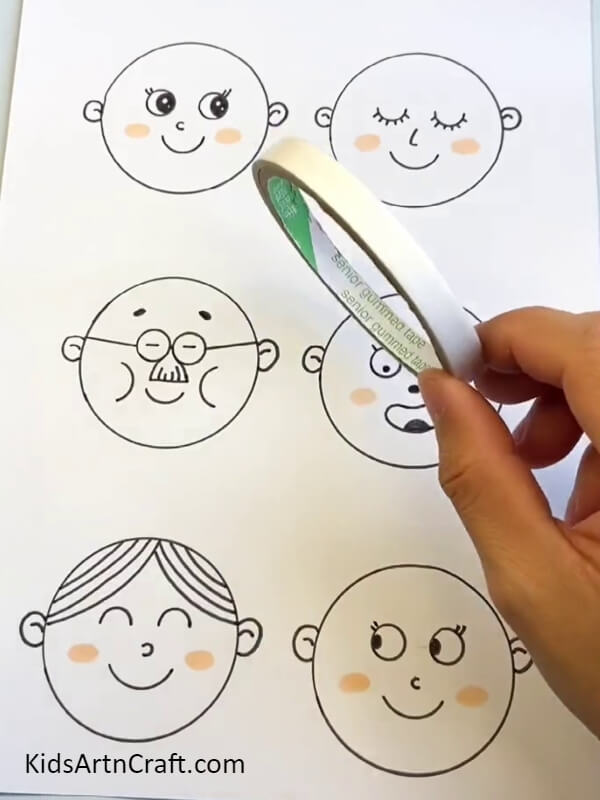
Take a pencil and draw two circular eyes on the circle lying on the top left corner of the sheet. Make a smiley on the same face with a small nose in the middle and two ears on the sides. Make the similar nose and smile on the two circles at the bottom of the sheet. Now, draw two closed eyes on the face at the bottom left corner of the sheet with some hair on top of its head. Draw two open sideways looking eyes on the face right next to it. Draw some ears on both the faces you just made.
Now for the circle at the top right corner draw two closed eyes with plenty lashes, a long nose in the middle and a smiley at the bottom. Add some ears to it as well. Now, for the circles in the middle, draw a pair of spectacles on the circle lying on the left side with a smiley at the bottom and thick moustache above it. Draw some eyebrows and two ears on the sides of the face. For the final face, draw two open surprised eyes with a wide open mouth at the bottom and a dot in the middle for the nose. Don’t forget to add two ears on the sides. See the picture below for reference.
Step 4: Working On The Clay Moulds
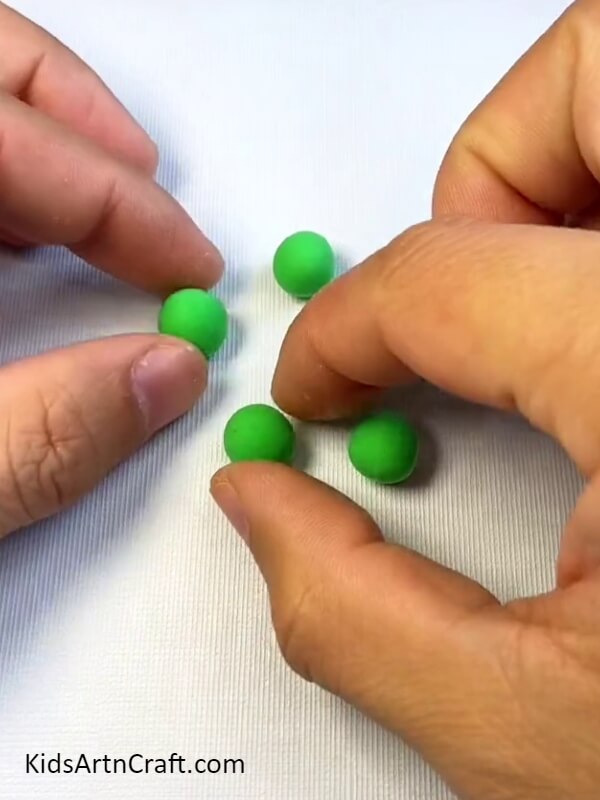
Spread a cloth on the table and take green clay dough. Make five small balls out of this clay dough and place them on the cloth. The cloth with prevent the clay from sticking to the surface. Don’t forget to have fun and play with the dough while moulding the shapes. See the picture below for reference.
Step 5: Assembling The Clay Balls Together
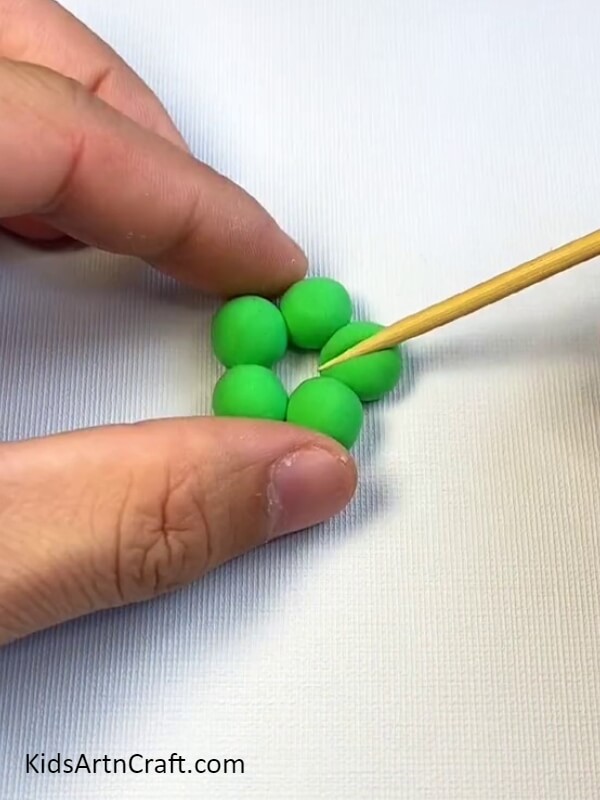
Place all the clay balls next to each other making a circle. Now, take a tooth pick and place it in the middle of one of the clay balls and apply pressure to create the petal shape desired. Repeat the process on all the five clay balls. See the picture below for reference.
Step 6: Creating The Centre Of The Flower
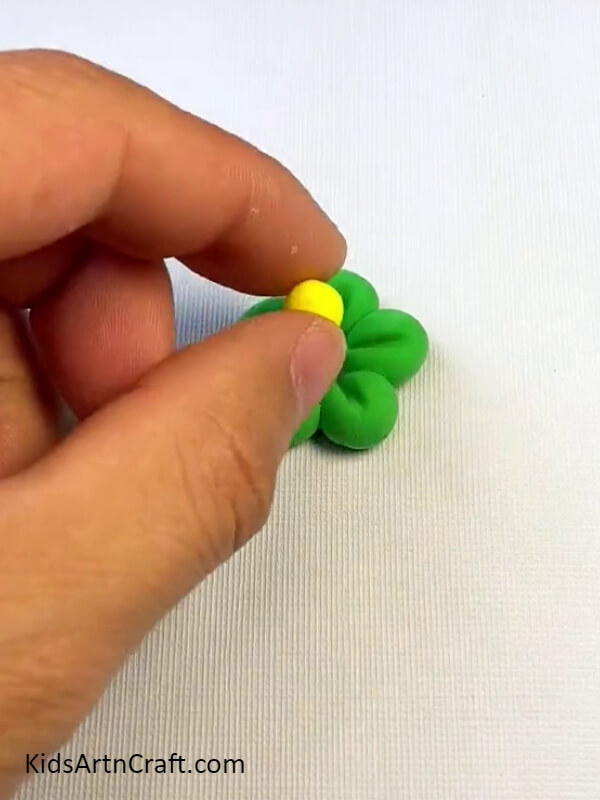
Take a yellow clay dough and mould a small ball out of it. Now, place this yellow clay ball in the middle of the green clay petals that you made in the previous step as shown in the picture below.
Step 7: Moulding More Clay Doughs
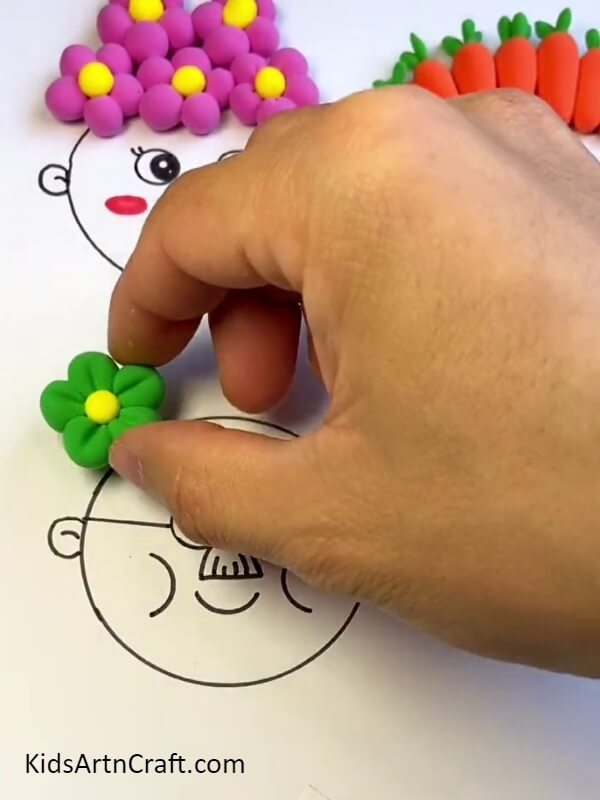
Place this clay shape on the head of the face with the spectacles. Make five more such flowers and place them on the head of the same face. See the picture in the eleventh step for reference. Following the same steps, make five more flowers, this time with purple clay dough and skipping the step involving the tooth pick. Place these five flowers on the head of the face at the top right side of the sheet. See the picture below for reference.
Step 8: Making More Flowers Out Of The Clay Dough
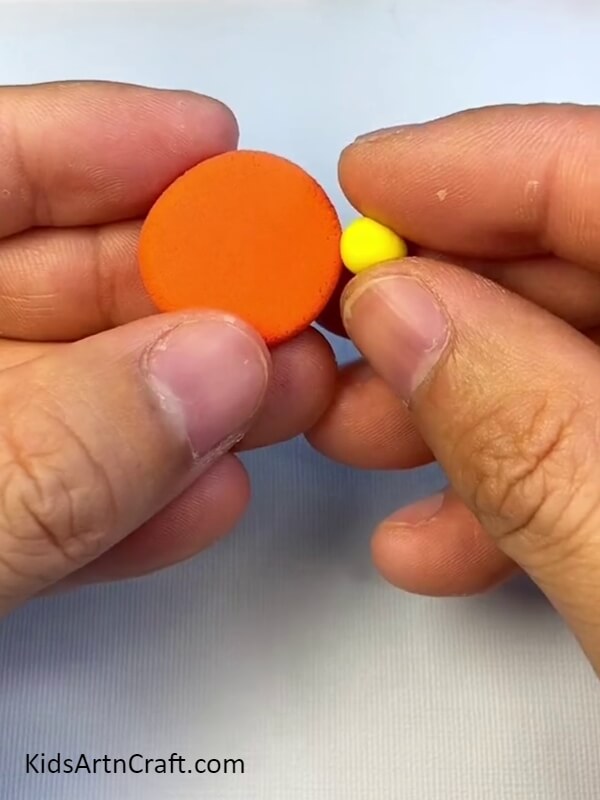
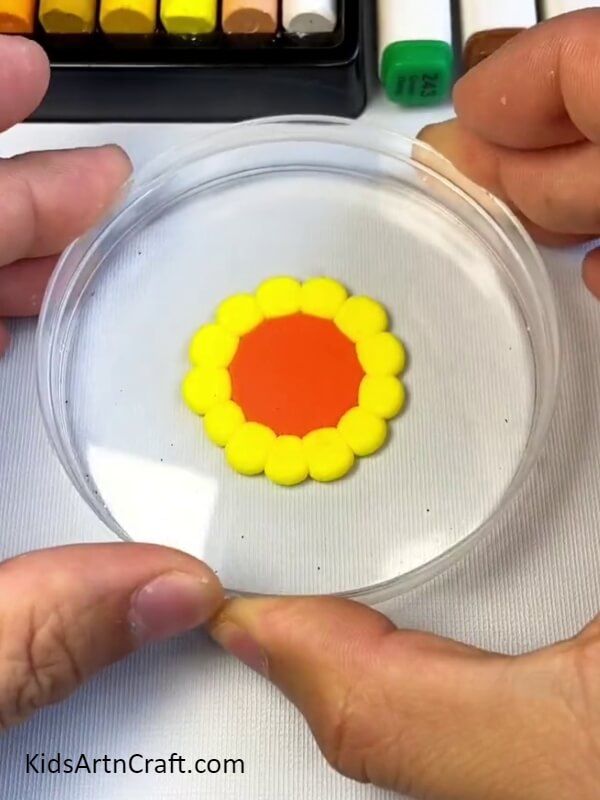
Take orange clay and mould it into a big flat circle as shown in the picture below. Take yellow clay and mould it into a small ball. Attach the yellow ball to the circumference of this orange circle. See the picture below for reference.
Step 9: Covering The Entire Circumference
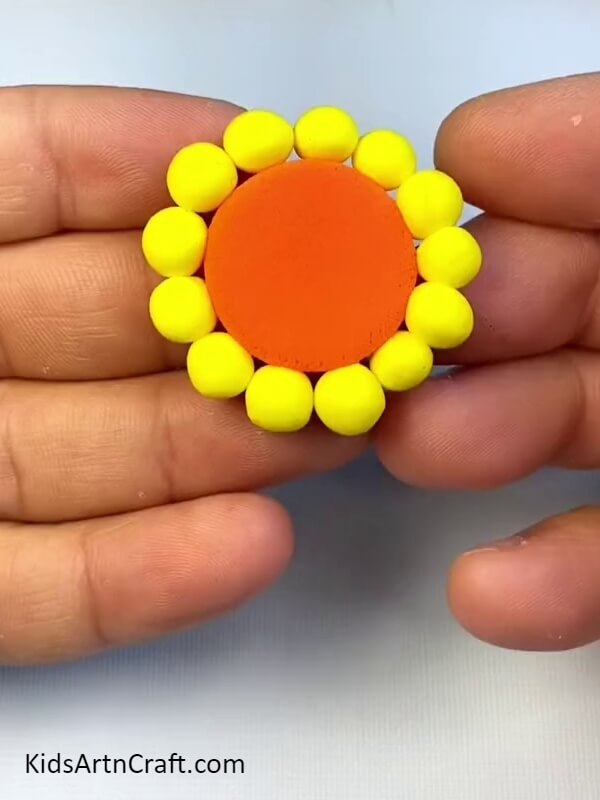
Make more of these similar yellow clay balls and attach them to the sides of the same circle to cover the entire circumference as shown in the picture below.
Step 10: Flattening The Flower
Take any small flat surface and placing it on the shape you just created, flatten it to achieve the desired shape as shown in the picture below.
Step 11: Making All The Hair Patterns
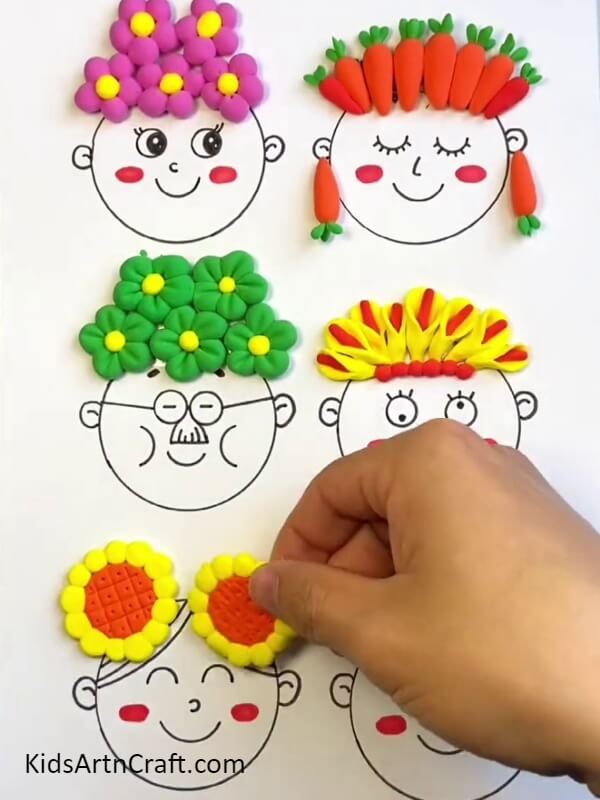
Make a boxed pattern on the orange circle in the middle and place the shape on the head of the face at the bottom left corner of the sheet. Make another such shape and place it on the same head right next to the previous flower. Now, take some orange and green clay and mould some carrot shapes and leaves out of them, respectively.
Attach the leaves to the carrots and place the shapes on the head of the face on the top right corner of the sheet. Place two of the carrots on the ears of this face as well as shown in the picture below. Take some yellow and red clay and make small hot dog shapes out of them. Place them on the head of the face below the head with the carrot hair. See the picture below for reference. Finally, make six spiral shapes using a purple clay dough and place them on the head of the face at the bottom right side of the sheet as shown in the picture below.
Finally!! Your Face Clay Decoration is Done!!
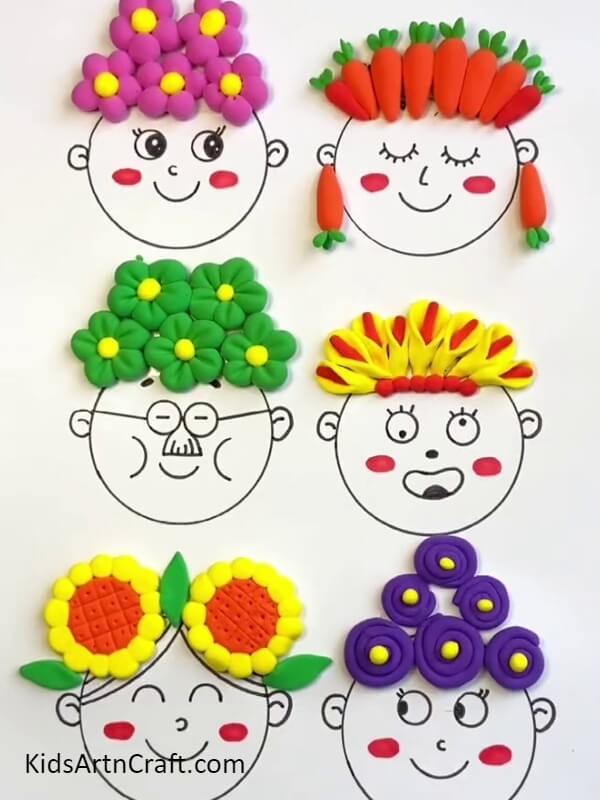
Take a red sketch pen and draw two oval dots on the sides of the mouth of each face excepting the face with the spectacles on it. See the picture below for reference.
This completes the process of making these lovely smiling faces with unique hair patterns including carrot and flower patterned hair, a liberty you can only take in art and craft. You learned great moulding skills in this tutorial and good sketching skills as well. You can hang it on the walls of your room or paste it in your art book. Keep practicing the techniques you learn in these tutorials and keep inventing such unique and new ideas. Good luck.
Follow us on Youtube for art and craft tutorials and much more.
More Articles from Kids Art & Craft
- How to Make a Clay Bird Easy Artwork tutorial for kids
- DIY Bees Clay Art Tutorial for Kids
- Cute Clay DIY Video Tutorial for Kids
- DIY Creative Clay Craft Activities Video Tutorial for Kids
- DIY Miniature Clay Cake Craft Activities for Kids