


Paper Crafts
How To Make Origami Swan Holder With Step By Step Tutorials

It’s your time to slay with these crafting ideas along with your kids. This origami swan holder is super cool and very interesting to create. Just follow this basic step-by-step tutorial to make this cute origami swan holder.
Origami swan holders are a great way to add some simple and elegant decor to any room. This tutorial will walk you through the process of making a beautiful origami swan holder step by step. By the end of this tutorial, you will have your own unique and beautiful origami swan holder to display.
Easy To Make Origami Swan Holder For Kids
Read More: DIY Origami Dragonfly Easy Tutorial for kids
Materials Required
- Shiny papers
- Pebbles
- Some creativity
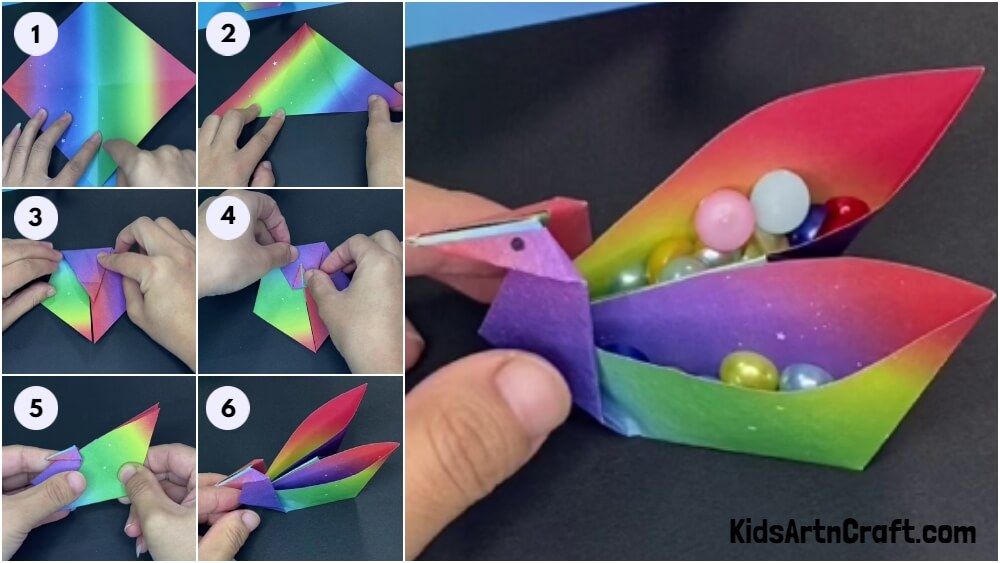
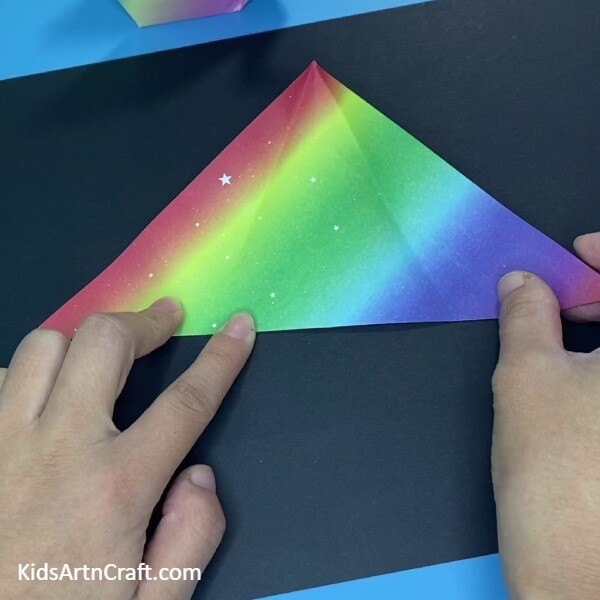
Step 1: Placing a Shiny Paper Flat On The Table
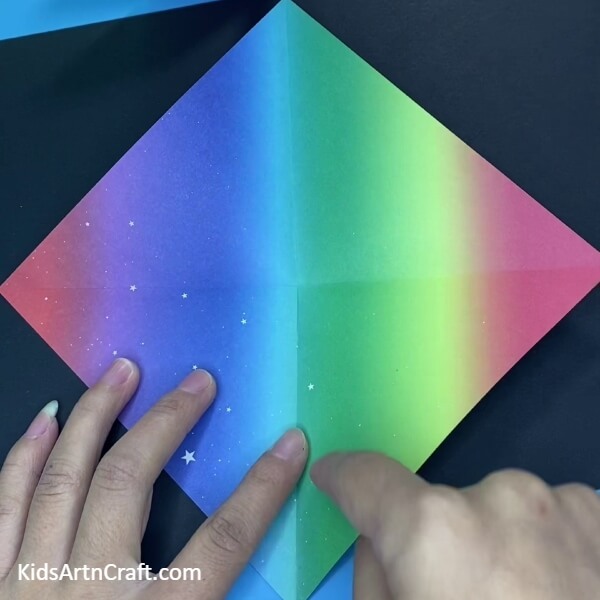
Take a shiny piece of paper and place it on the table. Fold the paper in half and make a crease.
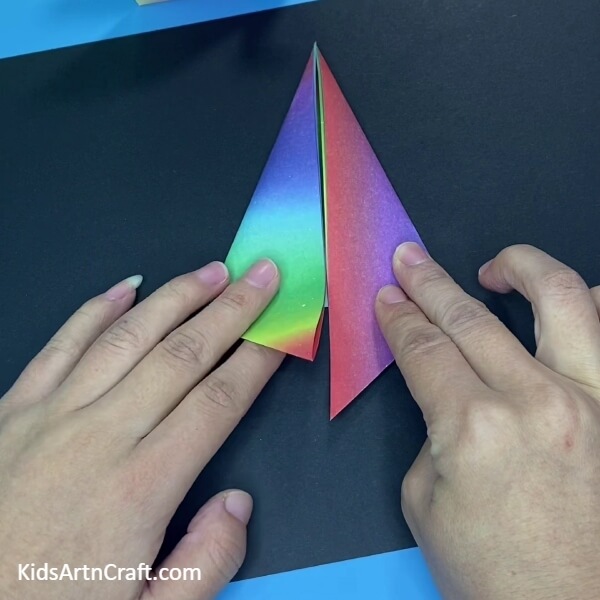
Step 2: Folding The Paper Into Two Half
Fold the paper into two and a half along the crease line.
Step 3: Making A Similar Pattern By Folding The Shiny Paper
Fold the shiny paper again to create a similar design as shown in the image above.
Step 4: Folding The Upper Portion Of The Paper
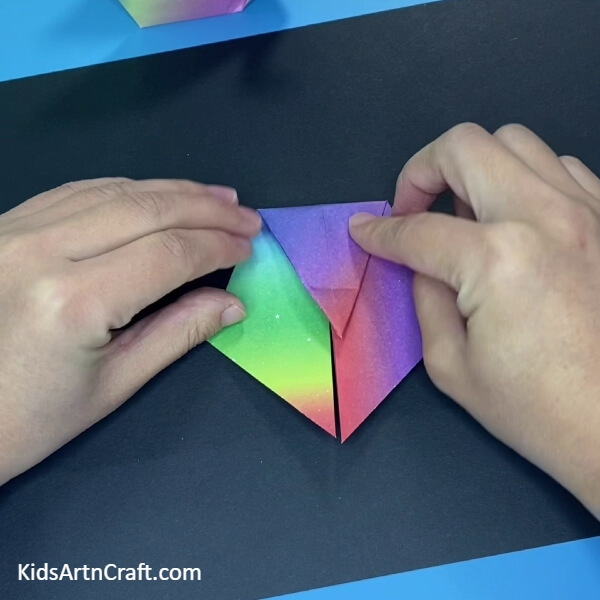
Fold 1/3rd of the sheet from the upper portion carefully.
Step 5: Folding The Upper Folded Portion Again
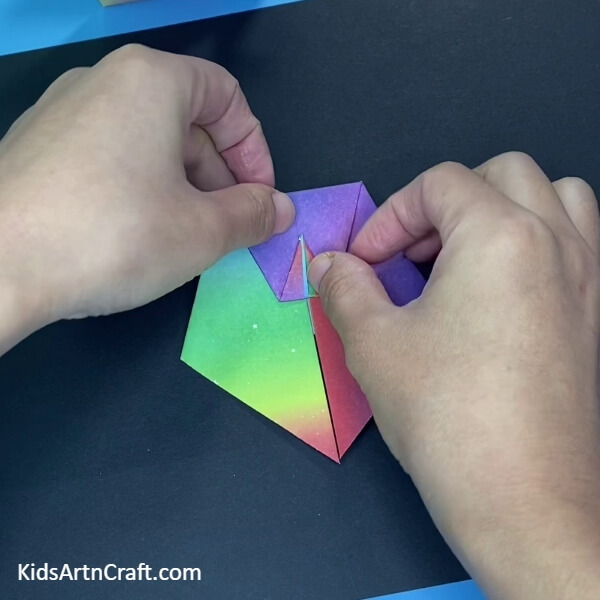
Fold the upper folded portion again to create a small triangle as shown in the image above.
Step 6: Flip And Fold From The Sides
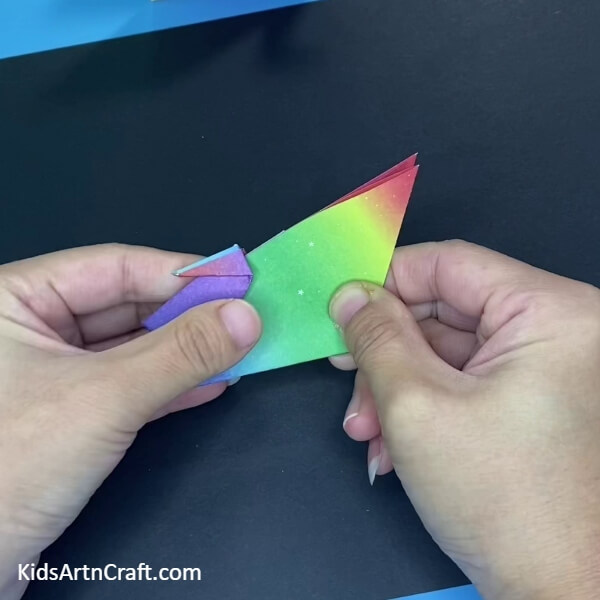
Flip and fold from the sides to create wings of the swan.
Step 7: Uplifting The Left Portion Of The Sheet
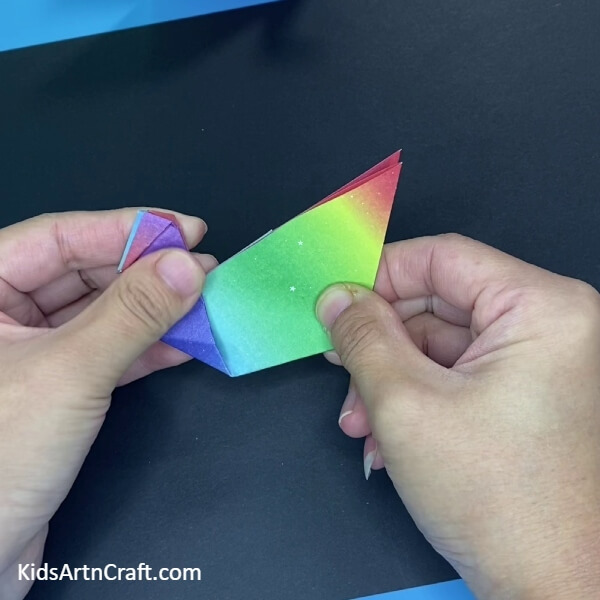
Uplift the upper left portion of your design to make the head of the swan.
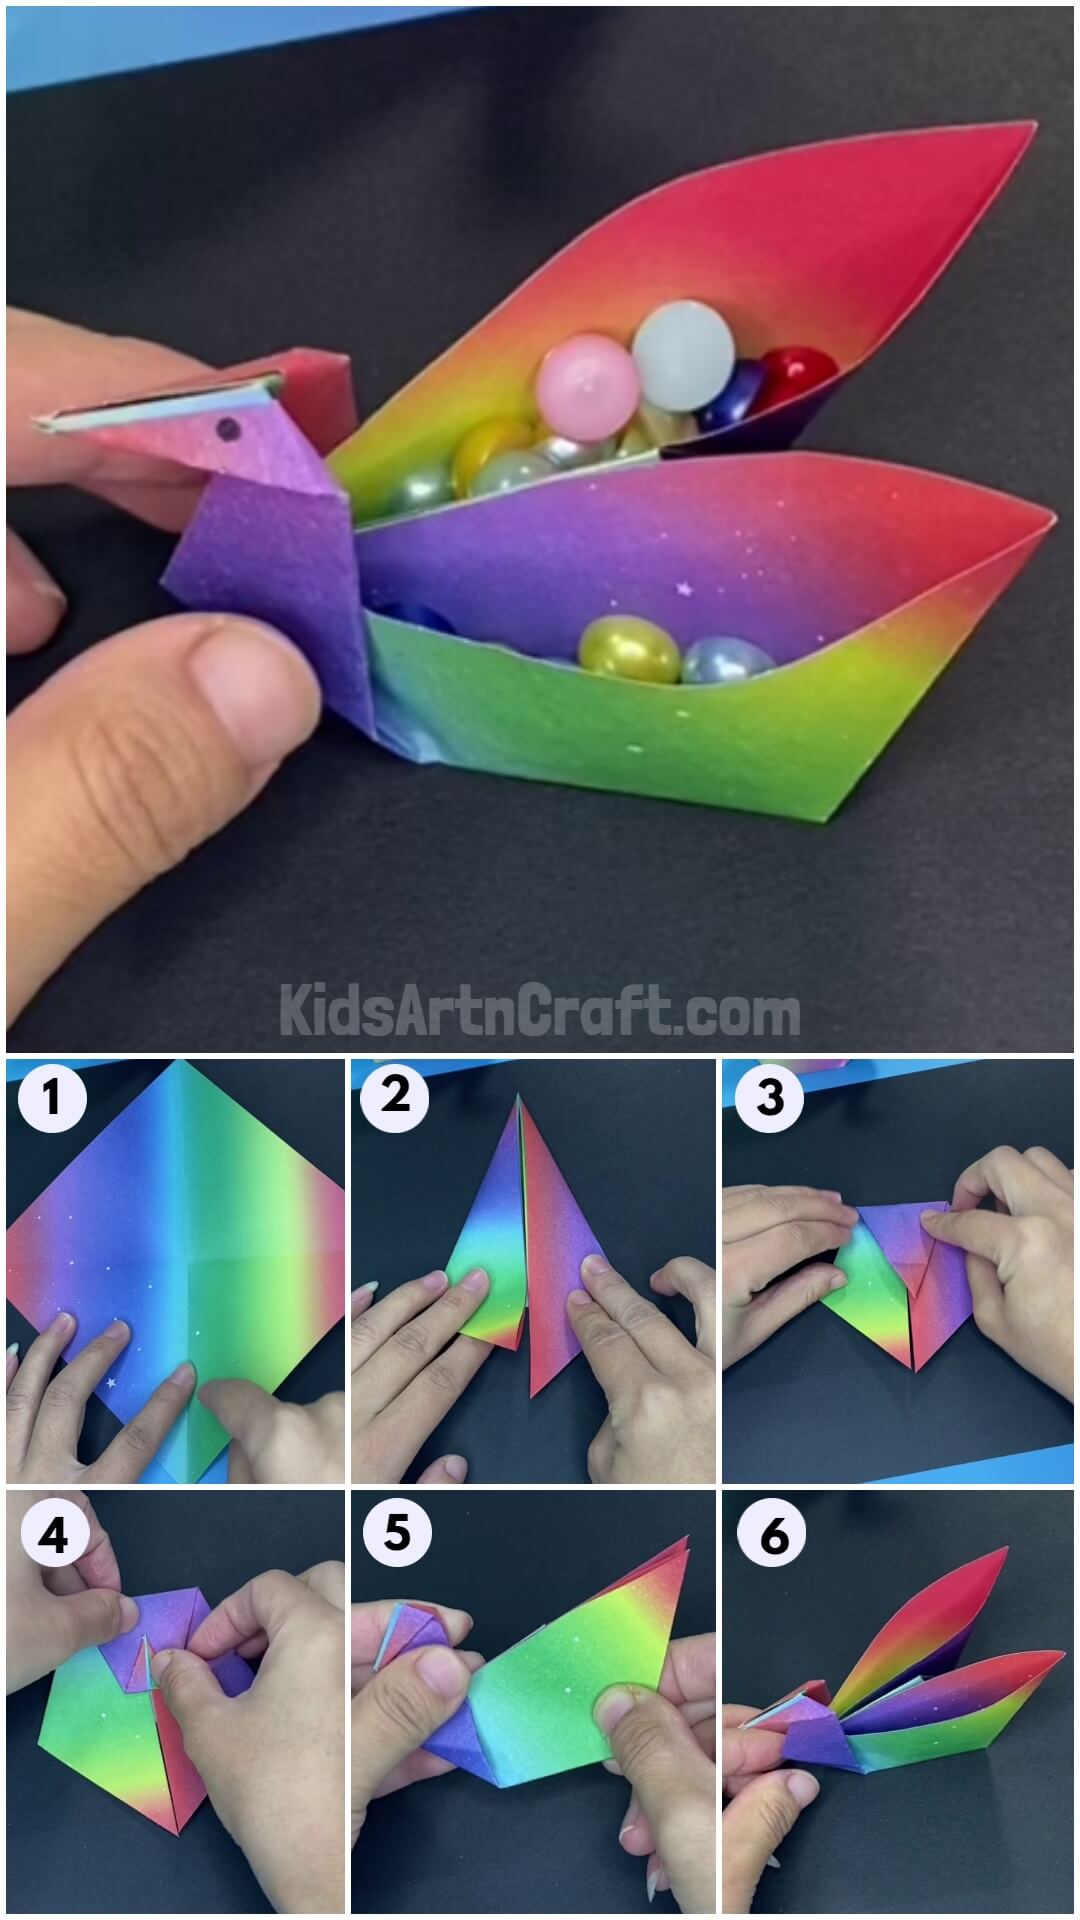
Finally, Origami Swan Holder Craft is Ready!
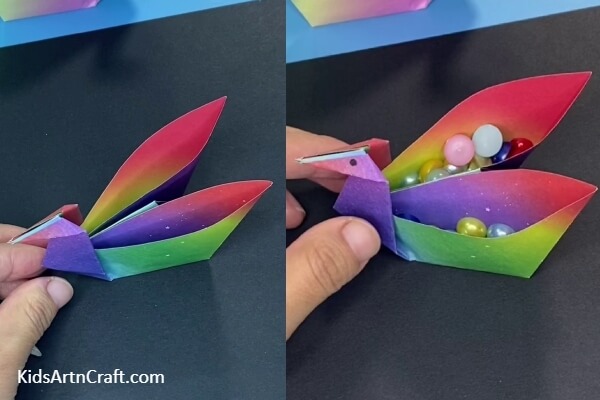
Finally, we are at the last step, put some pebbles or anything on the sides of your swan holder and you are done.
With some hard work and a lot of patience, we have successfully completed making our cute little swan holder. I hope you have had fun and created some long-lasting memories while making this artistry. Share your experience with us in the comments section. For more such art and crafts tutorials check out our website.
Have a great day ahead!
HAPPY CRAFTING!
Follow us on Youtube for art and craft tutorials and much more.
More Articles from Kids Art & Craft
- Beautiful Kimono Japanese Dress Craft Ideas For Kids
- Simple Origami Paper Watch Easy Craft At Home
- Cute Origami Paper Slippers Craft tutorial For Kids
- Easy Origami Bow Craft Tutorial For Kids
- How to Make Origami Rose Easy Tutorial For Beginners


