


DIY and Crafts
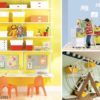
Beautiful Bunny Wall Hanger Craft For Kids

Bring a smile to your little one’s face with this easy and fun paper bunny wall hanger craft. Perfect for Easter, this tutorial will guide you step-by-step to create a beautiful bunny decoration with just a few simple materials. Follow along and let your creativity soar!
Welcome to this fun and creative paper bunny craft for kids! This craft is perfect for introducing younger children to crafting in a straightforward and fun way. Not only is it an enjoyable activity, but it also encourages self-expression and creative thinking. With just a few simple materials and supplies, your kids can make their very own paper bunny in ja ust a few simple steps. Let’s get started!
DIY & Craft Beautiful Paper Bunny Wall Hanger For Kids

Read More: Super Simple Pine Cone Crafts For Kids
Material Used
- White A4 Sheet
- Pencil
- Scissors
- Crafting Papers
- Black Marker
- Cup
- Glue
- LED Light
Instructions
Step 1: Cutting Out The Bunny Outline From White A4 Sheet
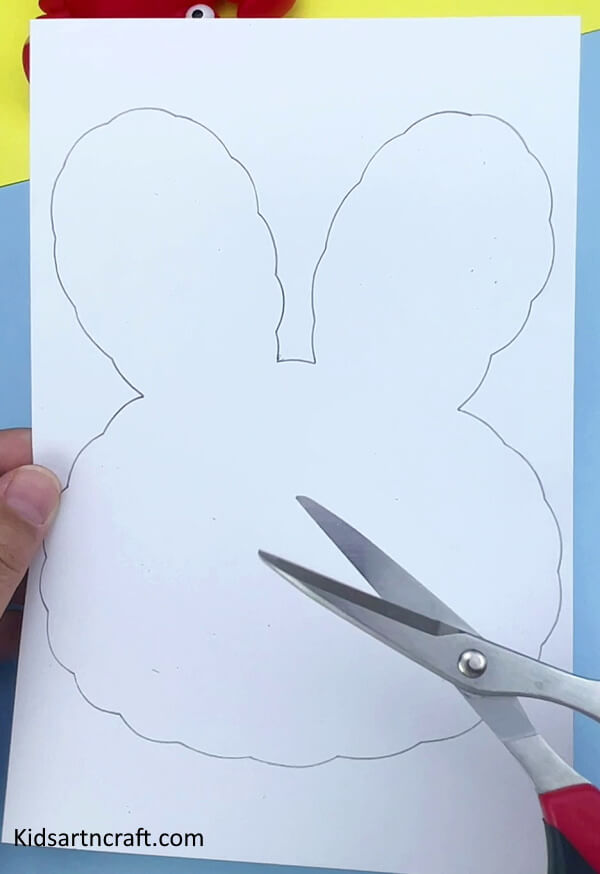
Let’s start by creating an outline of our bunny face on the white a4 paper with pencil. Now after completing the outline cut it out with the help of scissors.
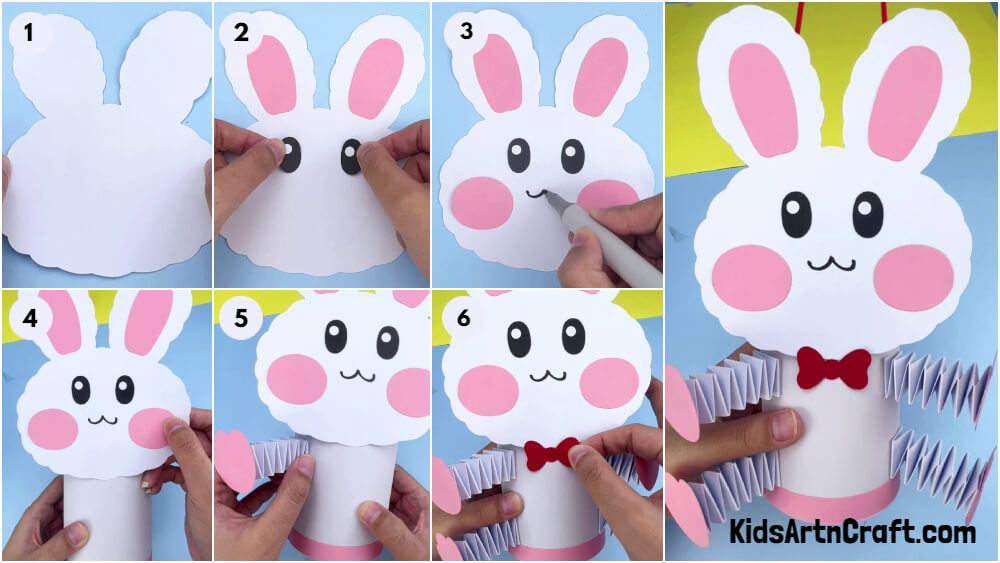
Step 2: Creating The Details For The Bunny Face
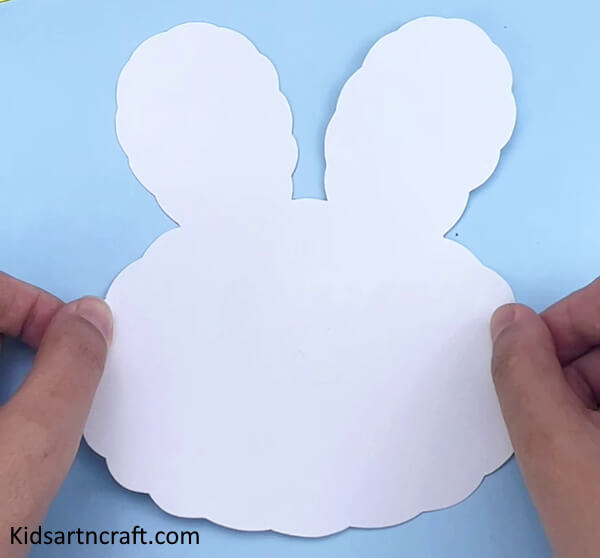
After cutting the outline you will get something like this, Now to this bare face of our bunny we will be adding details and facial expressions.
Step 3: Making The Bunny Ears With Pink Craft Paper
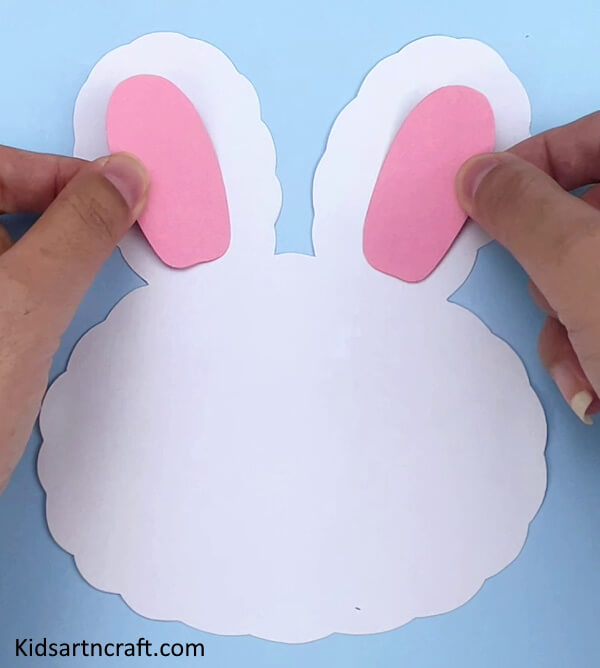
In this step, take a pink craft paper and cut out the shape of bunny ears from it which will be smaller than the original ears of the face. Paste the pink ears with the help of the glue at the center of the ears as shown in the image.
Step 4: Adding Eyes Made With Black Craft Paper And White Craft Paper
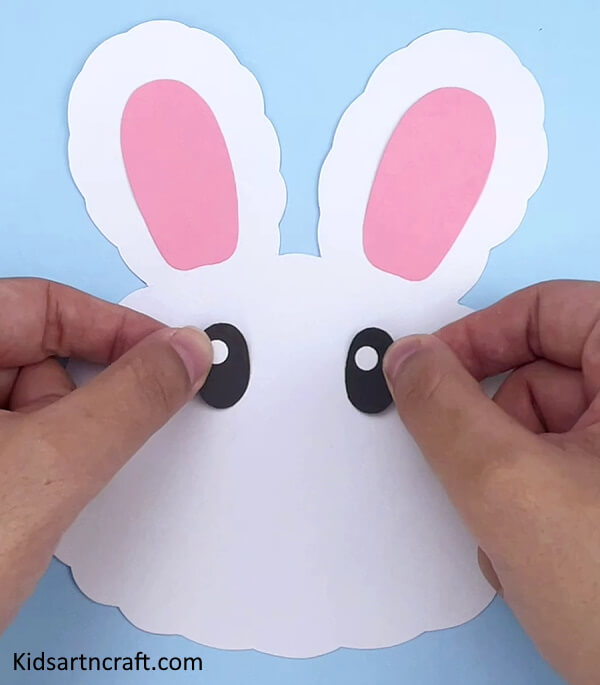
For making the eyes, cut out two ovals from black craft paper. Now cut out two dots out of white craft paper and paste the dots at the corners of each eye. Pate the eyes on the face positioning below the ears.
Step 5: Adding The Blushy-cheeks From Pink Craft Paper
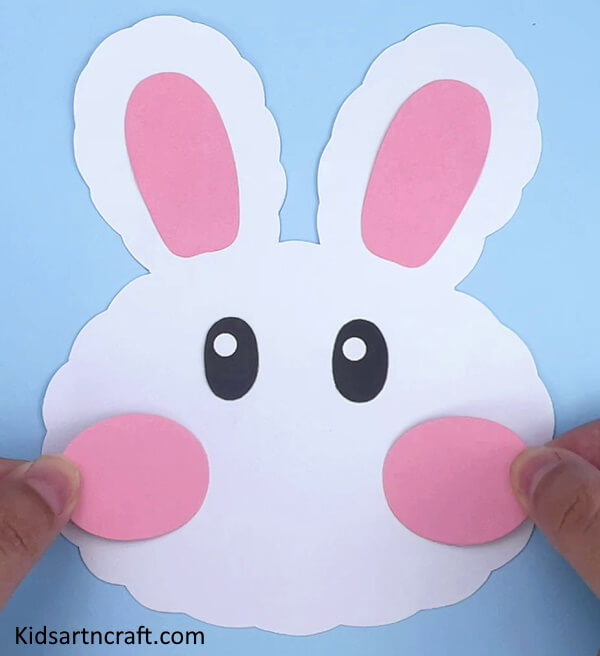
Take pink craft paper and cut out two medium size ovals for make the blushy-cheeks of out cute bunny. Now paste each oval on the sides below the eyes.
Step 6: Making The Mouth Of The Bunny With Black Marker
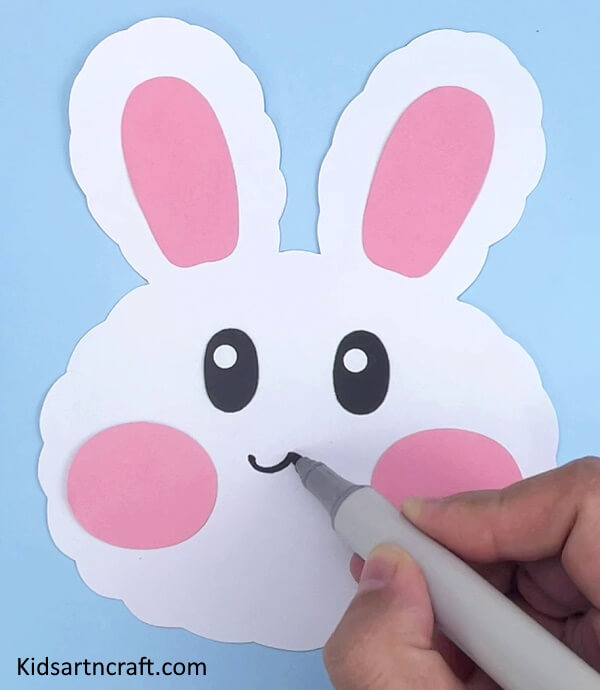
Now take the black marker and between the cheeks and below the eyes, make a W shape with curves which will be our bunny’s mouth.
Step -7
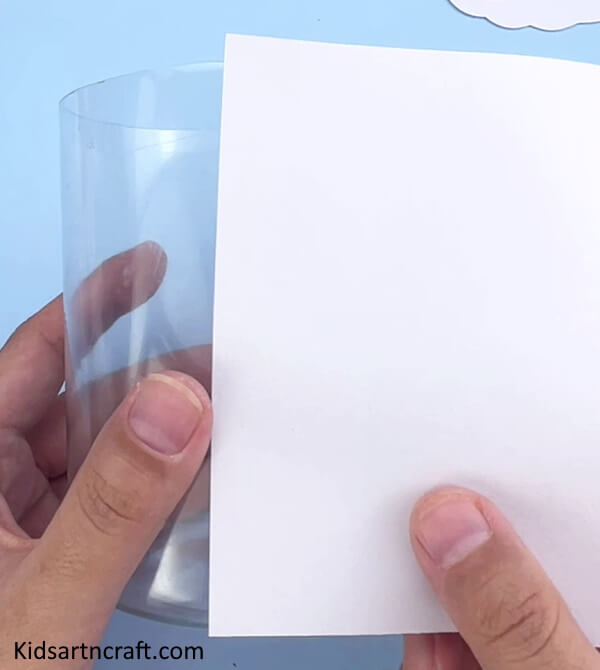
Step 8: Making The Body Of The Bunny With The Transparent cyclinder
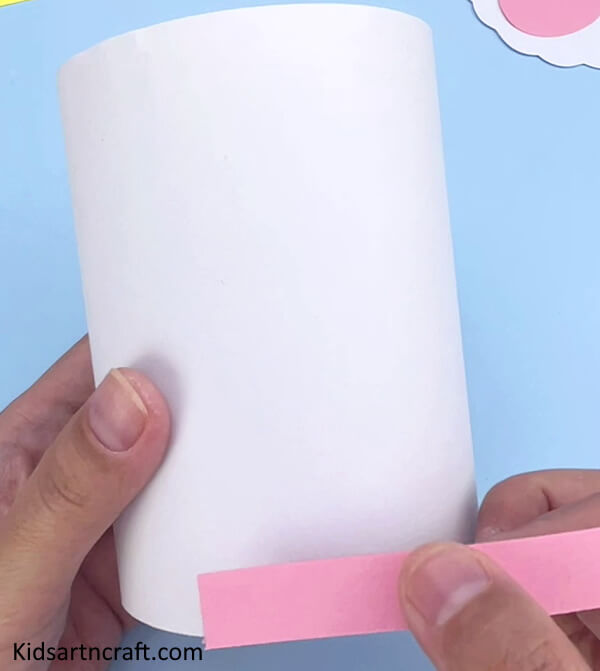
Now take the transparent cylinder and cover it with white sheet. Cut out a 4 cm thick strip out of the pink craft paper and stick it around the bottom rim of the cylinder with the help of glue.
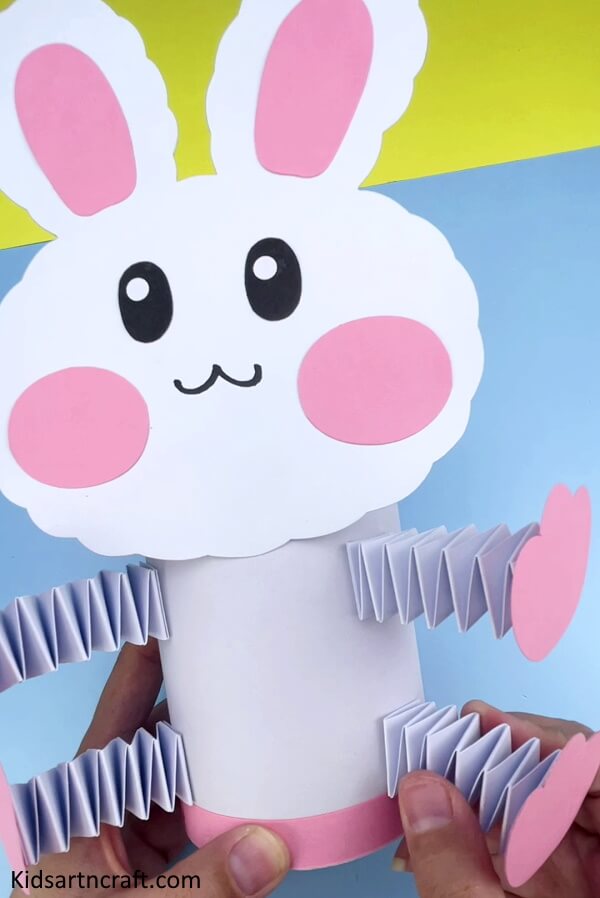
Step 9: Making The Arms Of The Bunny With White Paper Strips
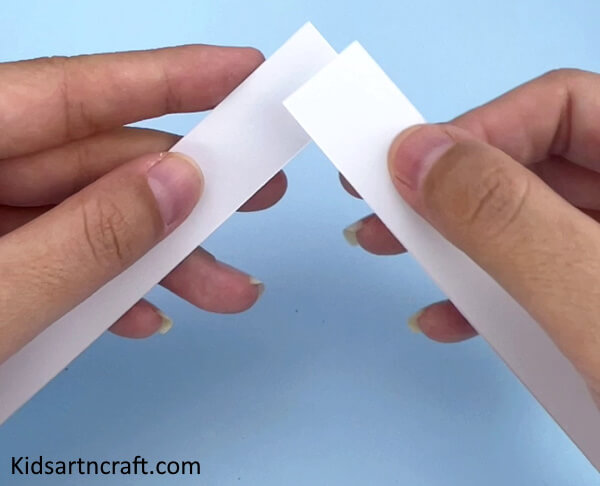
Take two strips of at least 4 cm thickness and join the ends of each strip together diagonally.
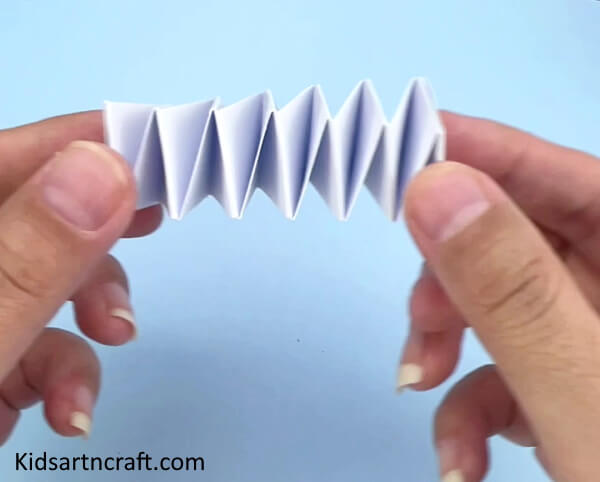
Step 10: Started Making The Folding Of The Strips In a Zig Zag Pattern
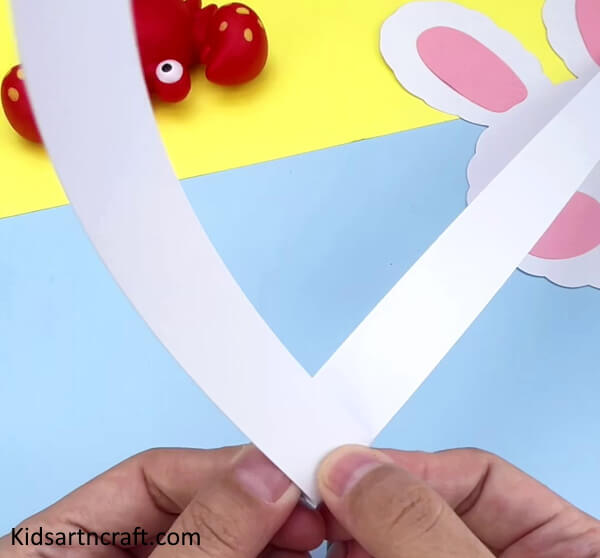
Now fold the strips in zigzag manner. Take the right strip and fold it over the left strip and crease it. Then take the left strip and overlap it over right strip and crease it. Repeat the procedure till the end to get the full zig zag strip.
Step 11: Completing The Arms Of The Bunny
Now after coming to the end secure with the glue and you will get something like this. Make four of this for the arms and legs of the bunny.
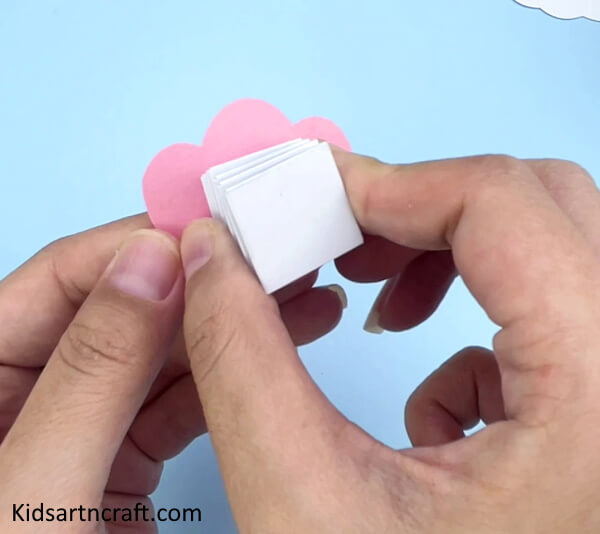
Step 12: Making The Arms And Legs Of The Bunny
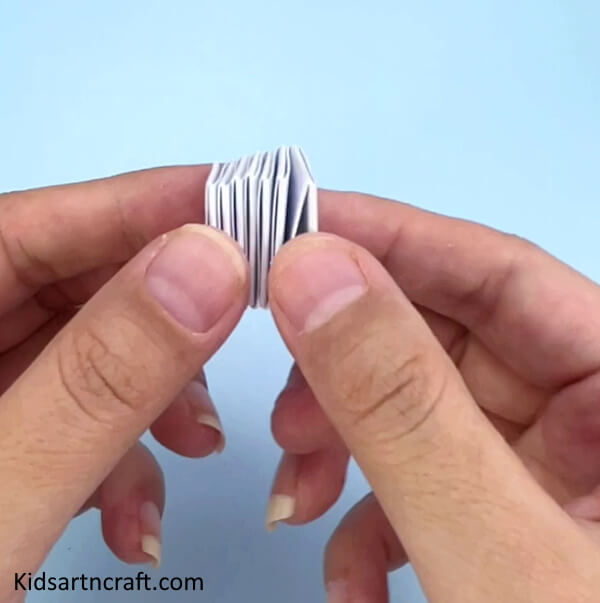
Now close the strip in a compact form. We will be adding the paws made out of pink craft paper at the end of the arm and legs we made. Take the pink craft paper and make an oval and then add three small semi circles on it, give it a shape of paw. Make two paws from the pink craft paper for the bunny hands and two for the legs.
Step 13: Adding The Paws To The Arm By Pasting It With The Glue
Now the paws we have made with the pink craft paper, stick it at the end of the arms and legs we made from the white strips with the help of the glue.
Step 14: Sticking The Bunny Face On The head With the Help Of Glue

Take the bunny face and apply glue on the bottom at the back. Stick the bunny face on the head we covered with white and pink craft paper with only half face sticking to the head.
Step 15: Adding The Hands To The Bunny
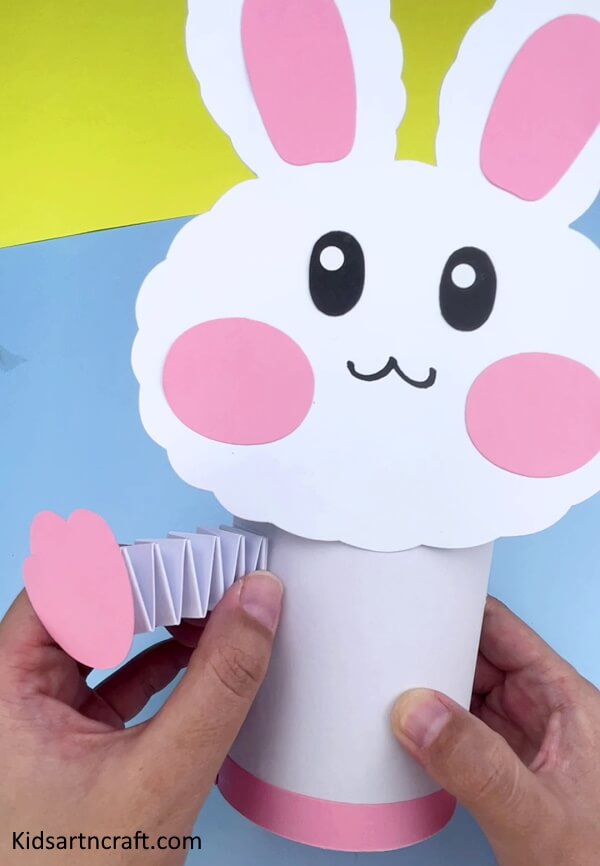
Now take the bunny hands we made and stick on both sides of the bunny below the bunny face with the help of glue.
Step 16: Adding The Legs To The Bunny
Now take the legs we made and stick on both sides of the bunny at the bottom with the help of glue.
Step 17: Adding A Little Bow To The Bunny
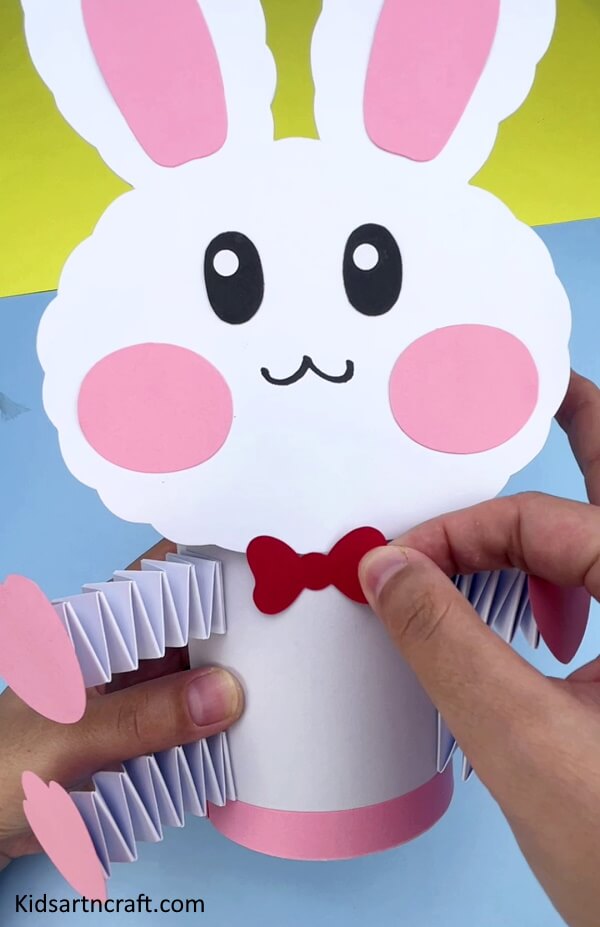
Take a red craft paper and make the outline of a little bow on it. Cut out the bow with the help of scissors and with help of the glue add it to the neck of the bunny below the face as shown in the image. Also make holes on the bottom sides of the cylinder and attach a red string to the cylinder.
Step 18: Adding A Led Light At The Bottom Of The Cylinder

Now take a yellow LED light and stick it at the inside of the cylinder.
Final Step: “Cute and Adorable Bunny Wall Hanger: A Fun and Easy DIY Tutorial for Kids”
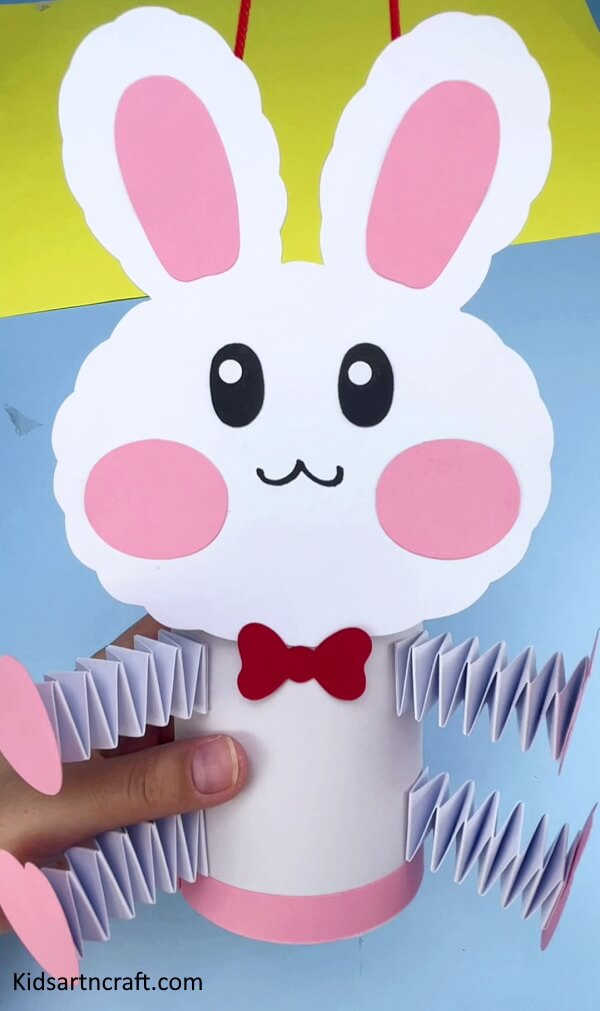
And there you have it, a cute and cuddly bunny turned into a fantastic wall hanger! This DIY project is not only fun and easy to make, but it also adds a playful touch to any room. It’s perfect for kids who love to create and decorate their spaces with their own unique style.
So grab your supplies and start crafting! With just a few simple steps, you can transform an ordinary recycled cylinder into an adorable bunny hanger that’s sure to bring a smile to anyone’s face. Plus, you’ll have fun putting your own personal touch on it with colors and decorations.
The craft is all about exploring your creativity and having fun, so your own cute and adorable bunny. Whether you hang it in your bedroom, playroom, or give it as a gift to a friend, this bunny wall hanger is a cute and playful addition to any space. So go ahead and get crafty!
Some More Bunny Craft Tutorial
Easy Way To Create Bunny Craft Using Peanuts Shells
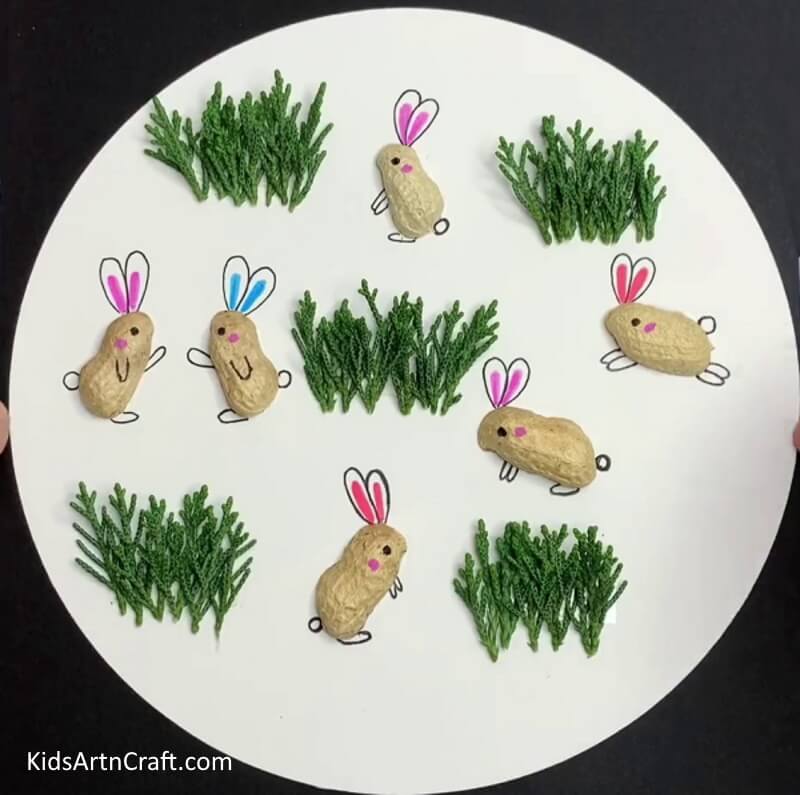
Image Source/Tutorial: Kids Art & Craft
Creating a fun bunny craft with your kids is easy when you use peanut shells. Use the shells to make the body, ears, and tail for the bunny. Add a few other materials such as pipe cleaners and googly eyes to complete the craft. Have fun!
Making A Paper Bunny Rabbit For Kids

Image Source/Tutorial: Kids Art & Craft
Making a paper bunny rabbit for kids is a fun and easy craft project. It’s a great way to spend time with children and help them learn the basics of crafting. With just a few simple supplies, they can create a cute bunny that they can play with and enjoy.
Easy Activity paper cup bunny craft for youngsters
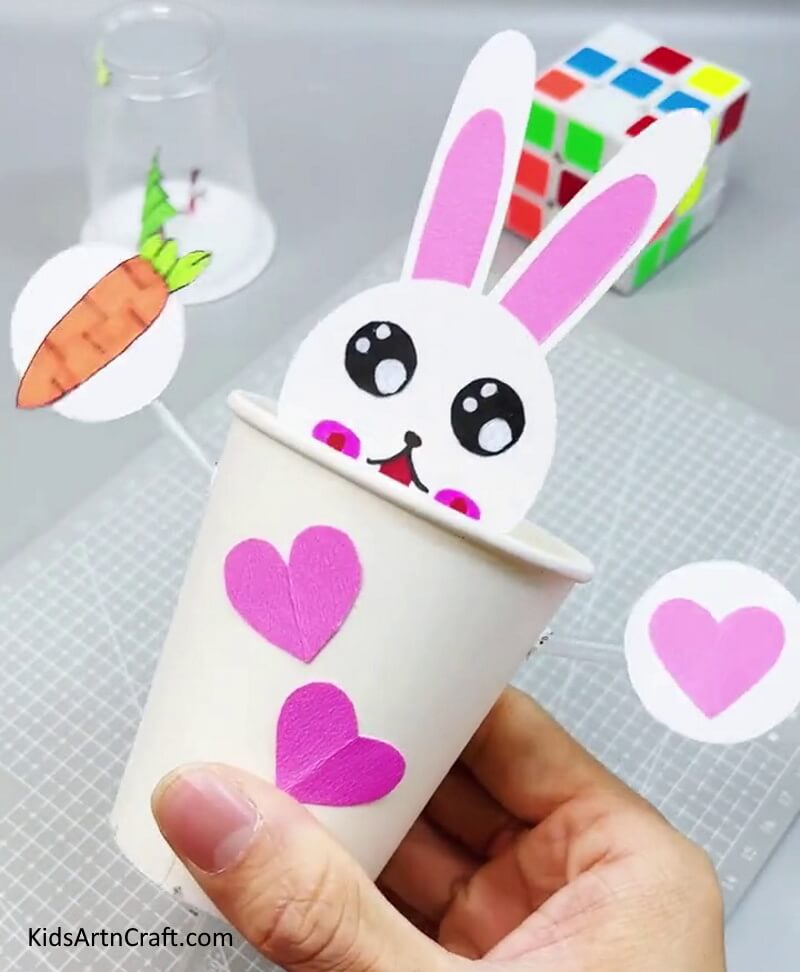
Image Source/Tutorial: Kids Art & Craft
This easy paper cup bunny craft is perfect for young children and is a great way to keep them occupied. With just a few materials, your little ones can make their own cute bunny out of a paper cup. This simple craft is sure to be a hit with the kids!
FAQs
What materials do I need to make a paper bunny craft?
You will need a paper, construction paper, scissors, glue, markers, and other decorative materials.
How should I cut the paper for the bunny’s ears?
You can either draw the ears on the paper and cut them out, or you can trace the shape of the ears onto the paper and then cut them out.
How do I make the bunny’s nose and eyes?
You can use markers or other decorative materials to draw on the bunny’s eyes and nose.
How should I attach the bunny’s ears to the head?
You can either use glue or tape to attach the ears to the head.
This beautiful paper bunny craft is a fun and easy activity for kids that yields an adorable result.
Follow us on Youtube for art and craft tutorials and much more.
More Articles from Kids Art & Craft
- World Parrot Day Coloring Pages For Kids – Free Printables
- Poppy Coloring Pages For Kids – Free Printables
- Lion Drawing & Sketches for Kids
- Crumpled Paper Animal Crafts for Kids
- Meditation Coloring Pages For Kids – Free Printables