Painting
Colorful Tree Cotton Bud Painting Step-by-step Tutorial

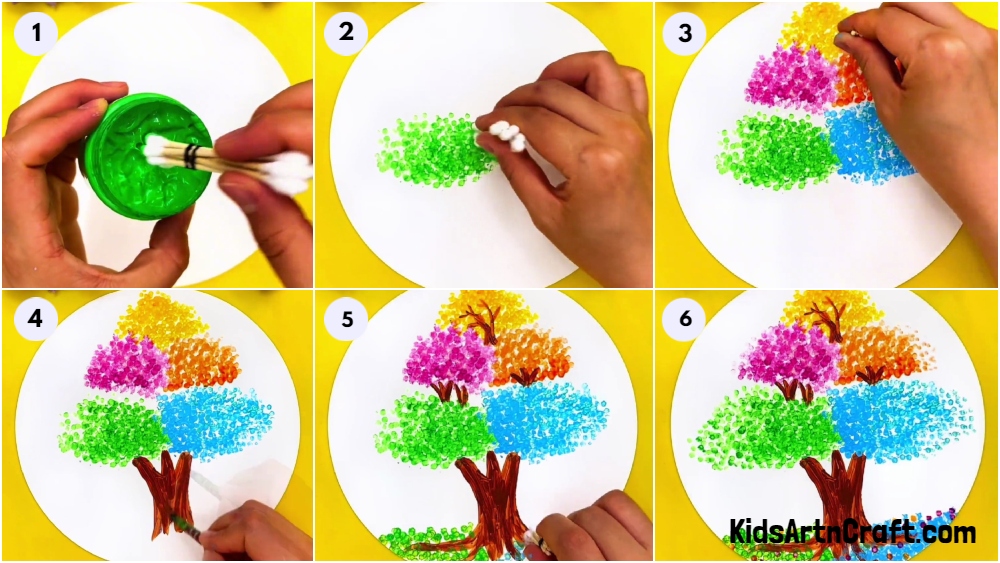
Everybody loves nature, but imagine if it was more colorful? This step-by-step tutorial involves making a tree with colorful leaves that is just like your fantasy world!
We welcome you to this colorful tree painting tutorial! This tutorial is the perfect artwork for your little one as a hands-on sensory activity! This craft will drive up the imagination and motor skills of your kiddos through art! They will definitely love to create a tree of their fantasy world which they will be proud to show off! This tree detailing is so minute that they look realistic and looks as if it is made by some artist! So we brought you an easy trick that will explore the little artist in you in no time! Grab your art and paint supplies that you already have at your home and let’s just begin with this amazing artwork!
DIY Colorful Tree Cotton Bud Painting For Kids
Read More: Creative Owl Painting Idea For Kids Step-by-step Tutorial
Materials Required
- White Circular Paper Sheet
- Paint Colors
- Cotton Earbuds
- Plastic Rubber Band
- Paintbrush
Procedure
Step 1: Teeing Cotton Earbuds Together
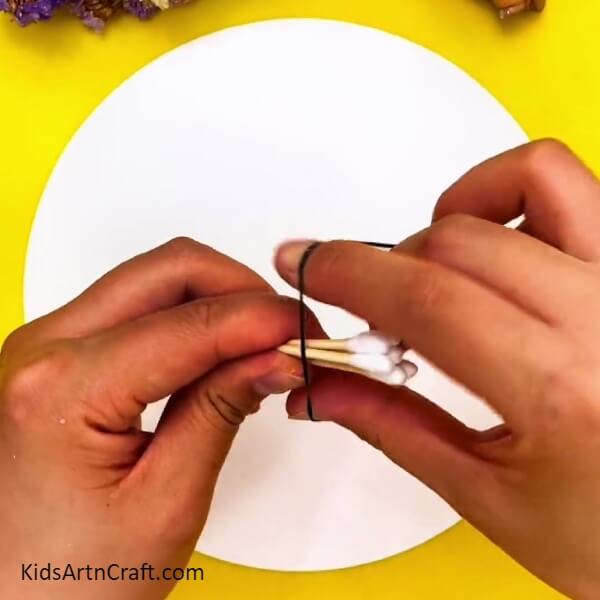
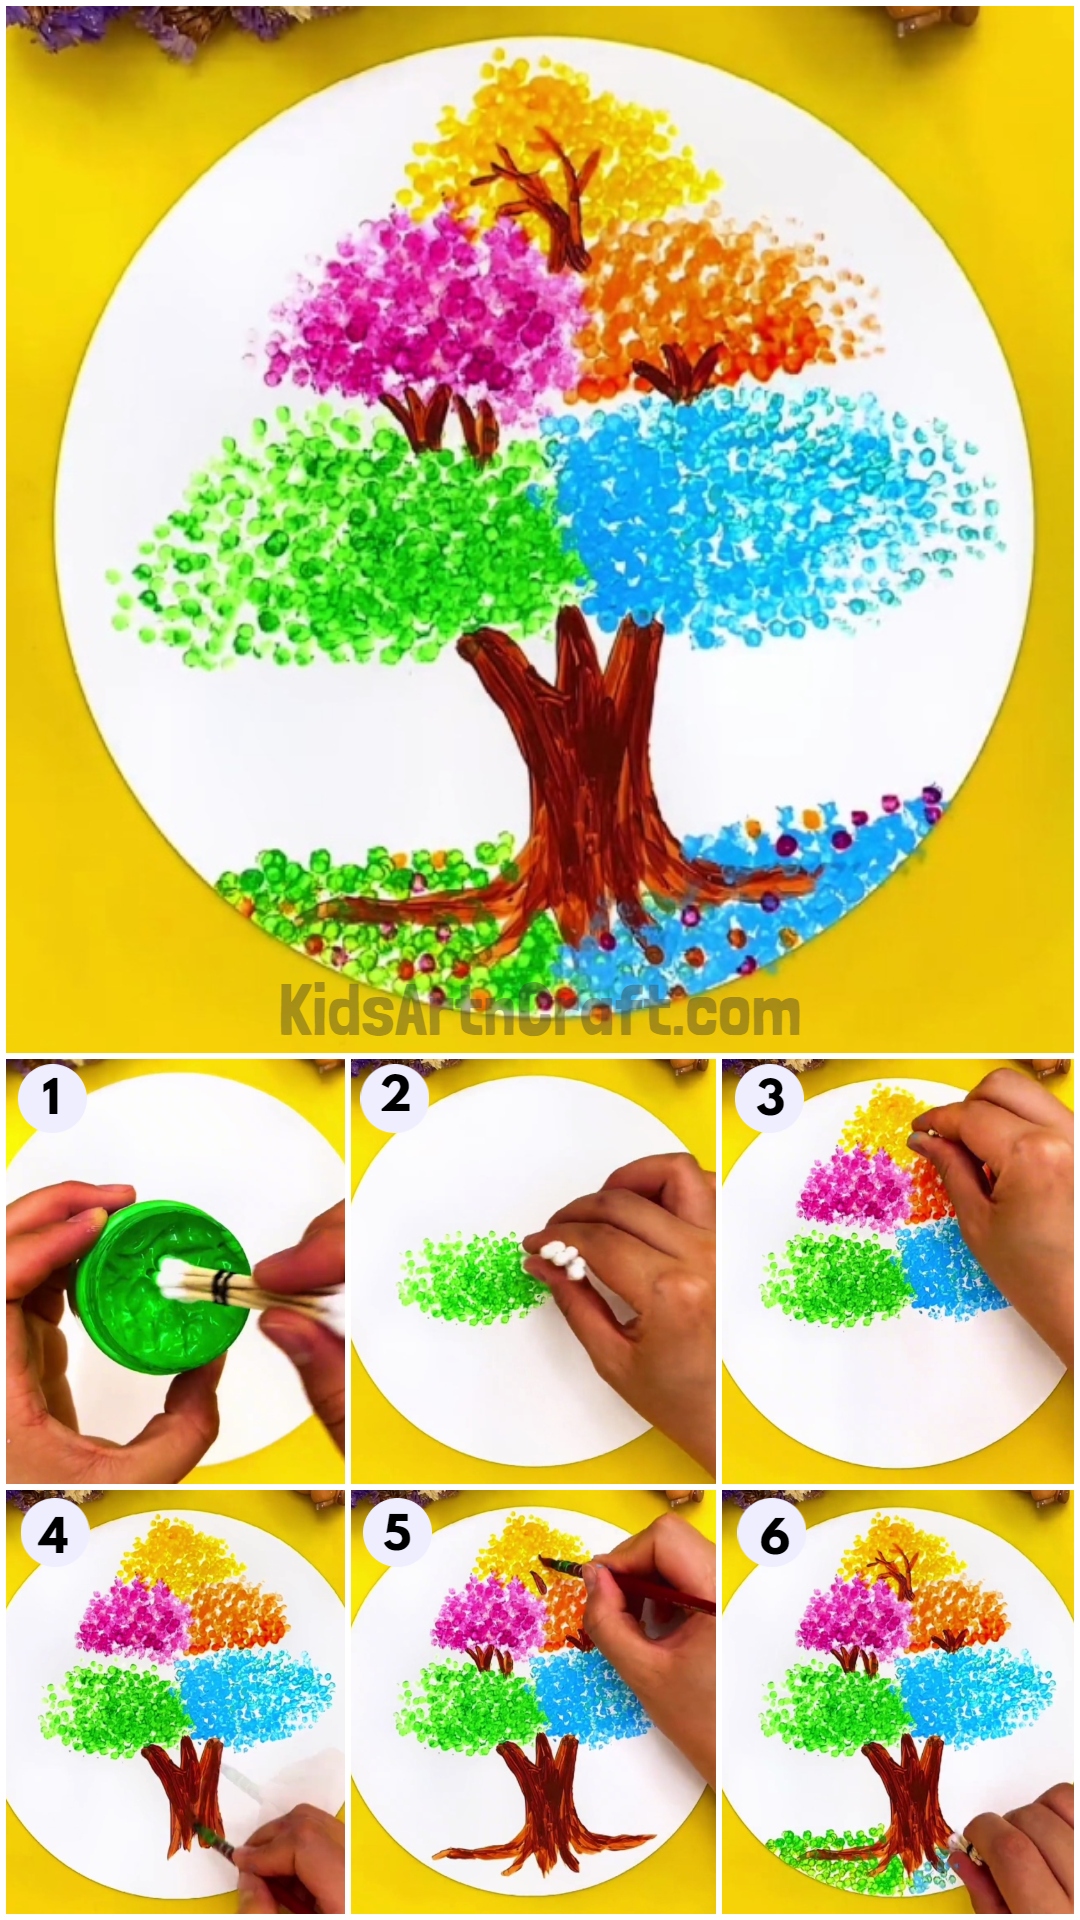
For starting its artwork, take a white circular paper sheet and 6 cotton earbuds. Tie all 6 cotton earbuds together with a plastic rubber band.
Step 2: Dipping The Earbuds Into Green Paint
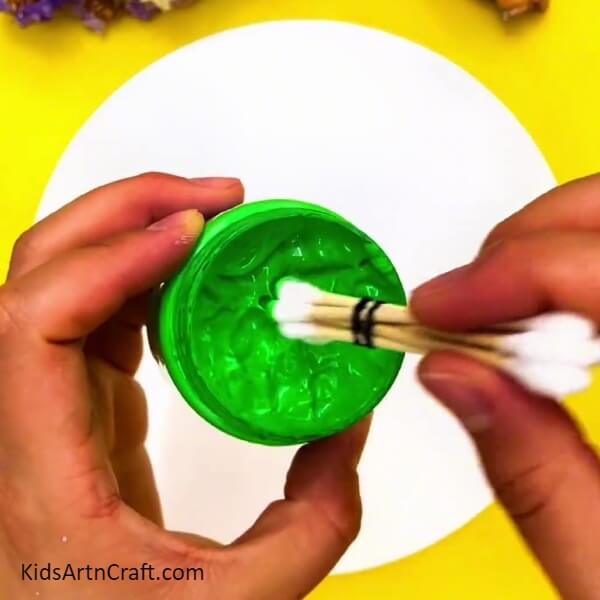
Dip the tied earbuds into green paint.
Step 3: Making Green Leaves
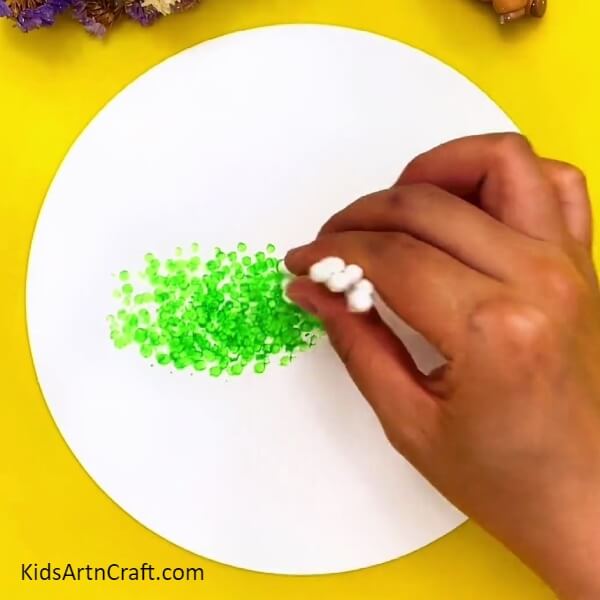
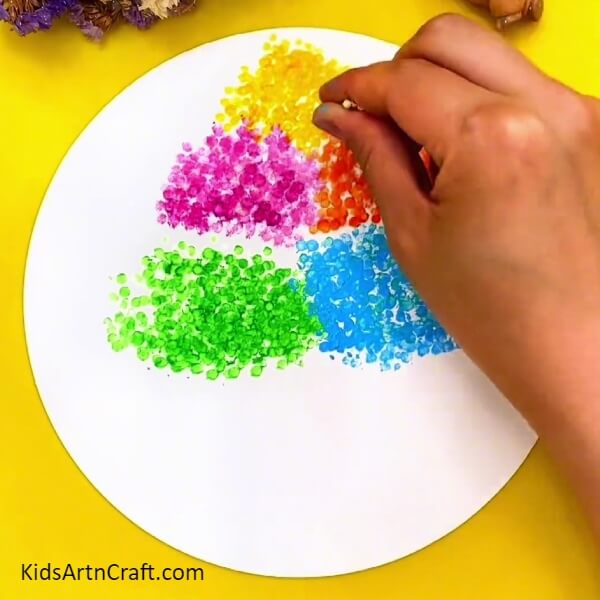
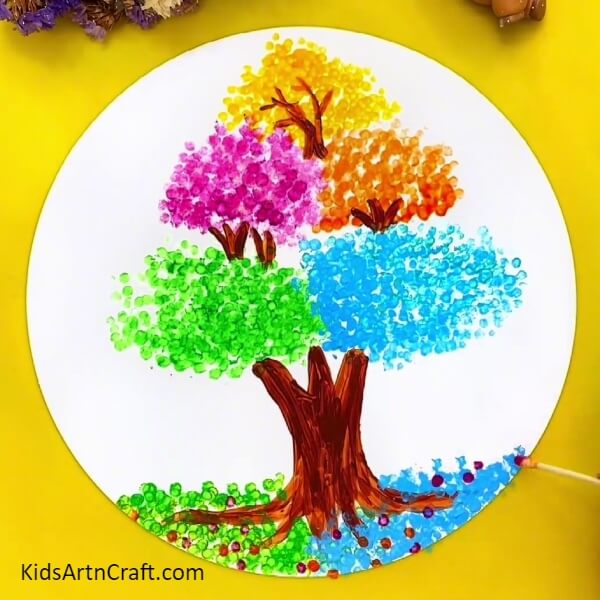
Dab the painted buds over the white sheet collectively on the left-center to make green leaves of the tree.
Step 4: Making More Colorful Leaves
One by one dip and dab the earbuds over the paper to make colorful leaves. Blue leaves are on the right of the green ones. Pink and orange ones over the green and blue ones respectively and yellow ones at the top. Make sure to form the leaves altogether in a triangular shape.
Step 5: Making Tree Trunk
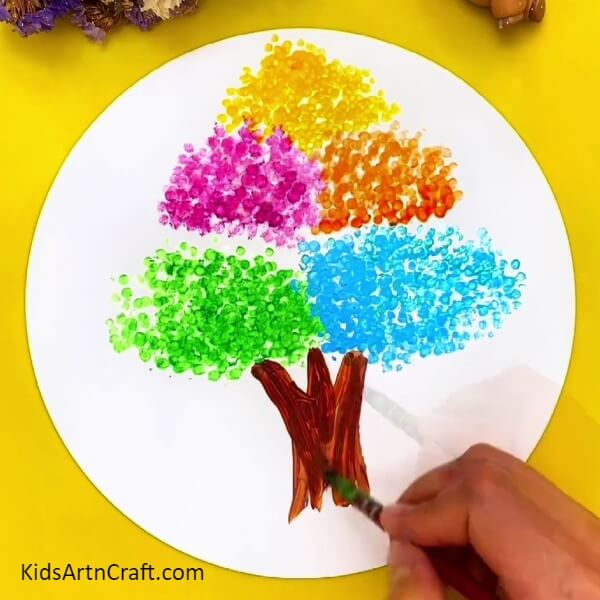
Dip a paintbrush into brown paint and make a tree trunk beneath the leaves to form a tree.
Step 6: Making Tree Branches
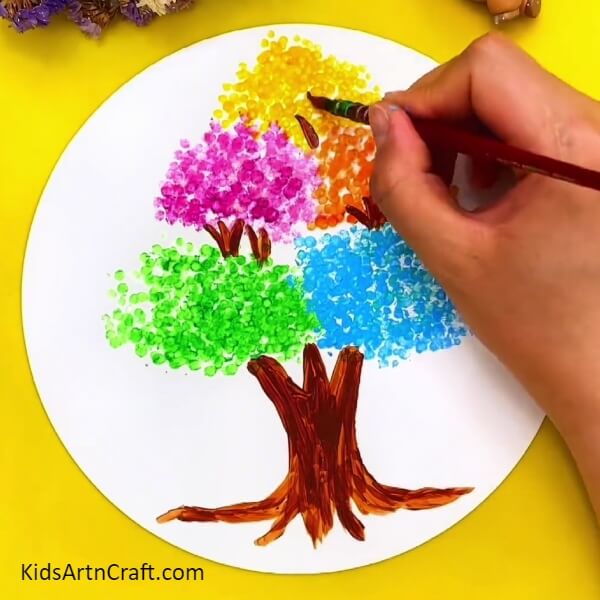
Make thin tree branches between the different sets of leaves using the brown painted paintbrush.
Step 7: Making Fallen Leaves On The Ground
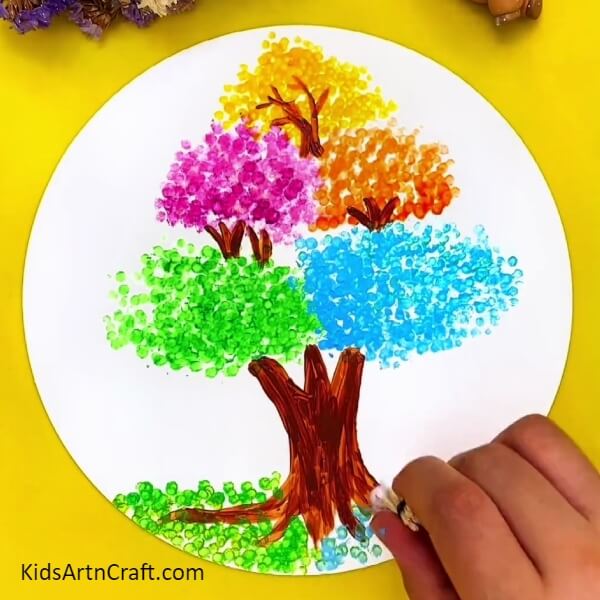
Use the tied buds again to dab over some fallen leaves of green and blue color on their respective sides of the tree.
Step 8: Making Some Pink And Orange Colored Fallen Leaves
Take an individual cotton bud and make some random dots on the ground with pink and orange paint to make some fallen leaves of these colors.
Whoa! Your Colorful Tree Artwork Is Ready!
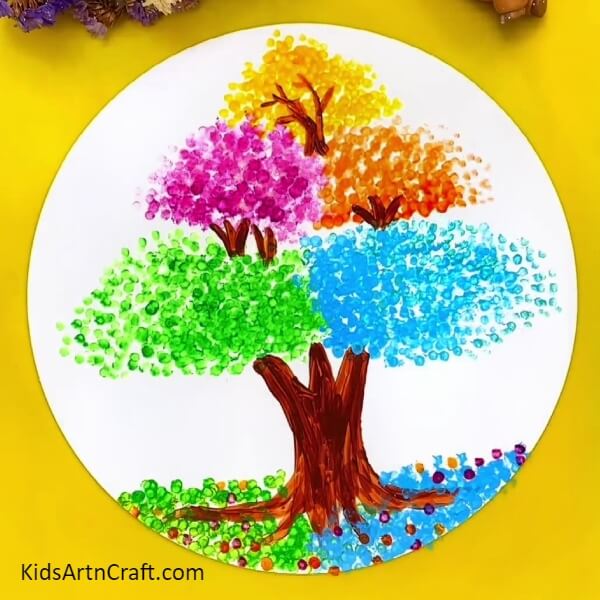
Whoa! Have a look at your resulting tree painting! So colorful and detailed!
This tree painting was a fun journey of adding the favorite vibrant colors to the leaves of a fantasy tree! Imagine what our world would look like if we had these colorful trees!?? So beautiful right? So, this tree painting is the best way to dive into your imaginative fantasy world of colorful trees! Hang this creation up your wall to beautify its appearance!
Follow us on Youtube for art and craft tutorials and much more.
More Articles from Kids Art & Craft
- Handmade Rainbow Painted Rock Ideas
- Amazing Sunflower Painting Art For Kids
- Beautiful Way To Make Tree & Bird Paste Painting With Peanut Sells
- Simple Corn Craft Using Bubble Wrap Tutorial For Beginners
- How To Make Ostrich Easy Tutorial For Kids


