


Kids Activities
Easter Paper Craft Tutorials for Kids

Looking for fun and creative Easter activities for kids? Check out these easy-to-follow paper craft tutorials perfect for Easter! A great way to keep kids entertained while they learn new skills and create beautiful Easter decorations.
We are here with super-easy papercraft tutorials for Easter. You can even gift these to your close ones on Easter. You will not require a lot of things to make these. Try these cute crafts for Easter.
Easter Paper Craft Tutorials for Kids
Materials Required:
- A4 sheets
- Scissor
- Glue
- Marker
- Sketch pens
- Stick
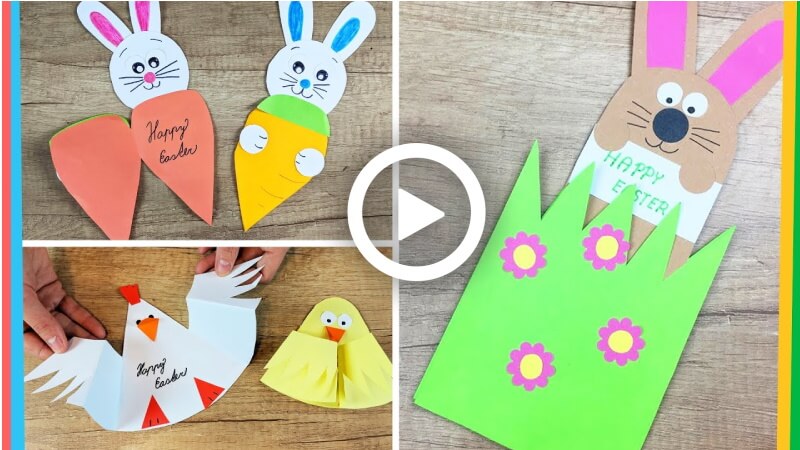
1. Rabbit With Carrot
Procedures:
- Take a sheet and draw a circle on it, and then cut it with the help of the scissors.
- Now take a sheet and cut 2 U shapes and 2 small circles.
- Take a small sheet, about half of an A4 sheet, and fold it in half.
- Now draw as shown in the video and cut it out.
- Take another sheet and cut a strip with the scissors.
- Now paste that sheet as shown and cut the remaining parts.
- Take the circle and paste it on the backside of the carrot.
- Take the U-shaped cutouts and paste them into the circle.
- Now take a sheet and draw 2 eyes and cut it, and paste it on the circle.
- Take the 2 circles and paste them on the carrot.
- Now take the marker and draw the face and hands of the rabbit.
- Take a blue sketch pen and draw the ears.
- Take a brown sketch pen and draw some lines on the carrots as shown.
That’s it! Your rabbit with a carrot is ready.
2. Chicks
Procedures:
- Take a semi-circular sheet or 1/2 circle of an A4 sheet.
- Now fold it as shown in the video.
- Take the scissor and cut a curve from the top as shown.
- Cut the top part to make it a curve.
- Take a sheet and draw 2 eyes, cut it out, and paste it.
- Take another small sheet and fold it in half, cut a triangle shape, and paste it.
- Now cut 2 more triangle shapes and paste them on the sheet.
- Take the scissors and cut zig-zag shapes on both wings.
That’s it! Your chick is ready.
3. Bunny
Procedure:
- Take 2 small sheets and cut a zig-zag at the top of both sheets.
- Now take 2 more sheets and curve the tops with the help of the scissors, it will look like a U shape.
- Take 2 small sheets for ears and curve the top as before; take 2 small sheets for inner ears and curve them as well.
- Now paste the smaller ears on the bigger ears.
- Take the big U-shaped sheet and paste the ears on it.
- Take a stick and paste it on the backside of the paper, and take another U-shaped paper and paste it above the stick.
- Take a sheet and draw a circle, make 2 eyes, and cut them out.
- Now paste them on the U-shaped sheet.
- Take a pen and draw the face on it.
- Take a small rectangular sheet and paste it on that.
- Now cut out 2 small circles and paste them as shown.
- Take the zig-zag papers and put the bunny in between and paste it as shown in the video.
That’s it! Your Easter bunny is ready.
All the 3 crafts are ready for Easter. These are good pieces for Easter.
Tips to Make Your Christmas Wreath Look More Beautiful
- Use bright Christmas colors like red, green, gold, and white for a festive appearance.
- Add small decorations such as bells, pom-poms, ribbons, stars, or glitter for extra charm.
- Layer different materials like paper, felt, foam sheets, or yarn to create texture.
- Try using recycled materials like paper plates, cardboard, buttons, or fabric scraps for eco-friendly crafting.
- Attach a ribbon loop so the wreath can easily hang on doors, classroom boards, or walls.
Best Materials for DIY Christmas Wreath Crafts
Choosing the right materials makes wreath crafting easier and more durable. Popular materials used in DIY Christmas wreaths include:
- Paper plates
- Colored craft paper
- Foam wreath rings
- Felt sheets
- Pom-poms
- Pinecones
- Ribbons and bows
- Glue sticks or hot glue
- Glitter and stickers
Wire frames, foam bases, and recycled cardboard are commonly used as wreath bases in DIY Christmas projects.
Educational Benefits of Christmas Craft Activities
Christmas craft activities are more than just holiday fun. They help children develop:
- Hand-eye coordination
- Creative thinking skills
- Color recognition
- Problem-solving abilities
- Confidence through hands-on learning
Craft projects also encourage teamwork when children create decorations together at home or in classrooms.
Safety Tips for Kids During Crafting
Adult supervision is recommended while using scissors, glue guns, or sharp decorative items. For younger children, choose child-safe scissors and non-toxic glue. Keep small embellishments away from toddlers to avoid choking hazards.
Eco-Friendly Christmas Wreath Ideas
You can make sustainable Christmas wreaths using recycled household materials such as:
- Old newspapers
- Cardboard packaging
- Toilet paper rolls
- Scrap fabric
- Egg cartons
- Old buttons
Why Christmas Wreath Crafts Are Great for Kids
Christmas wreath crafts are a wonderful way to encourage creativity, patience, and fine motor skill development in children. While making this festive decoration, kids learn how to cut, paste, arrange shapes, and combine colors creatively. These hands-on holiday activities also help children improve focus and imagination while spending quality family time together during the Christmas season. Many parents and teachers use Christmas wreath crafts as fun classroom or homeschool activities because they are simple, budget-friendly, and enjoyable for all age groups.
FAQs
Q1. What kinds of materials do I need for Easter paper craft projects?
Answer: For Easter paper craft projects, you will need a variety of materials, including colored construction paper, cardstock, scissors, glue, markers, crayons, glitter, and other decorative items. You will also need templates of different shapes and sizes to use as a starting point for your projects. Other useful items include craft punches, tape, and stickers. Finally, you will need some creativity and imagination to come up with fun and unique Easter paper crafts.
Q2. What is the easiest Easter paper craft project for kids?
Answer: One of the easiest Easter paper craft projects for kids is to make an Easter bunny mask. This can be done using items like cardstock, construction paper, markers, scissors, and glue. First, trace the shape of a bunny face onto the cardstock and cut it out. Then, cut out two bunny ears from the construction paper. Glue the ears onto the cardstock and decorate with markers. Finally, attach a couple of strips of elastic to the back of the mask so that it can be worn on the head. Kids can have fun creating this craft and wearing it around on Easter!
Q3. How can I find step-by-step tutorials for Easter paper craft?
Answer: One way to find step-by-step tutorials for Easter paper craft is to search online. Try searching for “Easter paper craft tutorial” on a search engine such as Google or Bing. You can also visit websites such as YouTube or Pinterest, which often have video and image tutorials for various Easter paper crafts. Additionally, there are many crafting websites that provide detailed instructions and materials lists for a variety of Easter paper crafts.
Q4. How do I store my Easter paper craft projects once they are finished?
Answer: The best way to store your Easter paper craft projects is to either keep them flat in a box or folder, or to hang them on a wall. If you choose to keep them flat, make sure to use acid-free paper to prevent any fading or discoloration. If you prefer to hang them, use picture frames or attach them to a board with clips or pins. Whichever method you choose, make sure to store your projects in a cool, dry place away from direct sunlight to preserve their color and shape.
Q5. Can I use recycled materials for Easter paper craft projects?
Answer: Yes, you can use recycled materials for Easter paper craft projects! Recycled materials can be repurposed into fun and creative decorations and gifts, such as making a paper garland from old newspaper, wrapping Easter eggs in patterned scrapbook paper, and creating collages with old magazines. You can also use old gift bags, tissue paper, and envelopes to create festive Easter cards and decorations. With a little bit of creativity, you can make something beautiful out of recycled materials for your Easter paper craft projects!
Making a DIY Christmas wreath craft is a fun and meaningful holiday activity for kids, parents, and teachers. These handmade wreath decorations add warmth and festive cheer to homes, classrooms, and holiday parties. With simple materials and creative ideas, children can design unique Christmas wreaths while learning valuable artistic and motor skills. Try this easy Christmas craft activity to make your holiday season more creative and memorable!
Inspire creativity every day with fun learning activities, colorful crafts, and amazing DIY projects for kids. Follow us on Telegram, YouTube & Facebook!
Reviewed By Rachit Gupta
More Easter Craft Ideas from Kids’ Art & Craft
How to Make an Easter Chick Basket for Kids
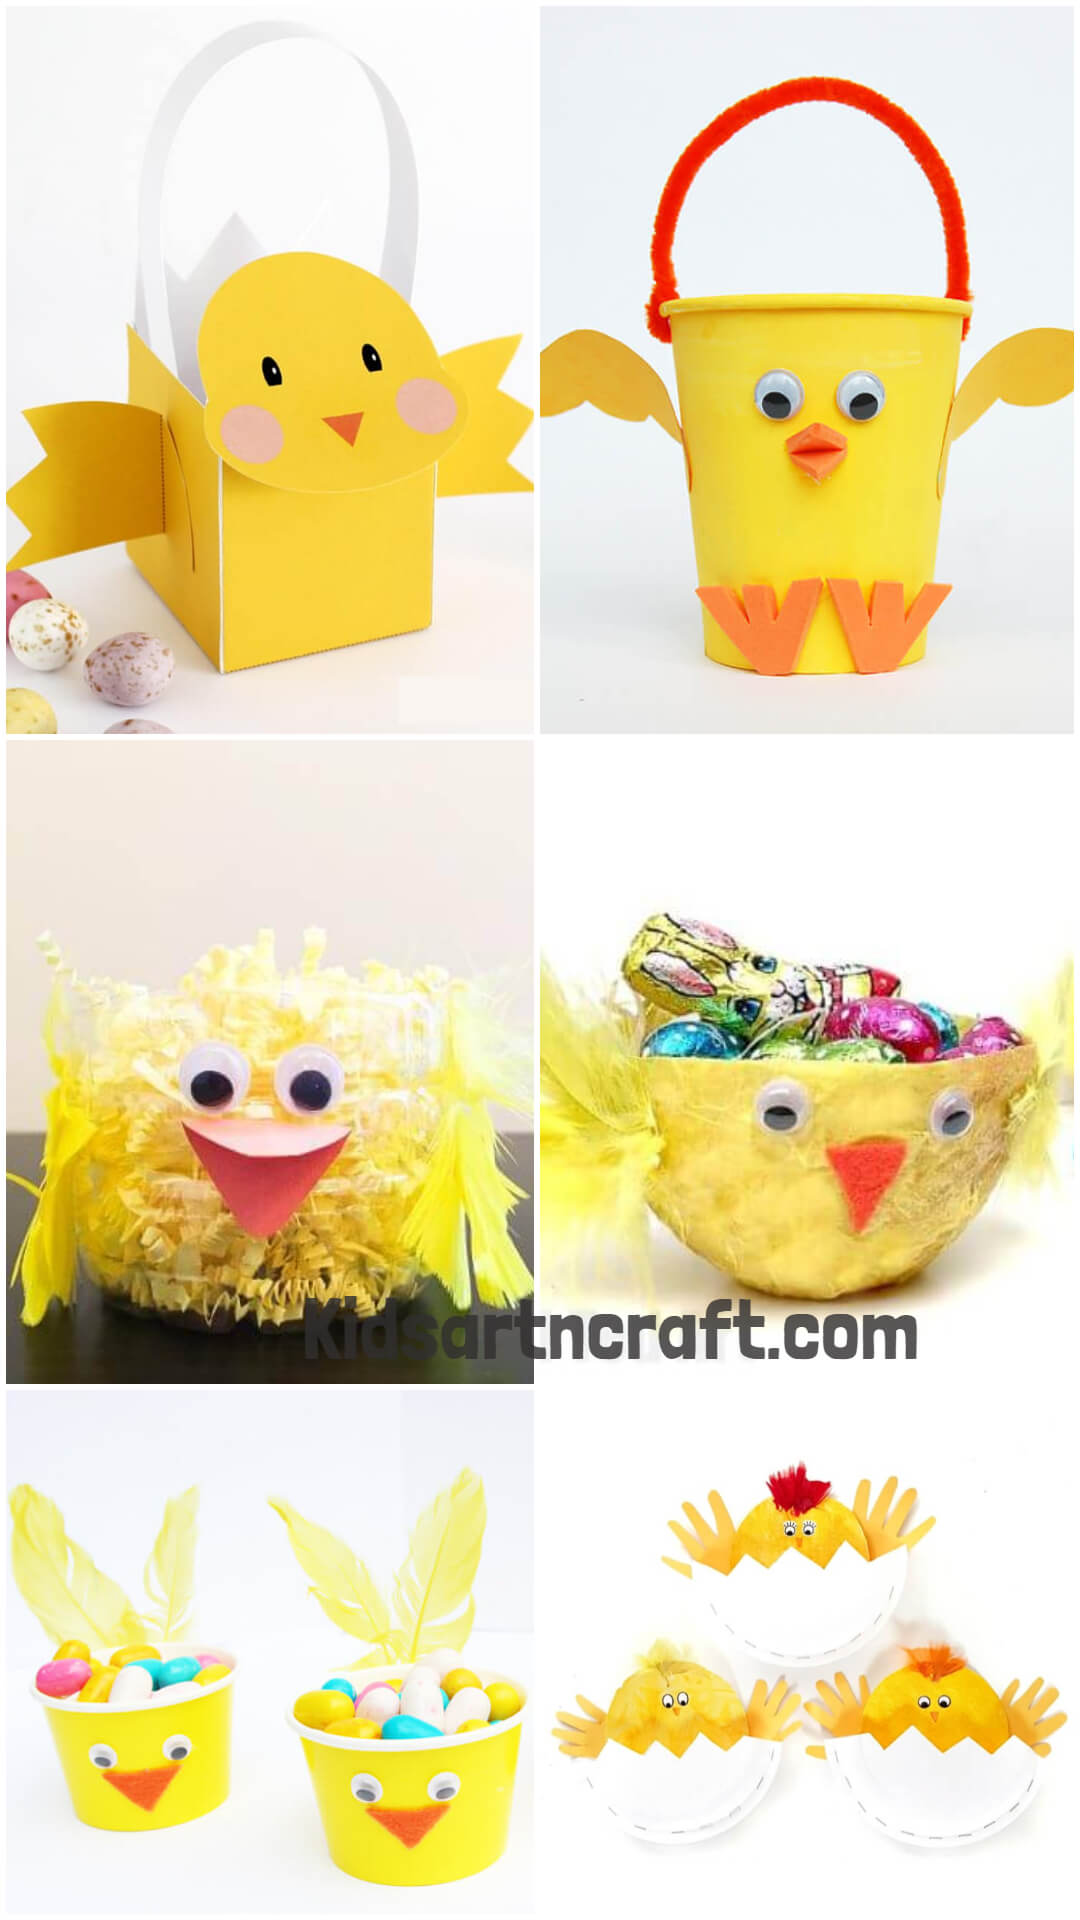
Learn how to make an Easter chick basket for kids in this simple tutorial. With basic supplies, children can easily craft a charming chick-shaped basket, perfect for carrying eggs or treats during Easter.
How to Make Easter Crafts Using Paper Plates
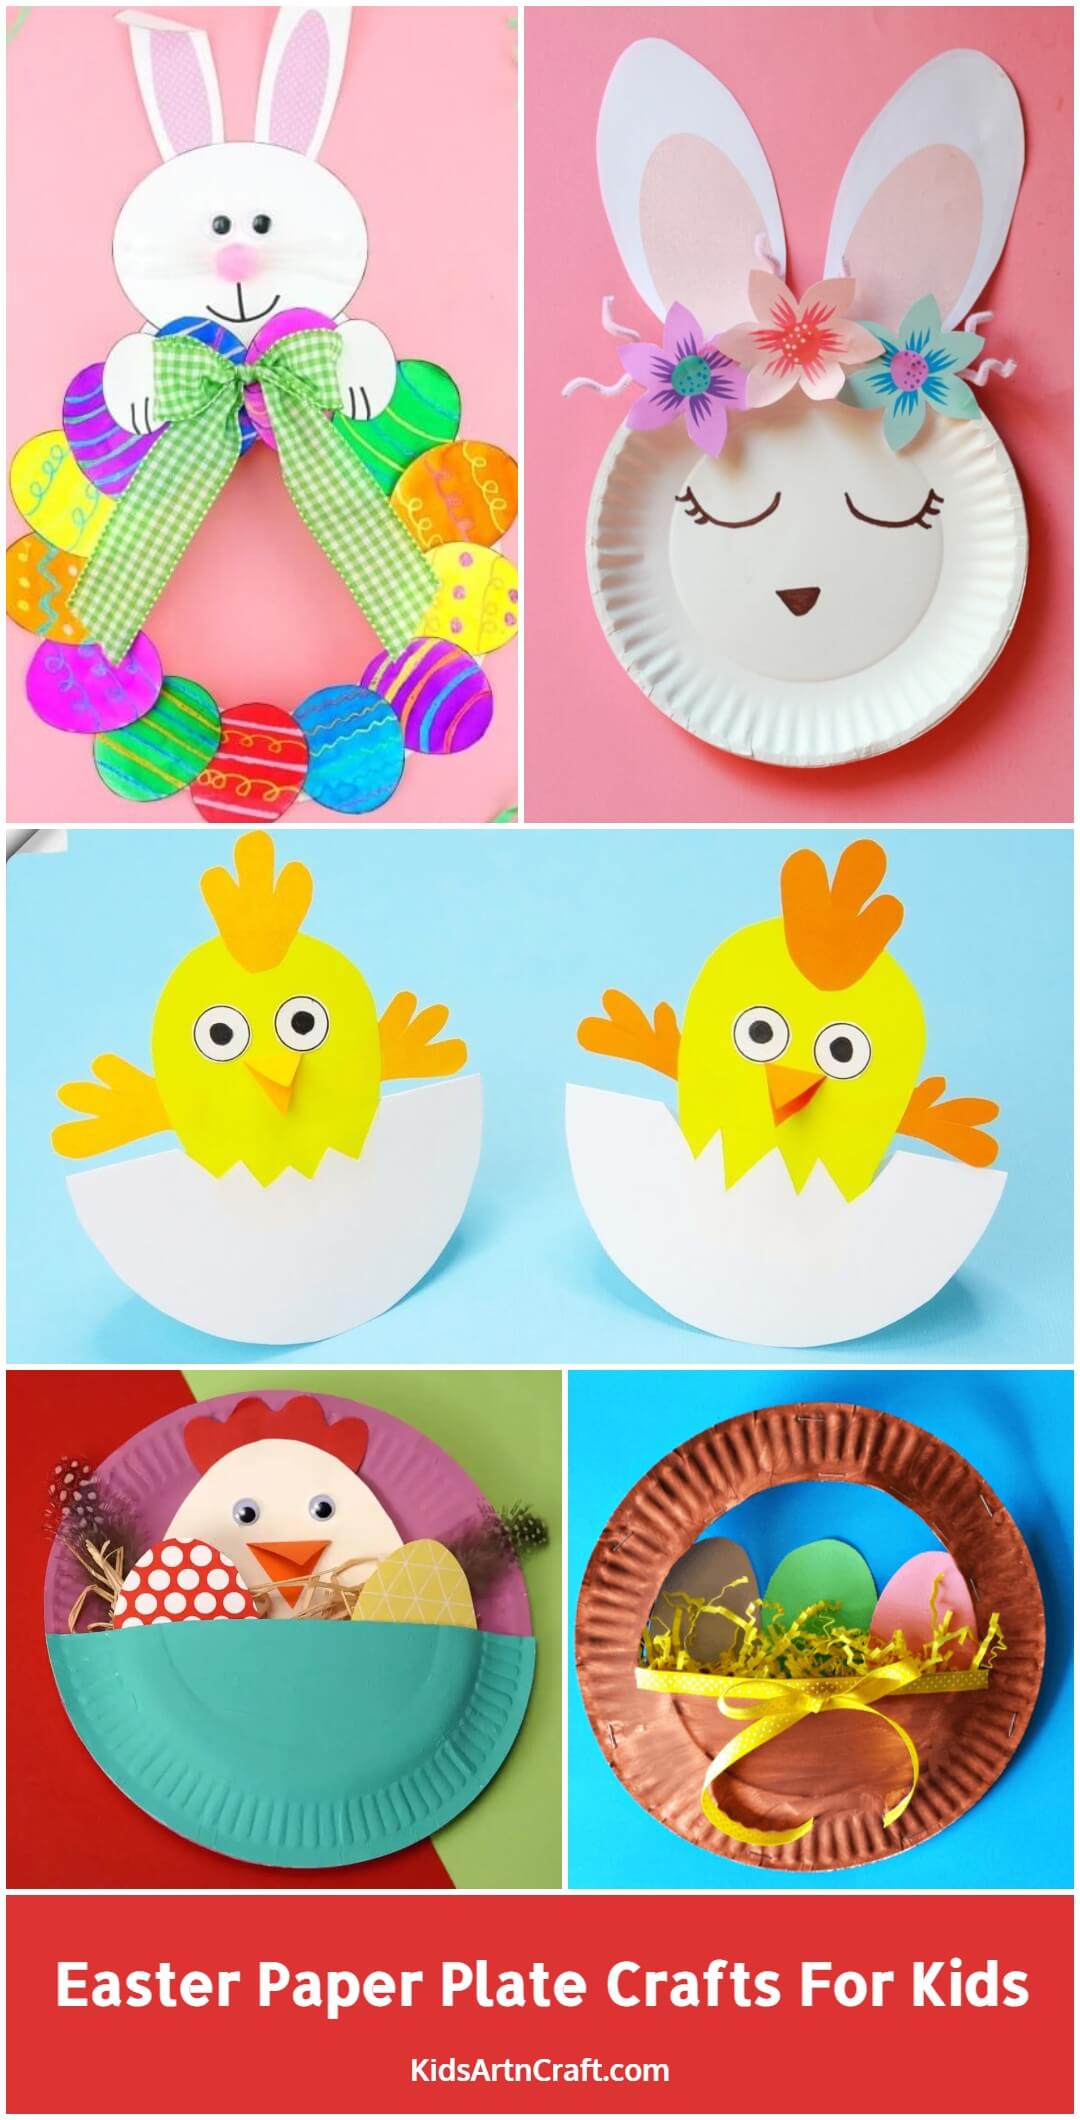
Learn how to make Easter crafts using paper plates with this simple guide. Kids can easily create charming holiday designs like Easter baskets or animal shapes by decorating paper plates with colorful supplies.
Exciting Bubble Wrap Activities for Easter
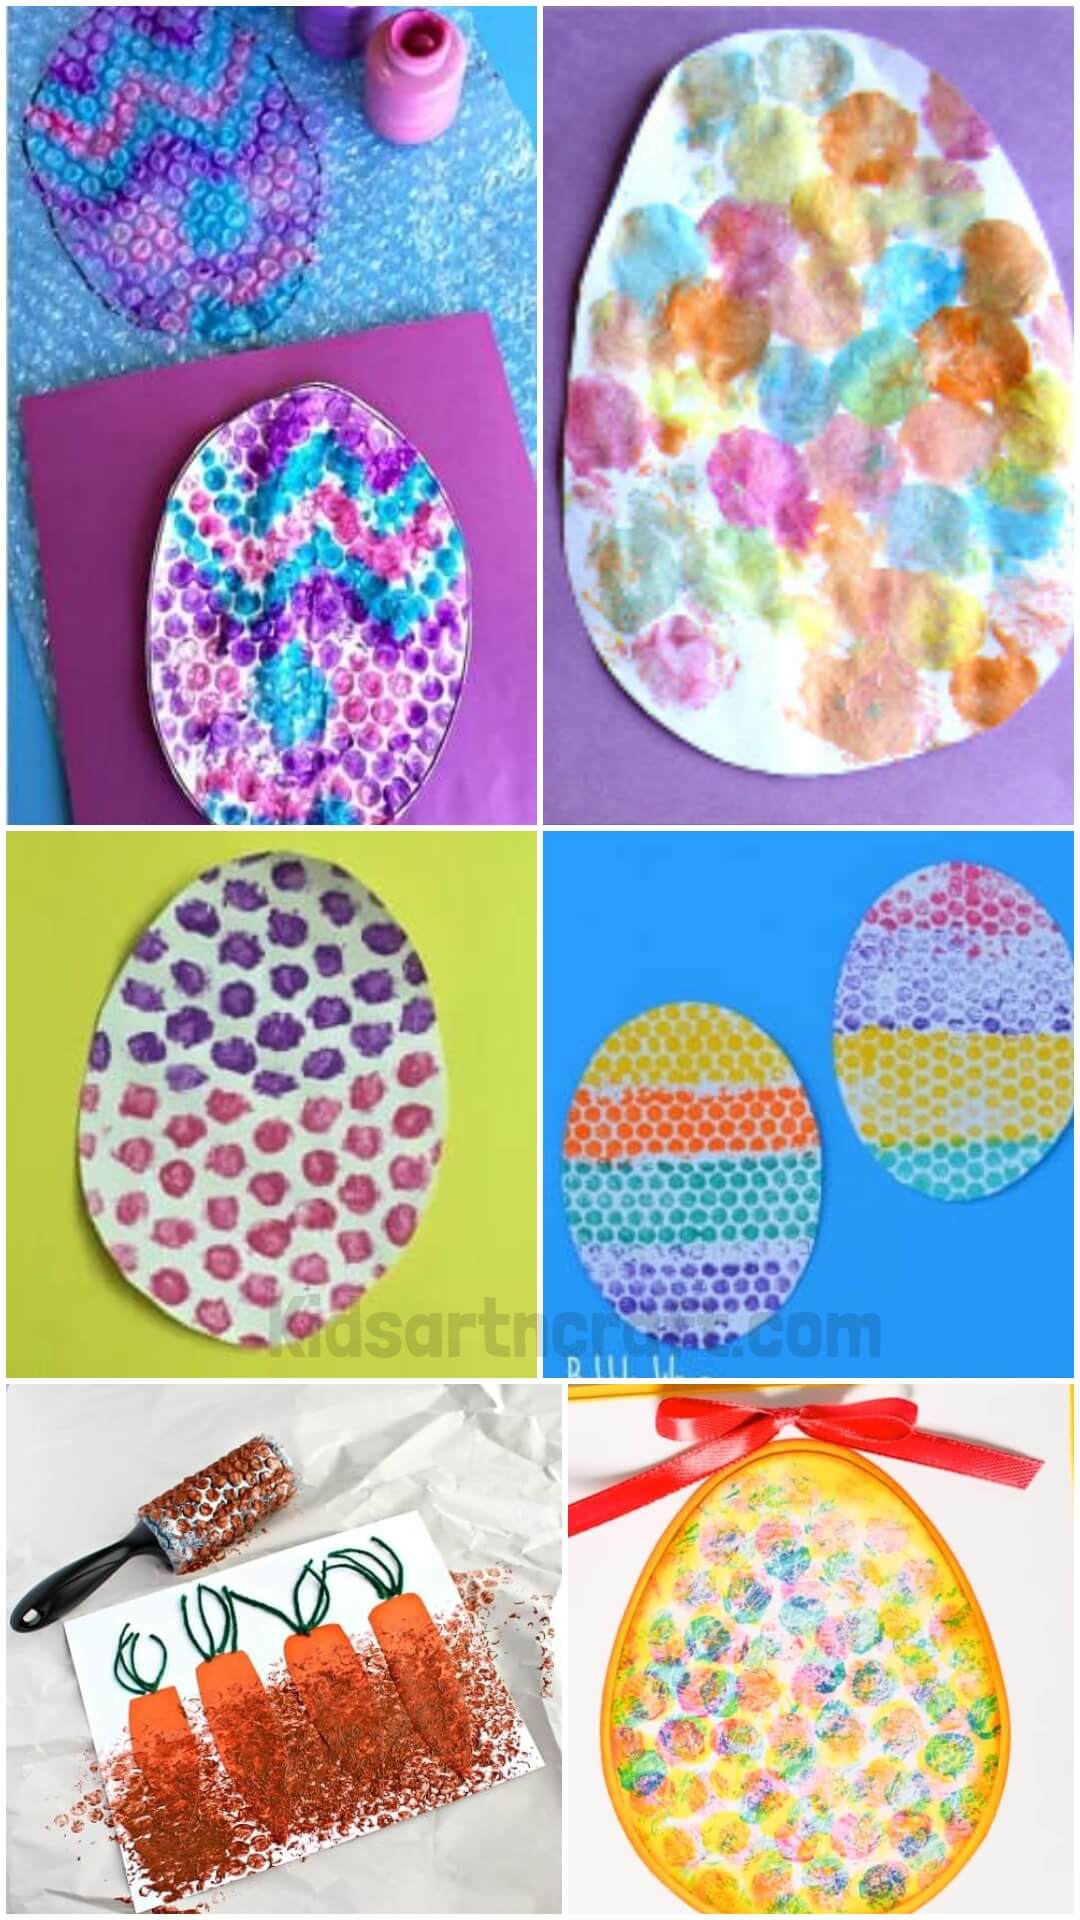
Engage kids with exciting bubble wrap activities for Easter. These creative projects allow them to use bubble wrap to add textures and designs to their Easter crafts, making for a fun and sensory holiday activity.
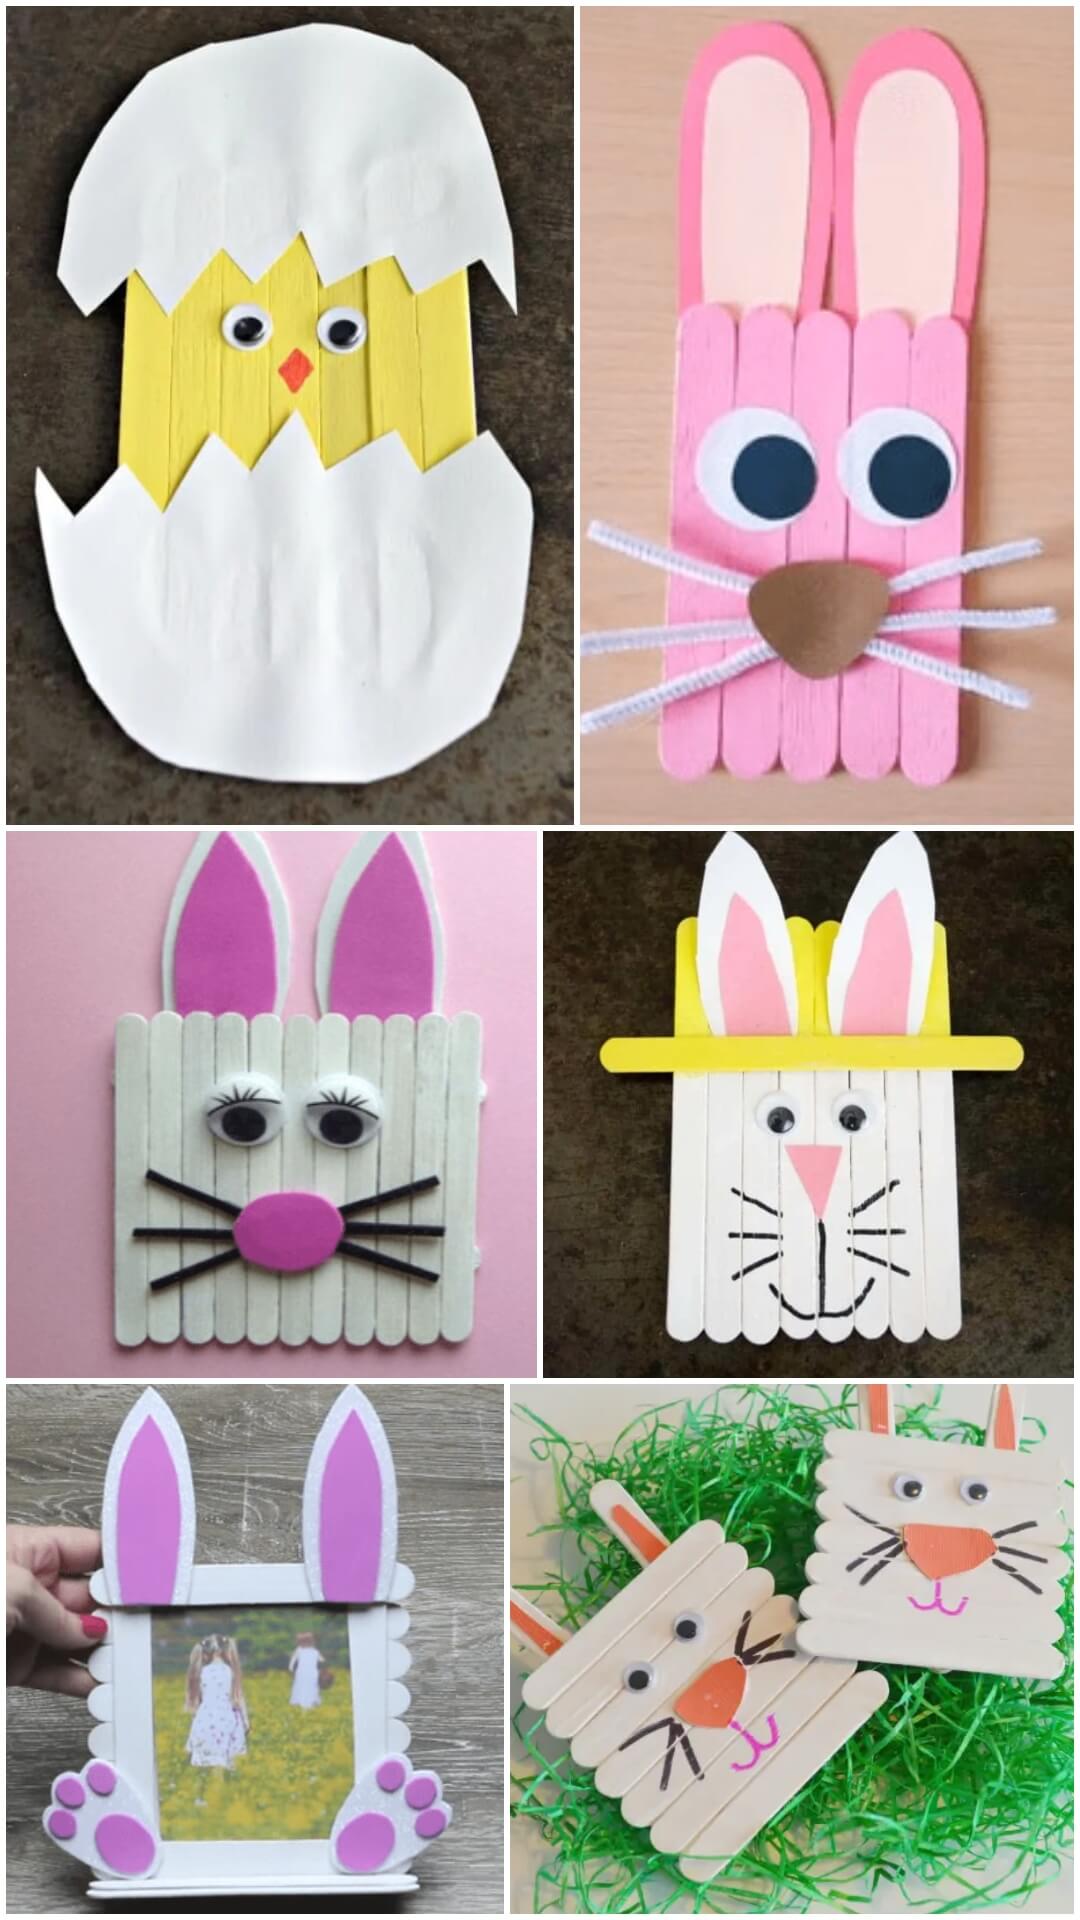
Simple Popsicle Stick Easter Bunny Craft for Kids
Try this simple popsicle stick Easter bunny craft for kids. With minimal materials, children can easily design their own bunnies, decorating them with paint, pom-poms, or stickers for a fun Easter project.
How to Make Easter Handprint Art for Kids

Learn how to make Easter handprint art for kids. This step-by-step guide helps children transform their handprints into Easter bunnies, chicks, or eggs, providing a fun and creative holiday project for all ages.


