


Easter
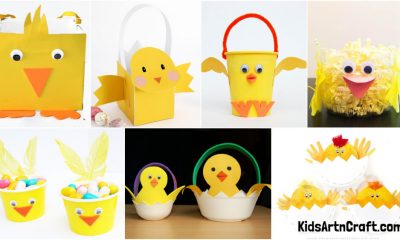
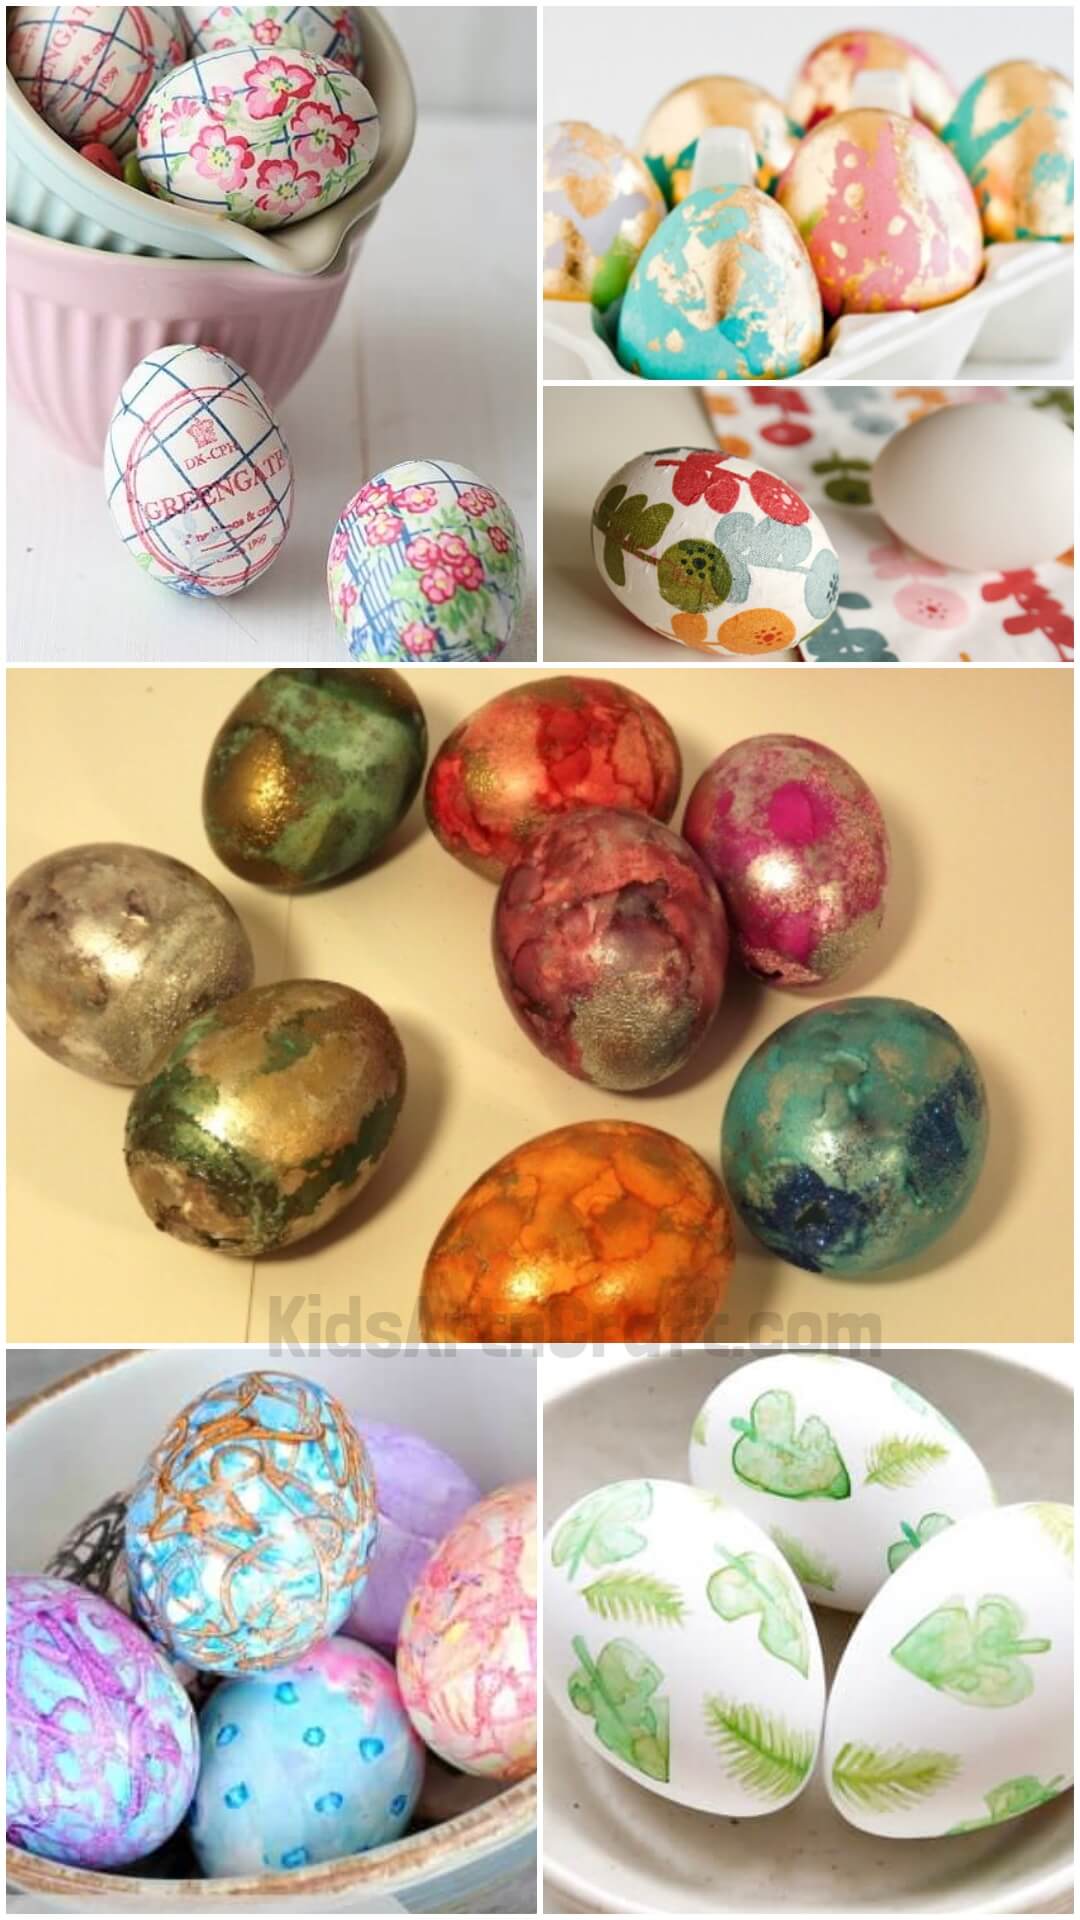
Stylish Easter Egg Designs

Make your Easter celebrations even more special with these unique Easter egg designs. Use your favorite colors and designs to create beautiful, personalized eggs for an extra special touch.
Eggs were the symbol of fertility and rebirth in a traditional way. In Christianity, during the Easter season, eggs symbolize the empty tomb of Jesus. The coloring of eggs gives a relationship with Jesus.
Adding creativity with easter eggs adds an extra charm to the easter season. Kids enjoy creativity. So, designing easter eggs can be a good idea. Children enjoy and learn new things with new ideas. So, try the following ways to make your kids happy and let them enjoy by making the given easter eggs.
Here are some designs that you can give your easter eggs. These are easy and simple.
Stylish Easter Egg Designs
Read More: 30 DIY Cute and Creative Easter Crafts For Kids
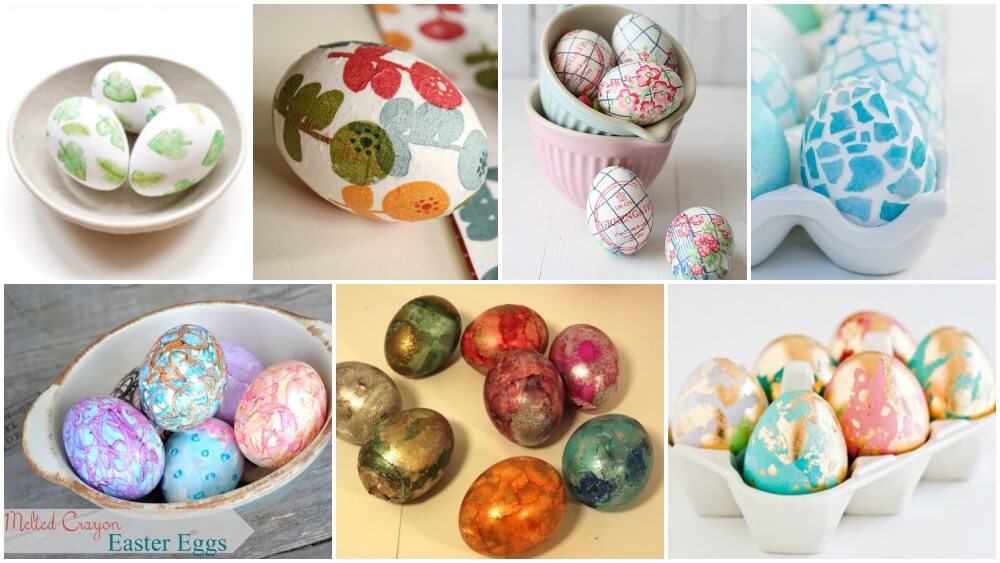
#Printed Leaves Easter Eggs
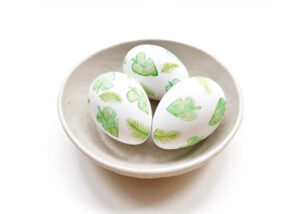
Image Source/Tutorial: Isoscella
There are lots of designs to decorate easter eggs, but you can try a printed one. Follow the given ways to make this type of easter egg.
Materials required:
- Plastic Eggs
- Paint colors
- Leaves of different types
Procedure:
- Take the eggs and draw the shape of a palm leaf on them. Use a light green shade to paint.
- Leave it to dry, then add the dark green shade to it
- Make the stem just below the leaf, and also draw some other leaves on the same egg.
- You can also paint the leaves and put them on the eggs to take their prints.
- Choose the idea you prefer.
It will give a good look to your easter egg.
#Printed Easter Eggs
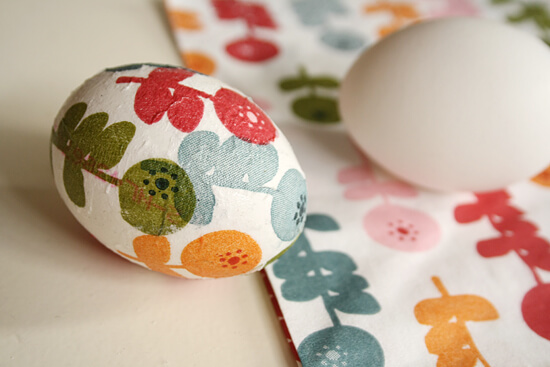
Image Source/Tutorial: By Wilma
Printed easter eggs are a way to make. So, try this idea by following the given ways.
Materials required:
- Eggs
- Printed paper
- Glue gun
- Scissor
Procedure:
- Take the printed paper, cut it according to the shape of an egg.
- Paste it on the egg to decorate.
#Shiny Easter Eggs

Kids like shiny things. So, you can try for shiny easter eggs.
Materials required:
- Eggs
- Paint colors
Procedure:
- Using your paint colors, paint the eggs of different colors.
- After that, give them shiny shades using golden paint.
- It will give a shiny decoration to your easter eggs.
#Colored Paper Design

Image Source/Tutorial: Sugar and Charm
Use colored papers to decorate eggs. You will enjoy a lot.
Materials required:
- Eggs
- Colored papers
- Glue gun
Procedure:
- Take the colored paper and tear it into small pieces.
- Now, take the eggs and paste the torn pieces of colored paper on them, leaving some space between one another.
Read More: 30+ DIY Bunny Craft Ideas & Video Tutorials
#Melted Crayon Easter Eggs
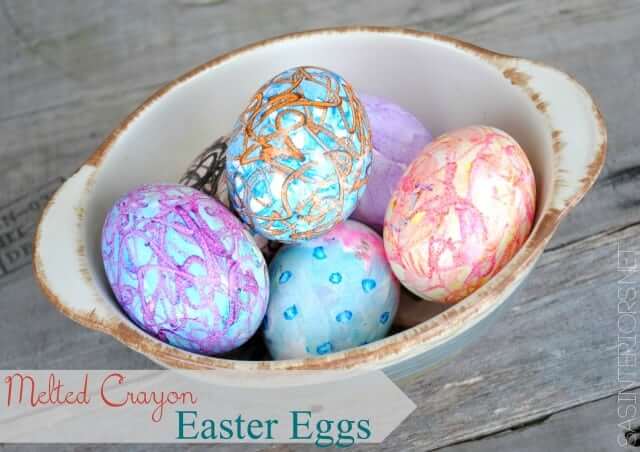
Image Source/Tutorial: Jenna Burger Design
Making Easter eggs using melted crayons is the best idea. Get your colors to decorate eggs.
Materials required:
- Eggs
- Melted crayons
Procedure:
- Boil the eggs in water and take them out after 2-3 minutes of boiling. Get your crayons and draw designs of your choice on the eggs.
- These simple designs will make your easter eggs look beautiful.
#Shiny Golden Easter Eggs
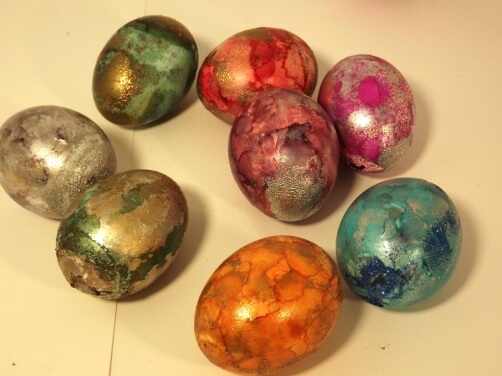
Image Source/Tutorial: Think Crafts
Give the shine to your easter eggs by adding a golden shade to them.
Materials required:
- Eggs
- Paint colors
Procedure:
- Get your paint colors and paint the eggs in your favourite colors.
- Then give the eggs a golden shade using golden paint color.
- It will give a shiny decoration.
#Printed Flowers Designs

Use your colors to make a print on eggs. It will give your easter eggs an immense decoration.
Materials required:
- Eggs
- Watercolors
Procedure:
- Draw the lines using your paintbrush on the egg.
- Simply get your other colors and draw flowers on eggs. Use different shades to decorate the flowers.
- Use leaves to print on the eggs, or you can make them yourself.
Easy DIY Easter Egg Decorating Ideas for Beginners
Learn how to create stylish Easter egg designs with this easy step-by-step tutorial. Discover fun DIY Easter egg decorating ideas using simple materials and creative patterns. Perfect for kids and beginners, this craft tutorial will help you make beautiful, colorful Easter eggs for festive decorations and holiday celebrations.
Best Materials for Decorating Easter Eggs
To create beautiful and stylish Easter eggs at home, using the right craft materials is important. Here are some commonly used supplies:
- Hard-boiled or plastic eggs
- Acrylic paints or watercolor paints
- Paint pens and markers
- Glitter and sequins
- Washi tape
- Stickers and rhinestones
- Craft glue
- Small paintbrushes
- Food coloring for dye effects
These materials help children improve creativity and fine motor skills while making the Easter craft process more enjoyable.
Easy Tips for Making Stylish Easter Eggs
If you want your Easter egg designs to look neat and professional, try these simple decorating tips:
- Clean the eggs properly before painting.
- Use light pastel shades for a modern spring look.
- Allow each paint layer to dry before adding details.
- Use thin brushes or paint pens for intricate patterns.
- Add glitter carefully to avoid messy textures.
- Seal painted eggs with clear craft varnish for a glossy finish.
Creative painting techniques like marbling, watercolor blending, and speckled patterns are especially popular for stylish Easter eggs.
Educational Benefits of Easter Egg Crafts for Kids
Decorating Easter eggs is not just fun — it also supports learning and creative development in children. Easter craft activities can help kids:
- Improve hand-eye coordination
- Develop color recognition skills
- Practice patience and concentration
- Learn pattern-making and design concepts
- Express creativity through art
Parents and teachers often use Easter egg crafts during spring classroom activities, holiday workshops, and family DIY sessions because they combine learning with entertainment.
Trending Easter Egg Design Ideas
Some of the most trending Easter egg decoration styles include:
- Floral Easter egg painting
- Minimalist black-and-white egg art
- Cartoon character eggs
- Rainbow pastel eggs
- Glitter galaxy Easter eggs
- Marble texture eggs
- Gold foil Easter eggs
- Bunny and chick-themed eggs
Why Stylish Easter Egg Designs Are Popular for Easter Celebrations
Stylish Easter egg designs have become one of the most loved Easter craft trends for kids, parents, teachers, and DIY craft lovers. From pastel-colored eggs to glitter patterns and floral artwork, these creative Easter egg decorating ideas help make Easter celebrations more fun and memorable. Easter eggs are traditionally connected with spring, creativity, and new beginnings, making them perfect for family craft activities and classroom art projects.
FAQs
Q1. How do I dye Easter eggs without a kit?
Answer: You can easily dye Easter eggs without a kit using items you may already have in your kitchen! All you need is a few tablespoons of white vinegar, food coloring, and some hard-boiled eggs.
To begin, fill a bowl or cup with about two cups of hot (not boiling) water, two tablespoons of white vinegar, and several drops of food coloring. Mix the ingredients until the color is evenly distributed.
Then, gently place the hard-boiled eggs into the mixture and let them sit for about 10 minutes. The longer the eggs sit in the dye, the more vibrant the color will be. Once finished, remove the eggs from the dye and allow them to dry on a paper towel.
And that’s it! You now have colorful Easter eggs to enjoy. Have fun experimenting with different colors and patterns to create your own unique designs.
Q2. What materials do I need to decorate Easter eggs?
Answer: To decorate Easter eggs, you will need some hard-boiled eggs, food coloring, vinegar, water, and a shallow bowl or container. You can also use paint, stickers, glitter, crayons, and other craft supplies. Additionally, you may need a paintbrush, wax paper, and newspaper to protect your surfaces.
Q3. What is the best way to paint Easter eggs?
Answer: The best way to paint Easter eggs is to start with clean, hard-boiled eggs. Once the eggs are boiled and cooled, you can begin painting. Use a paintbrush to apply acrylic paints to the eggs, and you can also use crayons, markers, or glitter to decorate the eggs. If you want to add a glossy finish, use a clear acrylic sealant spray. Allow the eggs to dry completely before handling, and when you are finished, store them in a cool, dry place.
Q4. How do I make marbled Easter eggs?
Answer: To make marbled Easter eggs, you will need a large pot, water, white vinegar, food coloring, and some hard-boiled eggs. Start by adding enough water to the pot to cover the eggs. Then add about 1/4 cup of vinegar. Bring the pot to a boil, then reduce the heat to a simmer. Separate the food coloring into four different bowls, and add a few drops of each color to the pot. Gently stir the water to create a marbled effect. Then carefully add the hard-boiled eggs to the pot and let them simmer for about 10 minutes. When the eggs are done, remove them from the pot and let them dry completely on a paper towel. Once dry, you can enjoy your beautiful marbled Easter eggs!
Q5. How do I make my Easter eggs look unique?
Answer: One way to make your Easter eggs look unique is by decorating them with creative designs. You can do this by using food coloring, paint pens, glitter, and other craft materials. You can also add a personal touch by writing names, dates, or special messages on the eggs. Additionally, you can try using different colors and patterns to create a unique look. Finally, you can add ribbons, feathers, and other decorations to make each egg look distinct.
Stylish Easter egg designs are a wonderful way to celebrate Easter with creativity and family fun. Whether you prefer elegant painted eggs, colorful patterns, or cute themed decorations, these Easter craft ideas are perfect for kids, classrooms, and home celebrations. Try experimenting with different textures, colors, and artistic techniques to create unique Easter eggs that brighten your holiday decorations.
Creative crafts, fun DIYs, and amazing school project ideas for kids — all waiting for you here! Join our Telegram and follow us on YouTube & Facebook. now.
For more simple ideas, visit here. You will get new ideas for creativity.
Reviewed by Yash Sharma
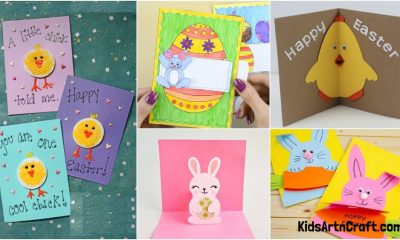
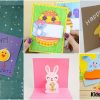
More Easter Crafts from Kids’ Art & Craft
Exciting Easter Egg Hunts for All Ages
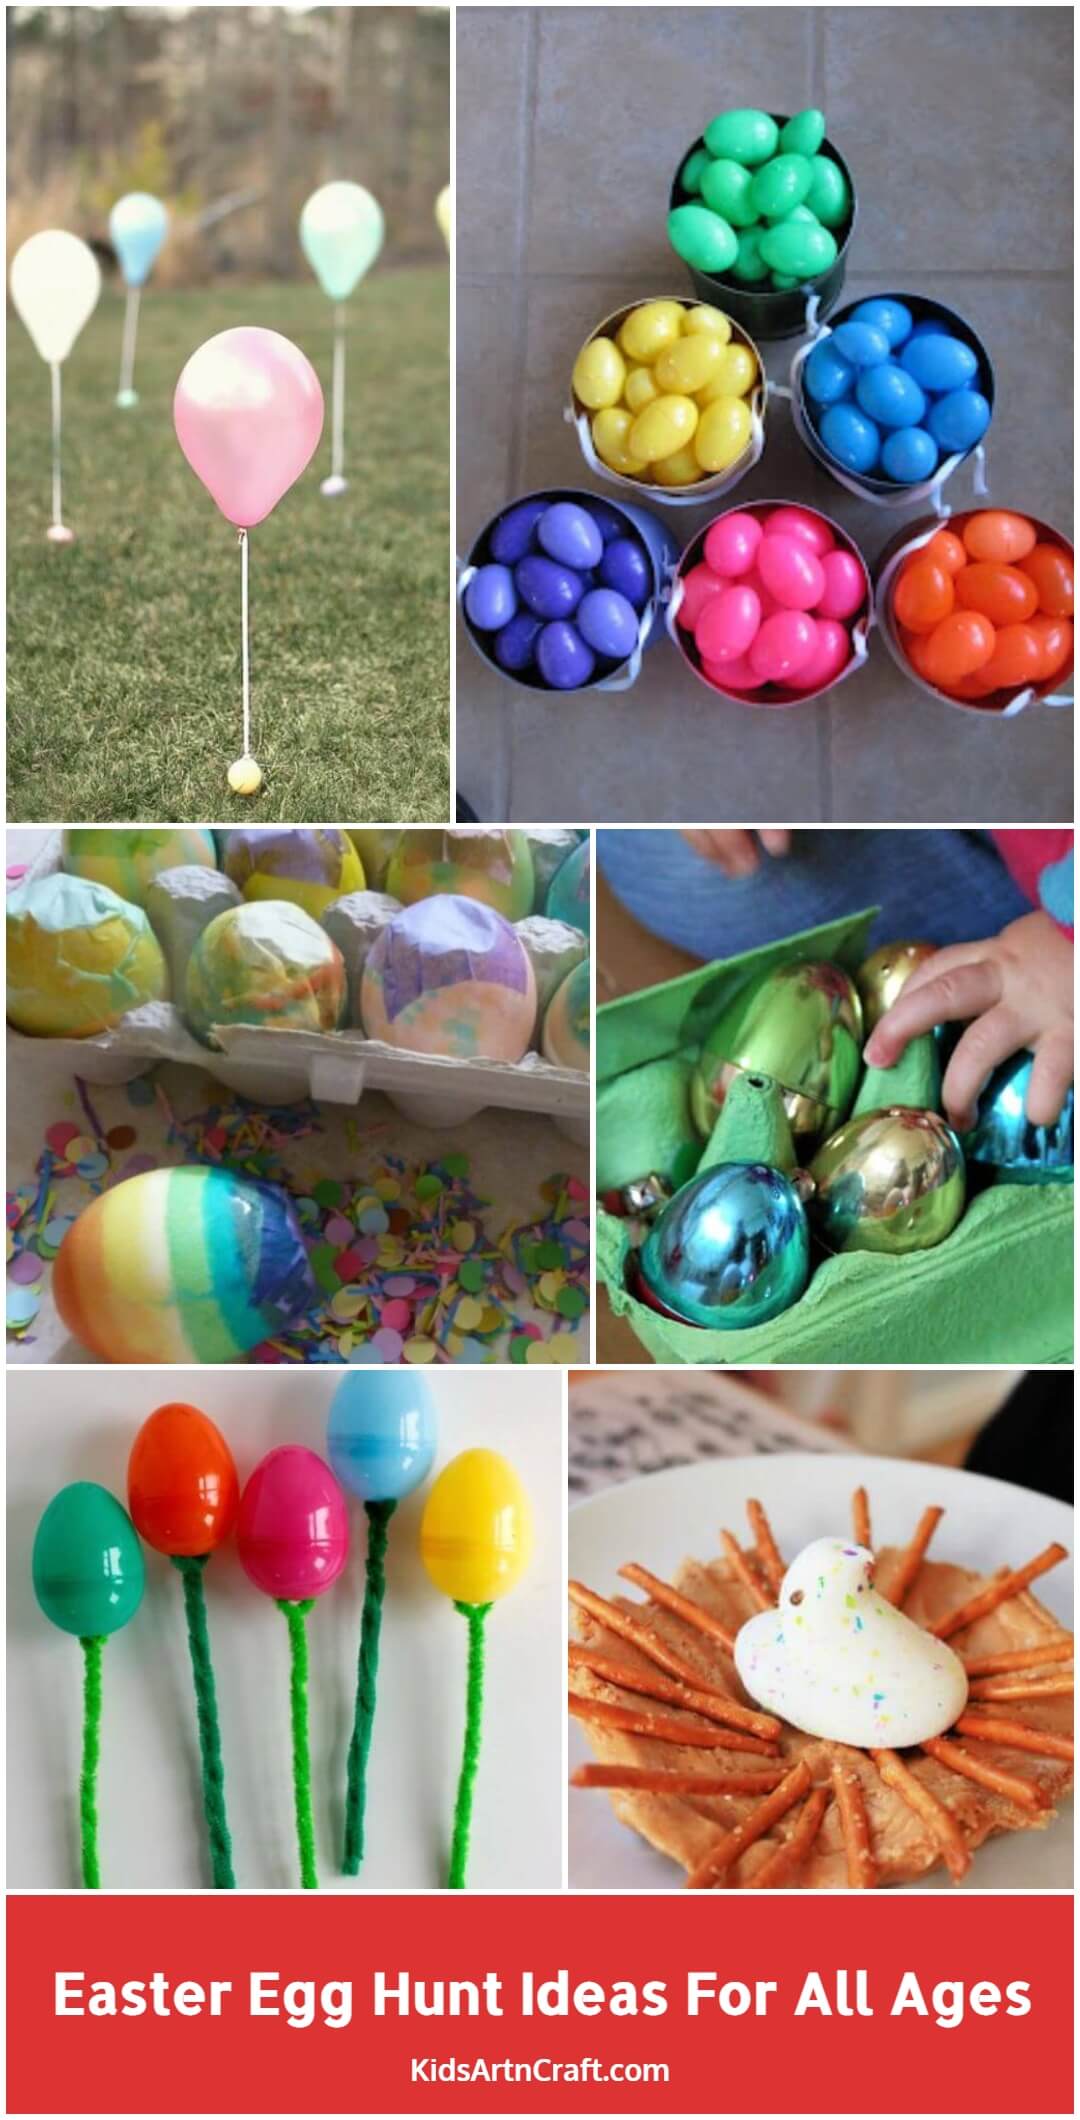
Organize exciting Easter egg hunts for all ages with these creative ideas. These activities offer inclusive fun, ensuring everyone can participate in the Easter tradition.
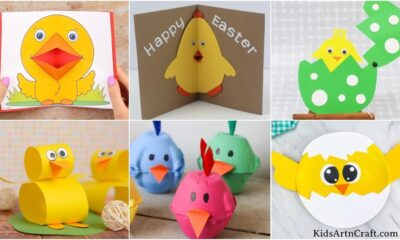
Best 3D Paper Egg Crafts for Easter Celebrations
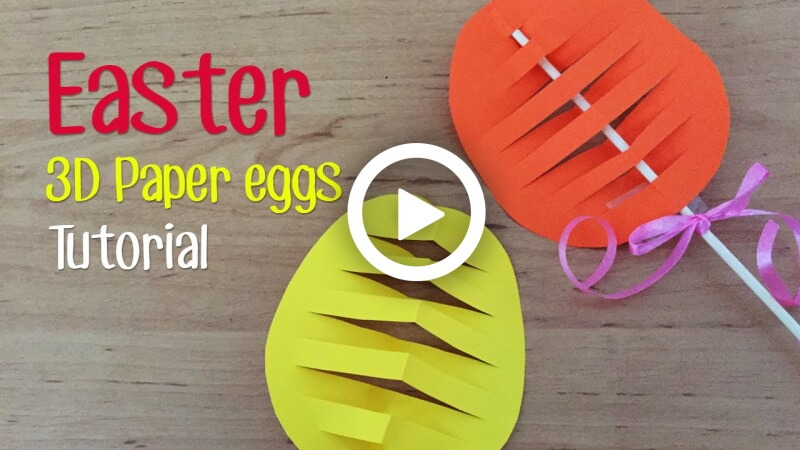
Try the best 3D paper egg crafts for your Easter celebrations. These projects are perfect for adding a fun, hands-on activity to the holiday while creating beautiful decorations.
How to Dye Easter Eggs with Creative Patterns

Discover how to dye Easter eggs with creative patterns using various techniques like wax resist, stickers, and color gradients for a fun and artistic holiday activity.
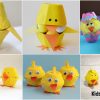
Simple Steps to Make a Chicken Family for Easter Décor
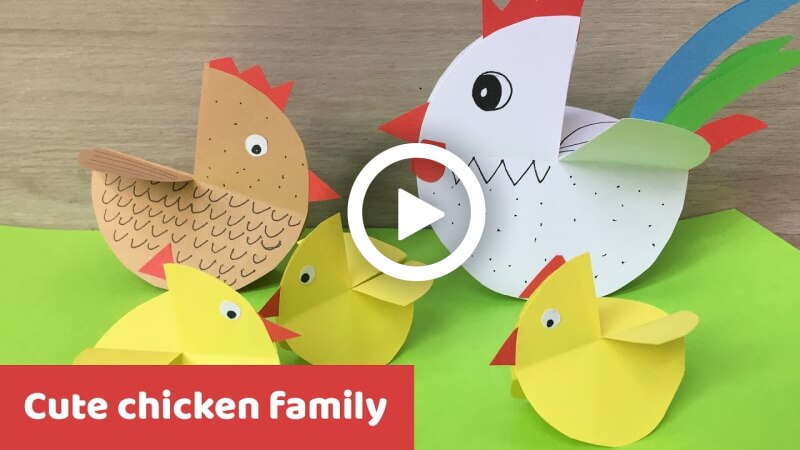
Follow simple steps to make a chicken family for your Easter décor. This craft project is easy and fun, making it an ideal addition to your holiday decorations.
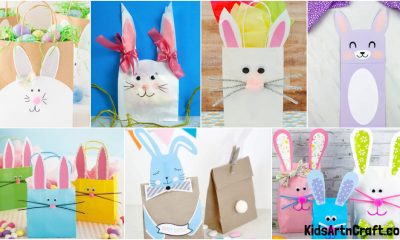
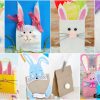
How to Create a Pocketed Easter Bunny for Gifts
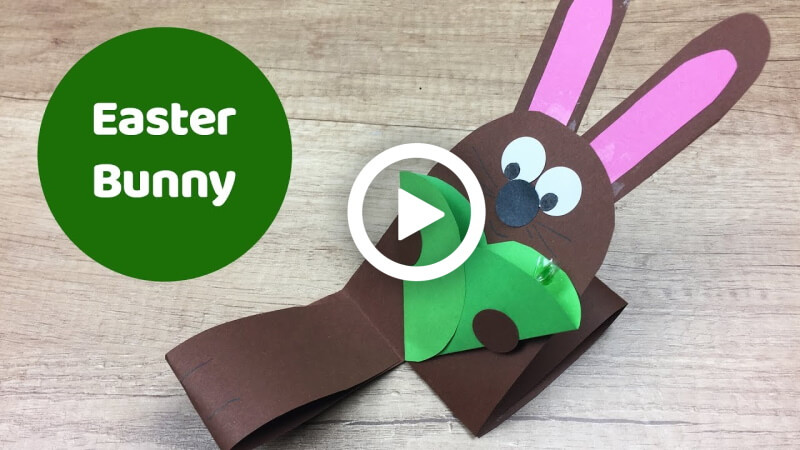
Learn how to create a pocketed Easter bunny for gifting. This adorable craft offers a unique way to present small Easter surprises or treats to loved ones.