Cardboard Craft
Handmade Stocking Stuffers Ideas


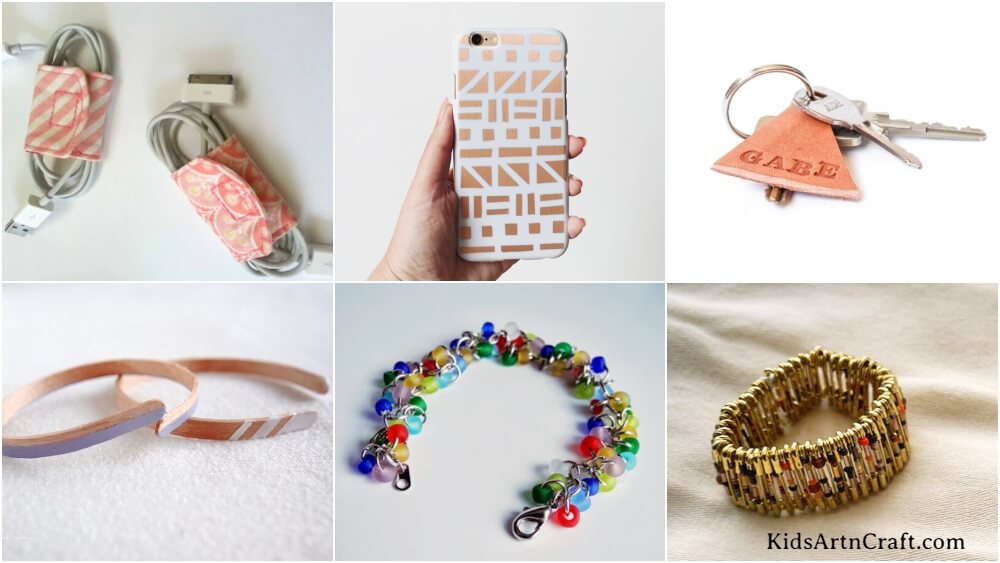
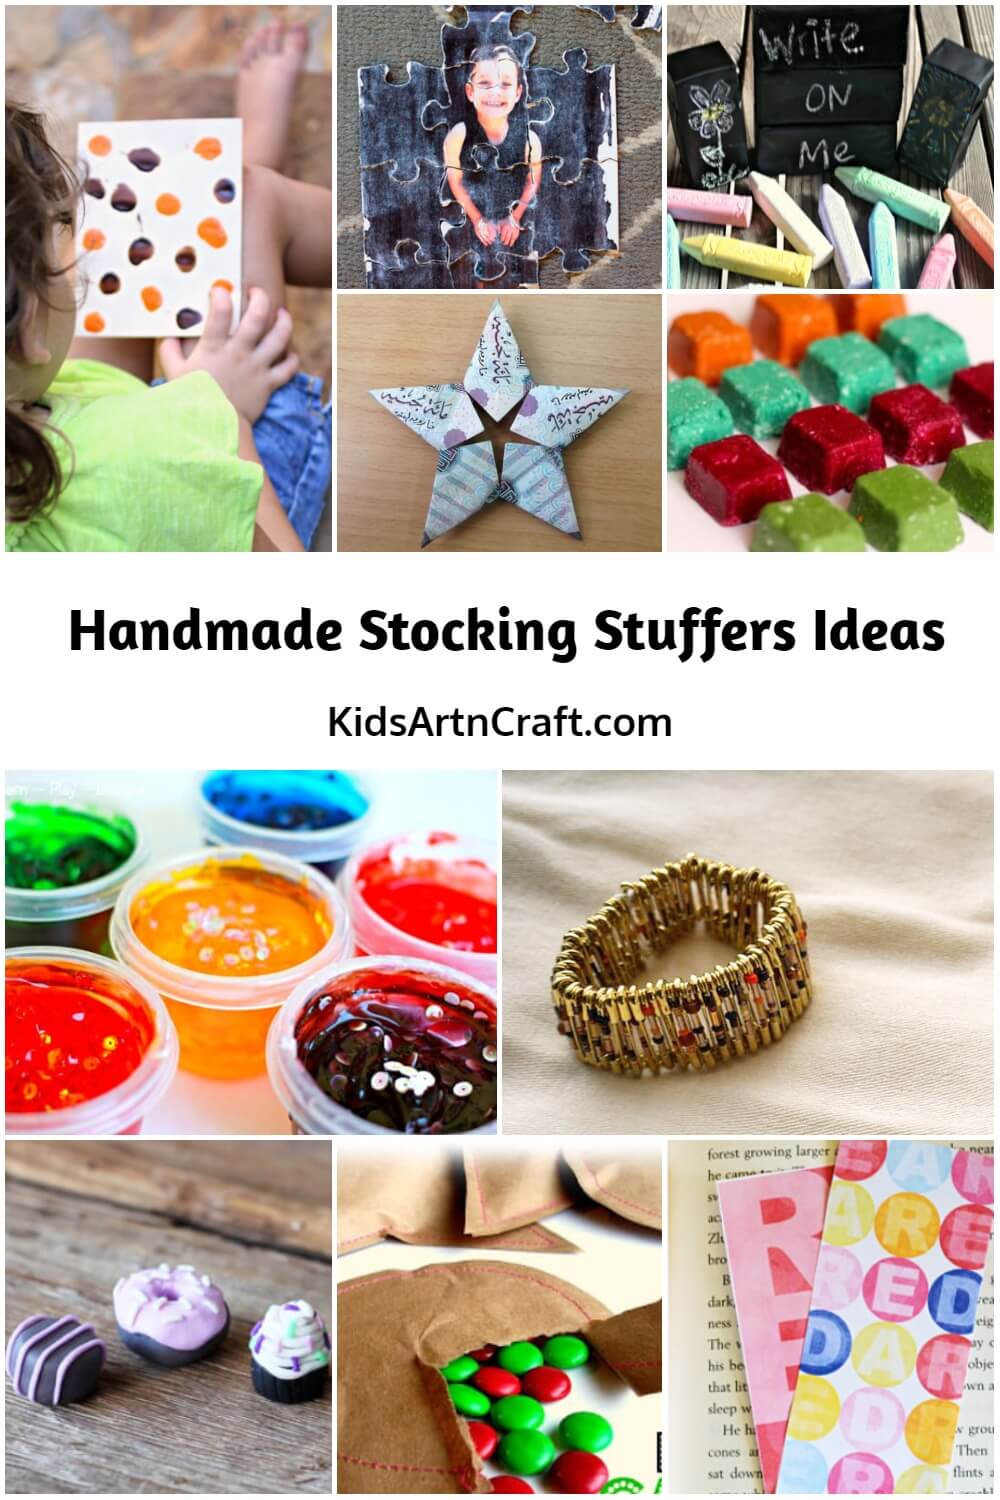
If you’re searching for handmade stocking stuffer ideas, you’re in the right place! Keep your learning spirit alive with our curated list of handmade stocking stuffers ideas like confetti paint, rocks fun, snowflake puzzle, bug finger puppets, printable bookmark, dark sidewalk chalk, I-spy, robot art, scratch and sniff paint, geoboard craft, bathtub crayons, sewn paper candy pouch, chalkboard blocks craft, crochet cup, safety pin bracelet, iPhone case, polka dot pencil, origami star, wooden bracelets, leather keychain, heart hand warmers, teeny tiny zipper, candy cane bath salts, body scrub bars, vanilla activity, pastry eraser, lotion bar, cord keeper, cocoa favors craft, peppermint lip balm, jump ring bracelet, own photo puzzle, and stocking stuffer.
Handmade Stocking Stuffers Ideas
Read More: Scientific Crafts for Toddlers Using Straws – Cool Science Projects
Glitter Sensory Paint for Kids
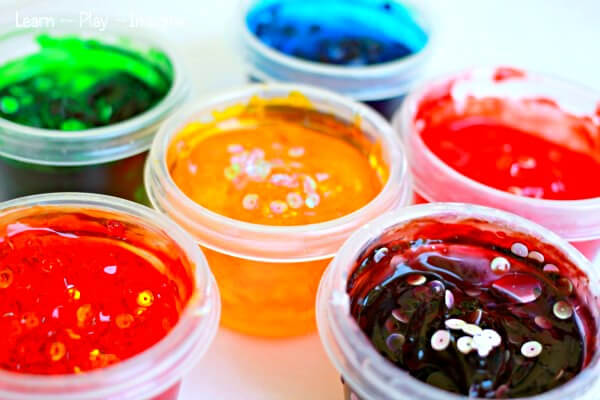
Image Source/Tutorial: Learn Play Imagine
Materials Required:
Clear glue, food coloring, glitter, small plastic jars, and mixing sticks.
Procedure:
Mix glue with a few drops of food coloring and glitter in small jars. Stir well and use the sparkly paint for sensory art projects.
DIY Number Learning Stones
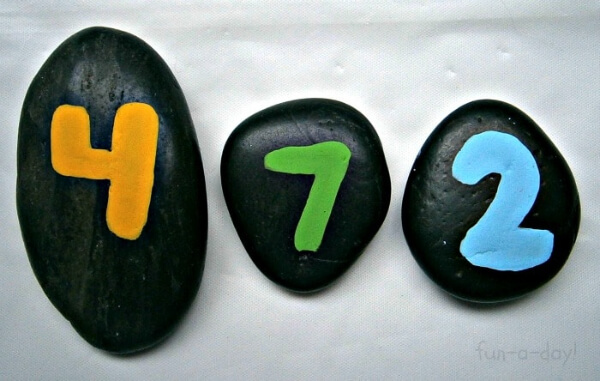
Image Source/Tutorial: B-Inspired Mama
Materials Required:
Smooth stones, acrylic paint, a paintbrush, and clear sealant.
Procedure:
Paint numbers on clean stones using bright colors. Let them dry and seal to make durable counting stones.
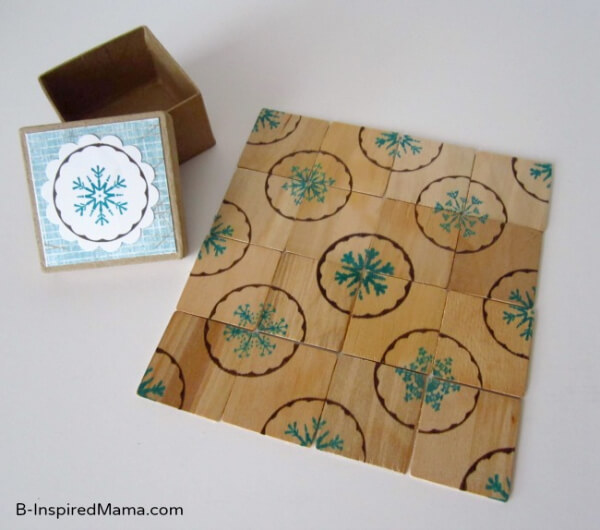
DIY Wooden Stamp Puzzle
Materials Required:
Small wooden blocks, stamps, an ink pad, glue, and a small box.
Procedure:
Arrange blocks together and stamp a pattern across the surface. Mix the blocks and challenge kids to rebuild the design.
Cute Ladybug Bug Buddy Craft
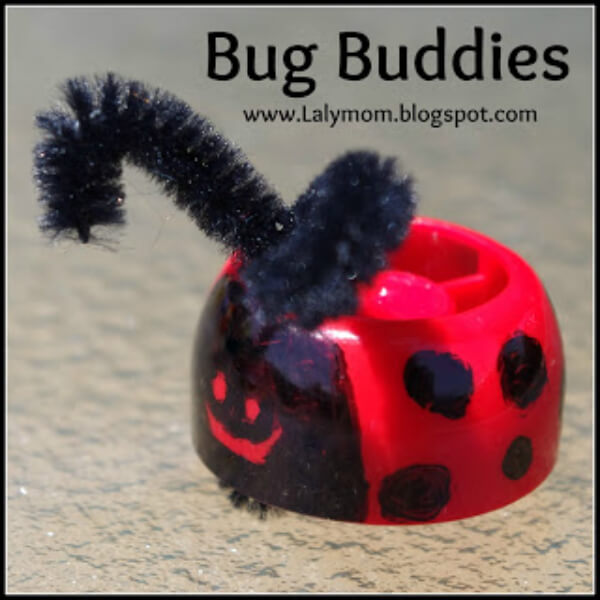
Image Source/Tutorial: Laly Mom
Materials Required:
Plastic bottle cap, red and black paint, pipe cleaners, and glue.
Procedure:
Paint the cap red and add black spots for the ladybug body. Attach pipe cleaners as antennae to complete the bug.
Colorful Alphabet Bookmarks
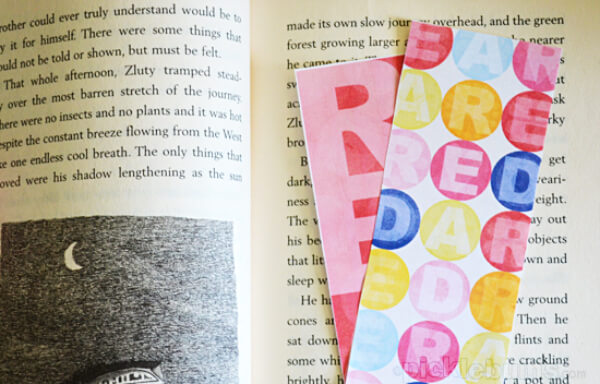
Image Source/Tutorial: Pickle Bums
Materials Required:
Colored paper, markers, scissors, and a laminating sheet (optional).
Procedure:
Cut bookmark shapes from paper and decorate with alphabet patterns. Laminate or cover with tape to make them long-lasting.
Read More: Paper Owl Gift Card for Teacher on Teacher’s Day
Glow in the Dark Chalk Drawing
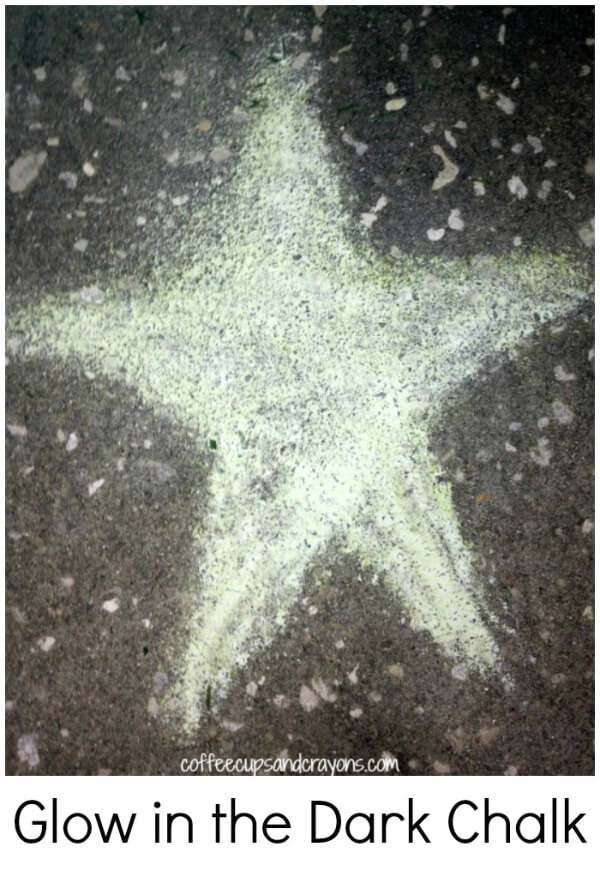
Image Source/Tutorial: Coffee Cups And Crayons
Materials Required:
Glow-in-the-dark chalk powder, water, mold or tray, bowl.
Procedure:
Mix glow chalk powder with a little water to form a paste. Shape it and let it dry before drawing glowing pictures outdoors.
Personalized I-Spy Bottle Game
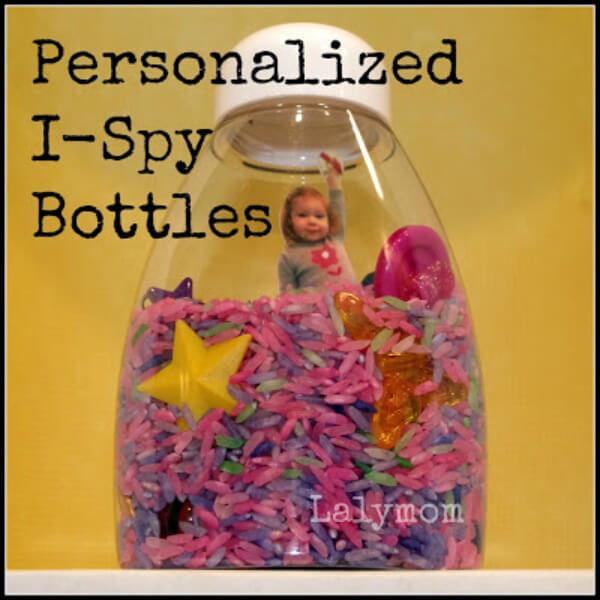
Materials Required:
Plastic bottle, colored rice, small toys, funnel, and glue.
Procedure:
Fill the bottle with colored rice and tiny objects. Seal the lid and let kids shake and find hidden items.
Magnetic Robot Building Activity
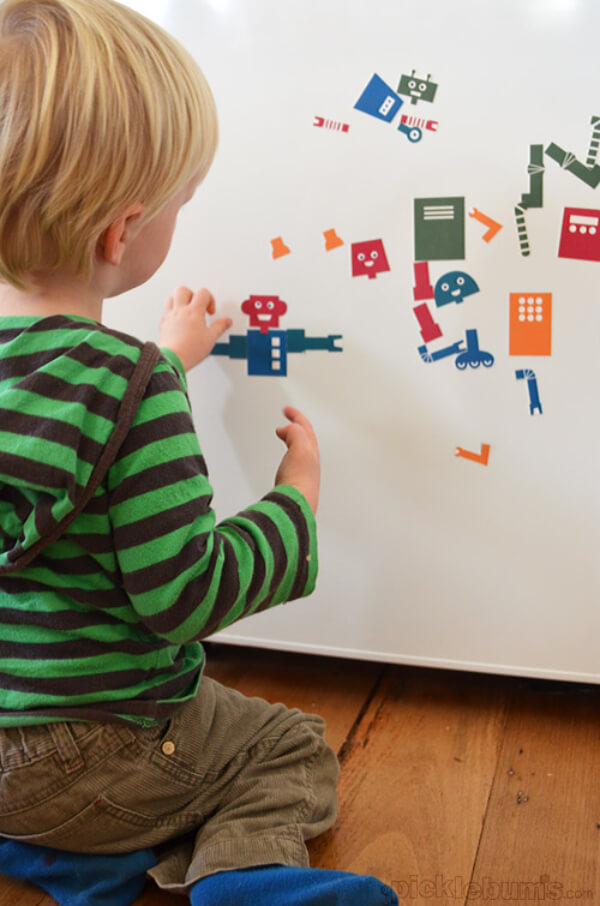
Image Source/Tutorial: Pickle Bums
Materials Required:
Magnetic sheets, scissors, colored paper, and a metal board.
Procedure:
Cut robot shapes from magnetic sheets or paper. Let children arrange and build different robot designs on the board.
Nature Dot Painting Craft
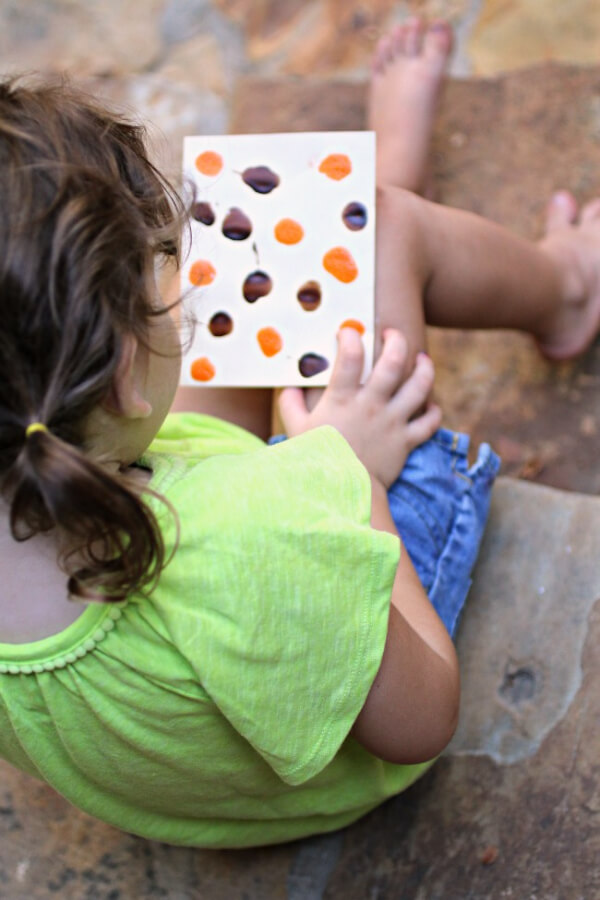
Image Source/Tutorial: Kids Activities Blog
Materials Required:
Paper, paint, cotton buds, or fingers.
Procedure:
Dip cotton buds in paint and make colorful dots on paper. Create patterns or pictures using the dot technique.
Rubber Band Geoboard Activity
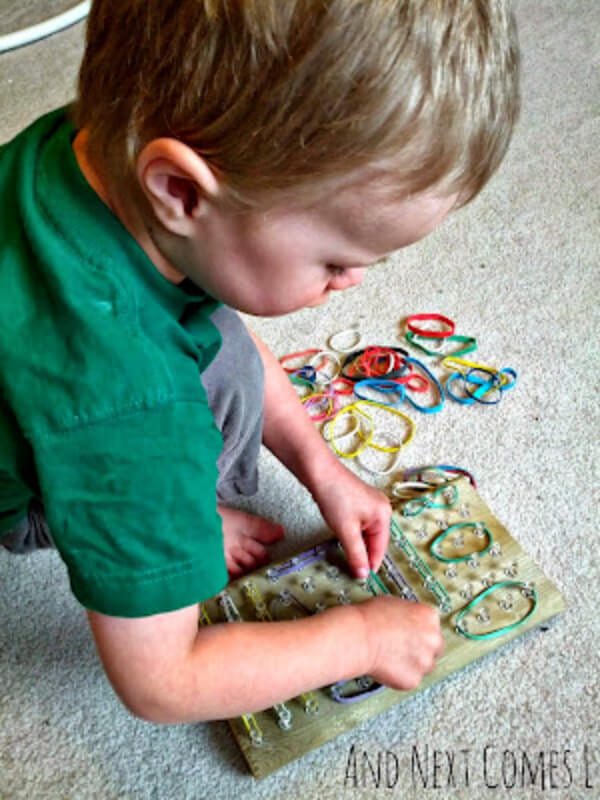
Image Source/Tutorial: And Next Comes l
Materials Required:
Wooden board, small nails, rubber bands, hammer.
Procedure:
Hammer nails evenly on a board to make a peg grid. Stretch rubber bands around nails to form shapes.
Read More: 10 Simple Science Experiments for 3-5 Year Olds
DIY Natural Candy Treats
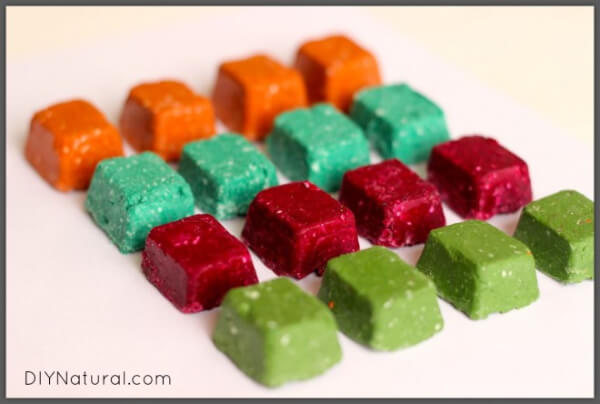
Image Source/Tutorial: DIY Natural
Materials Required:
Fruit juice, gelatin or agar powder, sugar, silicone mold.
Procedure:
Heat fruit juice with gelatin and pour into molds. Let it cool and set before removing the candy cubes.
Sewn Paper Candy Pouch Craft
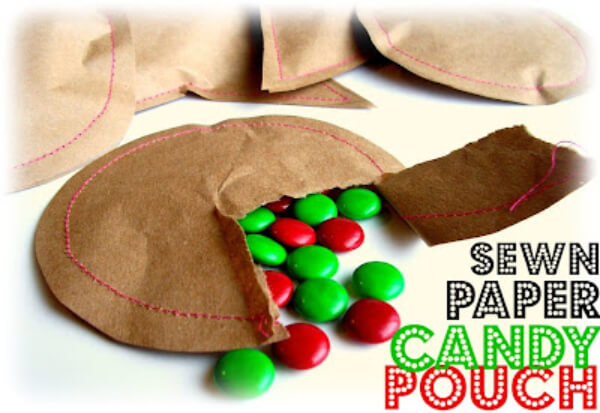
Image Source/Tutorial: Peppermint Plum
Materials Required:
Brown craft paper, needle, thread, and candies.
Procedure:
Cut two circle shapes from paper and stitch around the edges. Leave a small opening to fill candies and close the pouch.
Reusable Chalkboard Blocks
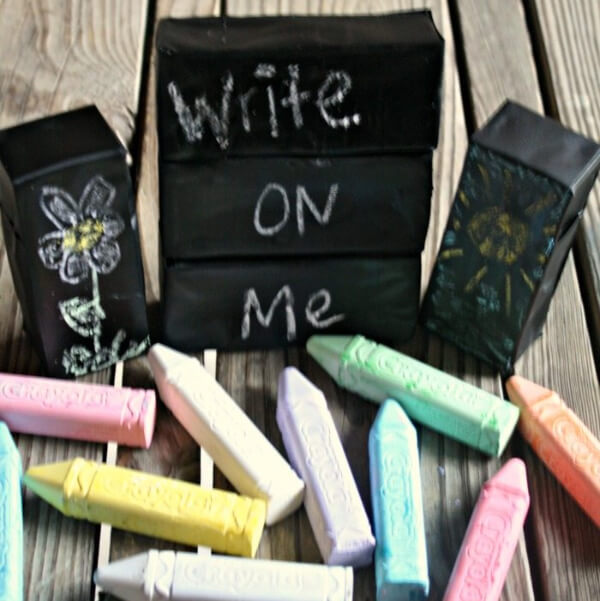
Image Source/Tutorial: Parenting Chaos
Materials Required:
Wooden blocks, chalkboard paint, a paintbrush, and chalk.
Procedure:
Paint the blocks with chalkboard paint and let them dry completely. Kids can write and erase drawings on the blocks anytime.
Colorful Crochet Cup Sleeve
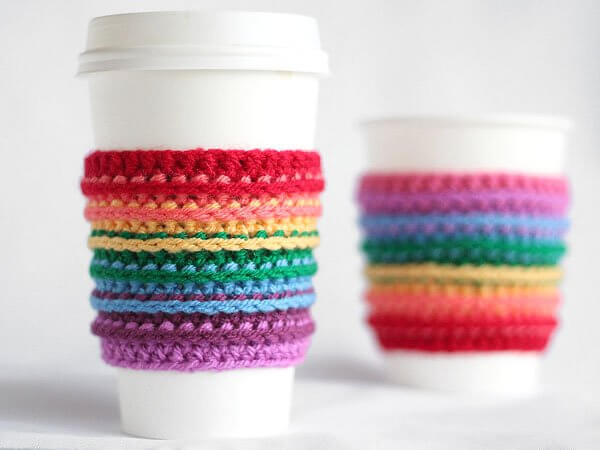
Image Source/Tutorial: Crafts.Tuts Plus
Materials Required:
Yarn, crochet hook, scissors.
Procedure:
Crochet a small sleeve using simple stitches. Slide it onto a cup for decoration and heat protection.
Matchstick Beaded Bracelet
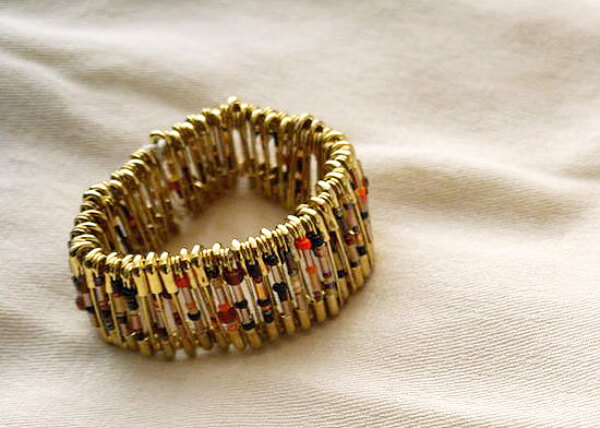
Image Source/Tutorial: Pop Sugar
Materials Required:
Matchsticks, beads, elastic string, and glue.
Procedure:
Thread matchsticks and beads alternately onto the elastic string. Tie securely to form a circular bracelet.
Read More: How to Make Bubble Wrap Dinosaur – Step by Step Instructions
Decorative Wooden Phone Case
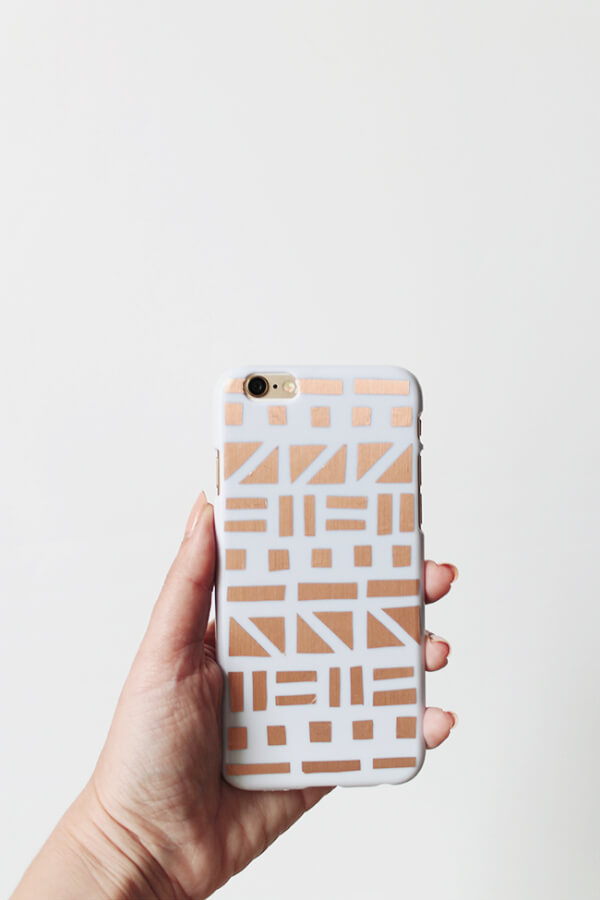
Image Source/Tutorial: Almost Makes Perfect
Materials Required:
Plain phone case, thin wooden pieces, and glue.
Procedure:
Arrange wooden pieces into geometric patterns on the case. Glue them firmly and allow the design to dry.
Decorative DIY Pencil Set
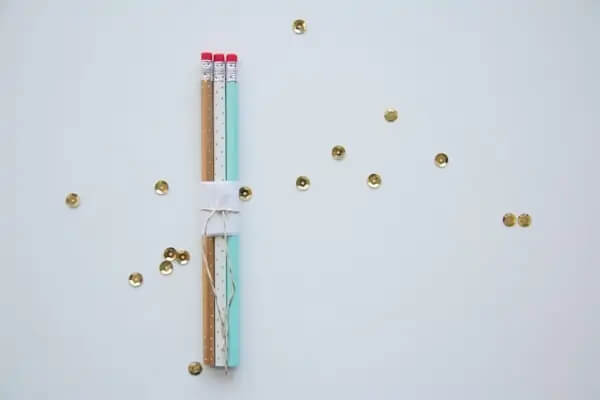
Image Source/Tutorial: Lovely Indeed
Materials Required:
Pencils, decorative tape, ribbon, and scissors.
Procedure:
Wrap pencils with decorative tape or stickers. Tie them together with ribbon for a pretty bundle.
Origami Star Craft
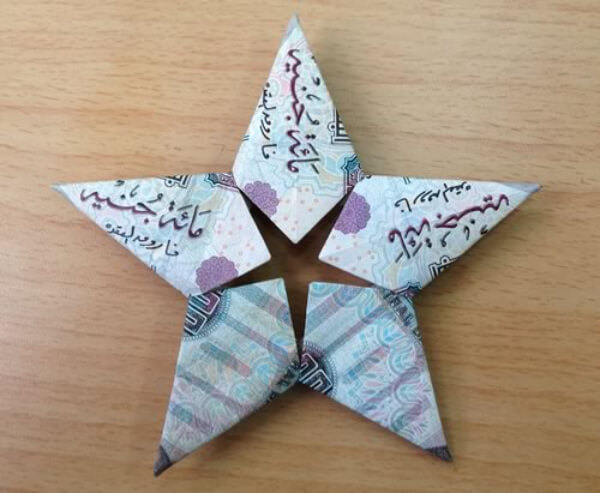
Image Source/Tutorial: Homemade-Gifts-Made-Easy
Materials Required:
Paper or currency note.
Procedure:
Fold the paper into triangular shapes following star folds. Join the pieces together to form a five-point star.
Bendable Wooden Bracelet
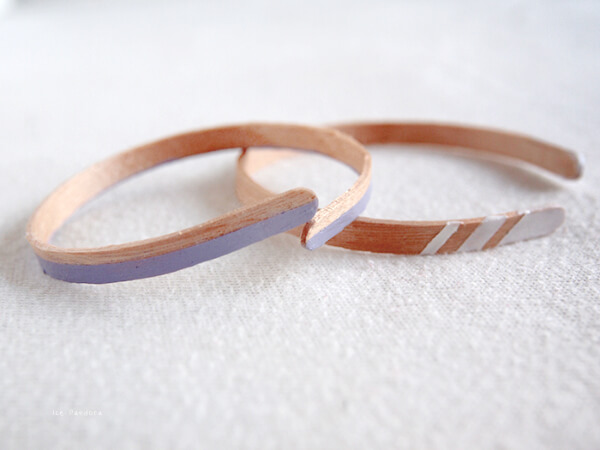
Image Source/Tutorial: Ice Pandora.Blogspot
Materials Required:
Thin wooden stick, warm water, paint, and glue.
Procedure:
Soak the wooden stick in warm water to make it flexible. Bend into bracelet shape and let it dry before decorating.
DIY Personalized Leather Keychain
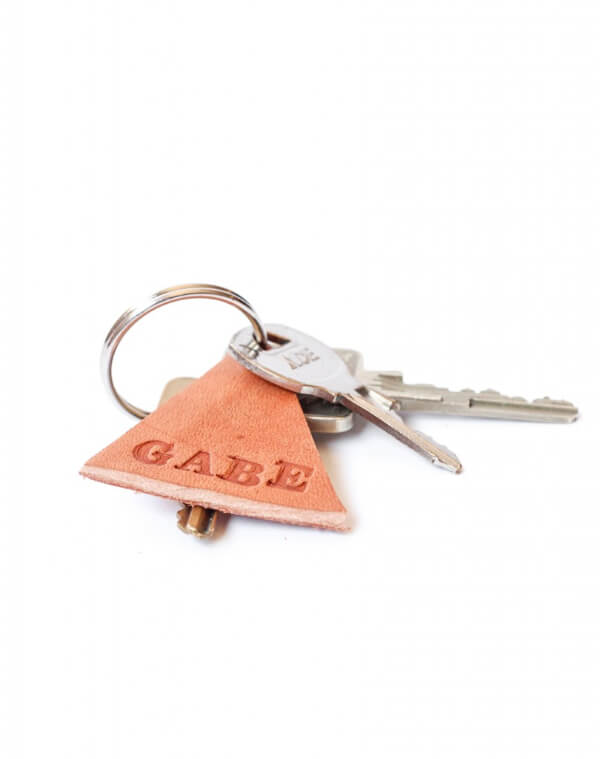
Image Source/Tutorial: The Crafted Life
Materials Required:
Leather piece, key ring, leather punch, letter stamps, hammer.
Procedure:
Cut the leather into a triangle and stamp a name or word on it. Punch a hole, attach the key ring, and secure it firmly.
Read More: Christmas Tree Made Out of Recycled Plastic Bottles
Handmade Felt Heart Plush
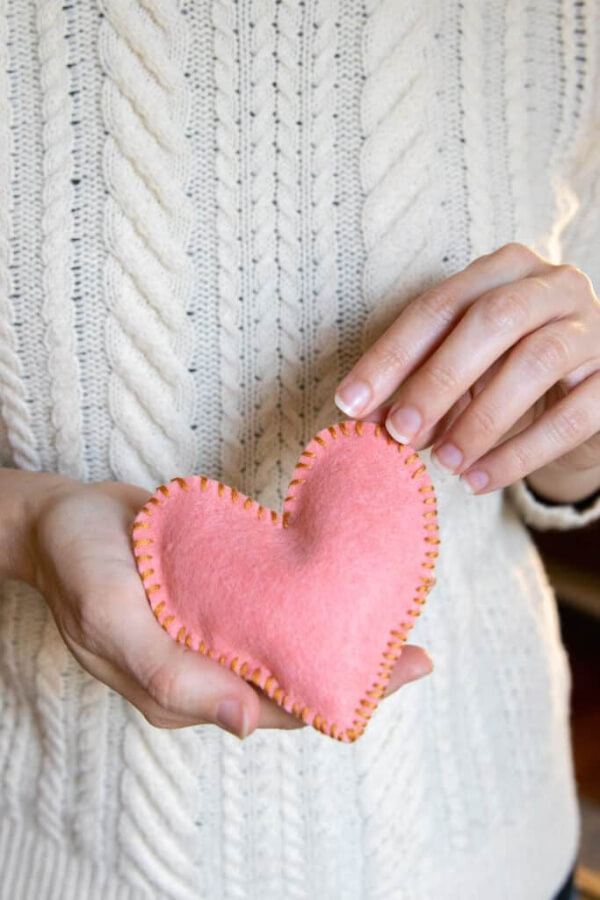
Image Source/Tutorial: Hello Glow
Materials Required:
Felt fabric, needle, thread, scissors, cotton stuffing.
Procedure:
Cut two heart shapes from felt and stitch around the edges. Fill with cotton stuffing and close the final stitch.
DIY Mini Zipper Pouch Keychain
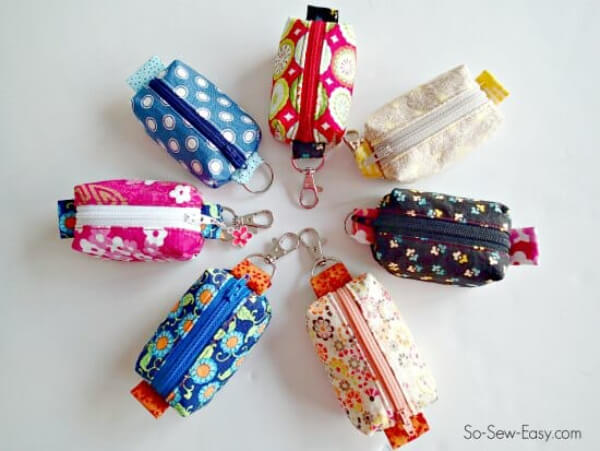
Image Source/Tutorial: So-Sew-Easy
Materials Required:
Fabric pieces, zipper, sewing machine, needle, and keychain ring.
Procedure:
Sew fabric around a zipper to form a small pouch. Attach a keychain ring so it can hang on bags or keys.
DIY Candy Cane Bath Salts
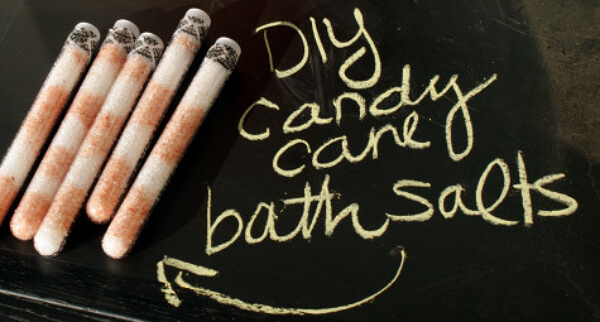
Image Source/Tutorial: Soap Deli News
Materials Required:
Epsom salt, food coloring, peppermint essential oil, and small tubes.
Procedure:
Divide salt into bowls and color half red while keeping the rest white. Layer them in tubes to create a candy cane effect.
Homemade Lemon Poppy Seed Soap
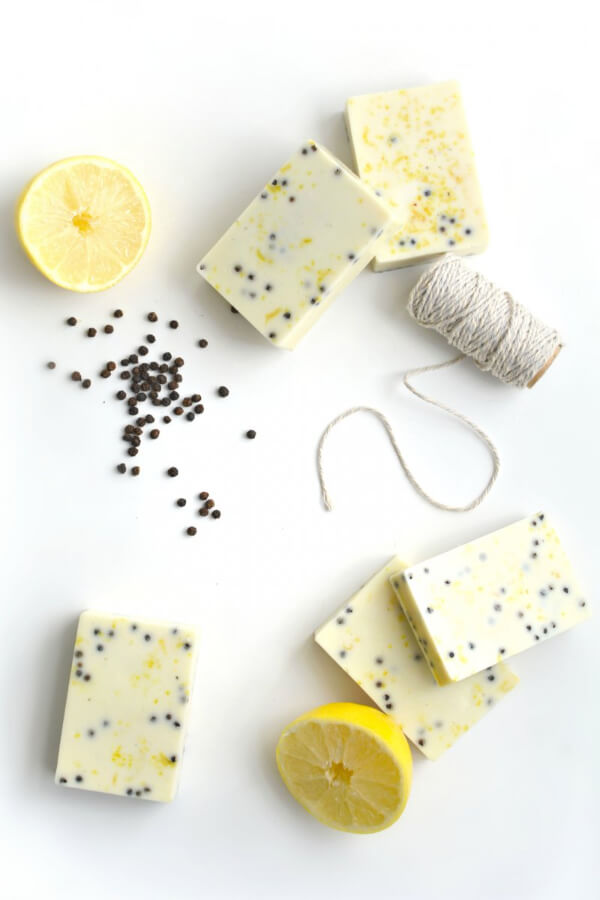
Image Source/Tutorial: Burkatron
Materials Required:
Soap base, lemon essential oil, poppy seeds, soap mold.
Procedure:
Melt the soap base and mix in lemon oil and poppy seeds. Pour into molds and allow the soap to cool and harden.
DIY Homemade Vanilla Extract
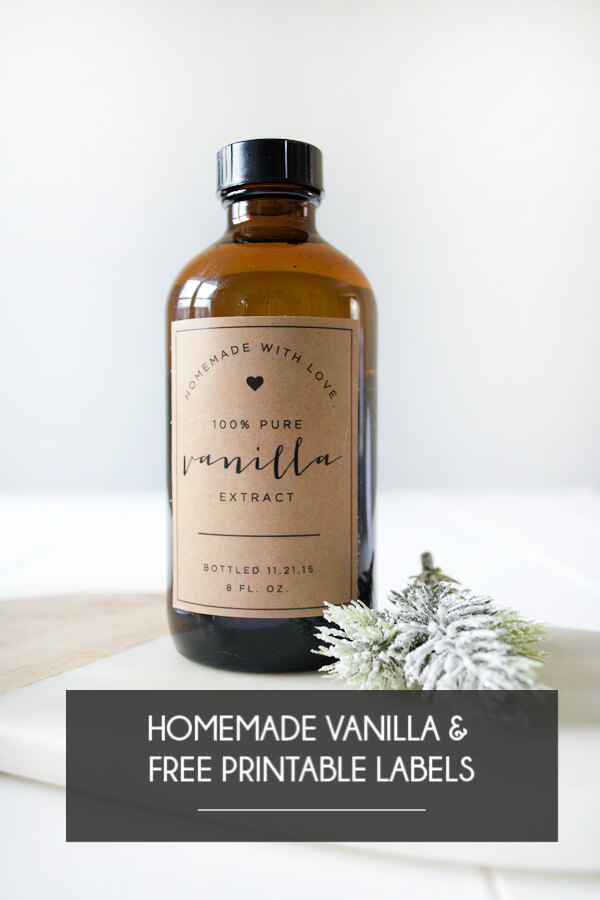
Image Source/Tutorial: Brepurposed.Porch
Materials Required:
Vanilla beans, vodka or alcohol, and a glass bottle.
Procedure:
Split vanilla beans and place them inside the bottle. Fill with alcohol and let it sit for several weeks.
Read More: New Year’s Coloring Pages for Kids
Polymer Clay Chocolate Charms
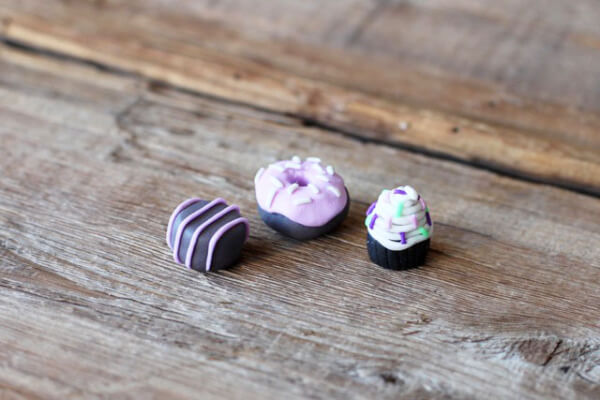
Image Source/Tutorial: Lil Blue Boo
Materials Required:
Polymer clay, sculpting tools, oven, and glaze.
Procedure:
Shape clay into tiny chocolate designs. Bake according to instructions and apply glaze for shine.
Natural Homemade Lip Balm
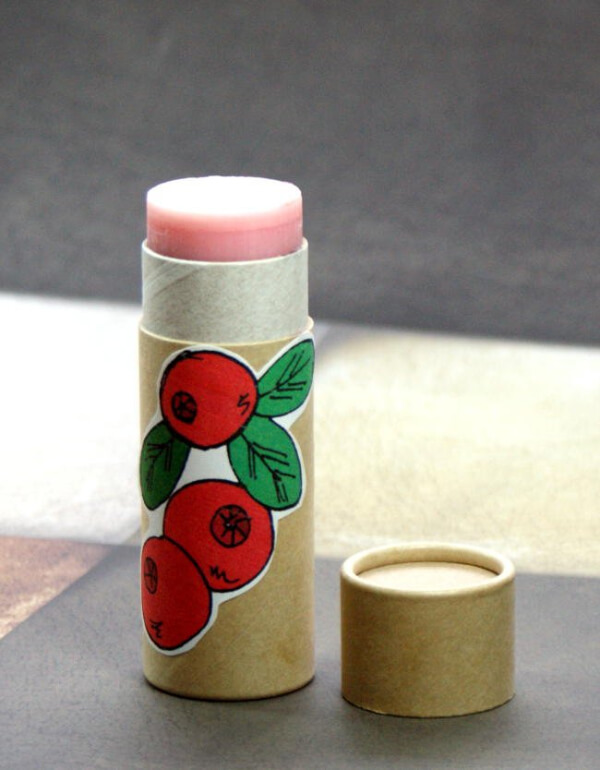
Image Source/Tutorial: Soap Deli News
Materials Required:
Beeswax, coconut oil, essential oil, and a lip balm tube.
Procedure:
Melt beeswax and coconut oil together. Add essential oil and pour into the balm tube to cool.
DIY Fabric Cord Organizer
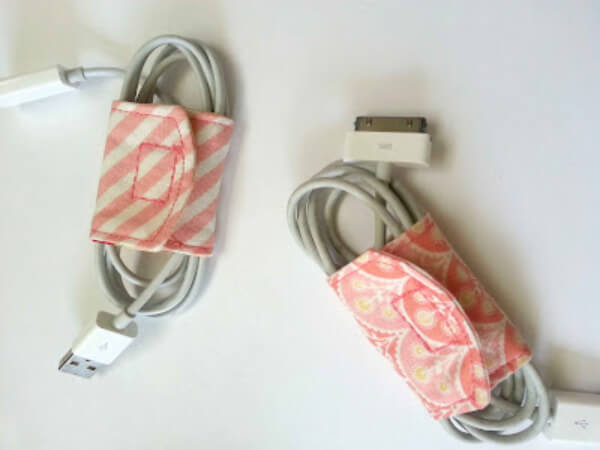
Image Source/Tutorial: Leafy Tree Top Spot
Materials Required:
Fabric scraps, Velcro, needle, thread, and scissors.
Procedure:
Cut fabric into a small rectangular wrap and sew the edges. Attach Velcro so the wrap can secure cables neatly.
DIY Hot Cocoa Gift Bottles Craft
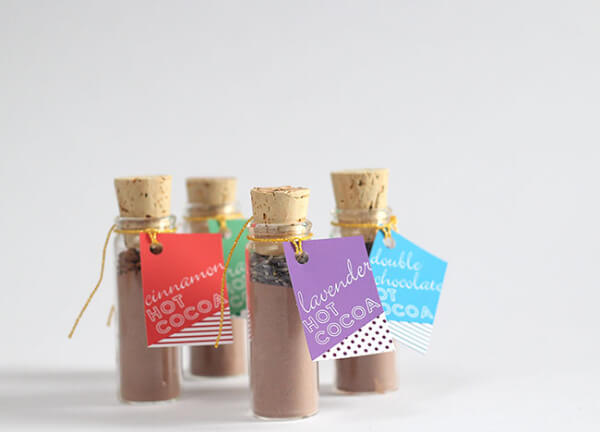
Image Source/Tutorial: Green Wedding Shoes
Materials Required:
Small glass bottles with cork lids, Cocoa powder or hot chocolate mix, Decorative labels or tags, String or twine, Hole punch
Procedure:
Fill small bottles with hot cocoa mix and close them with cork lids. Attach a decorative label using string or twine to create a cute gift bottle.
Homemade Peppermint Lip Balm Craft
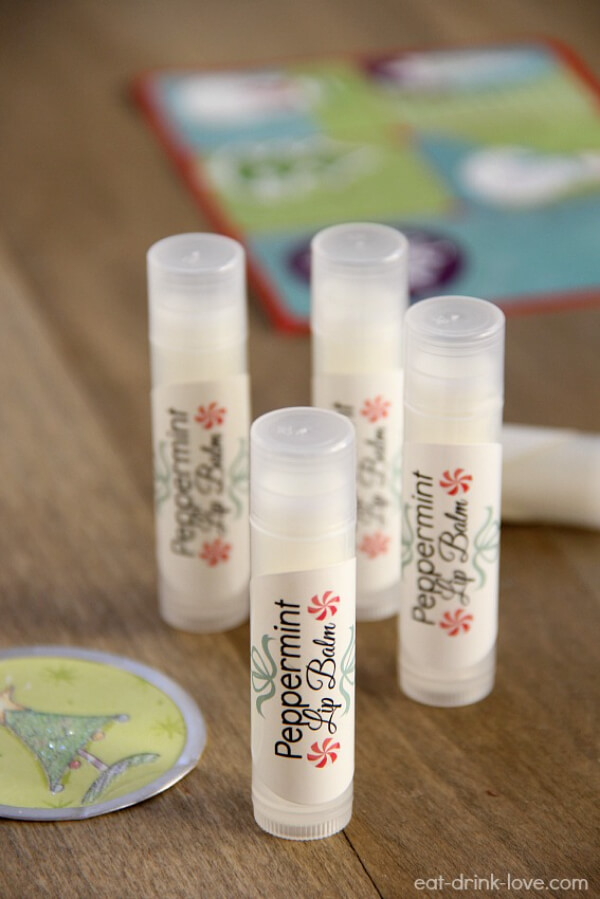
Image Source/Tutorial: Eat-Drink-Love
Materials Required:
Lip balm tubes, Beeswax, Coconut oil, Peppermint essential oil, Small container for melting
Procedure:
Melt beeswax and coconut oil together, then add a few drops of peppermint oil. Pour the mixture into lip balm tubes and allow it to cool and harden.
Read More: Math Games And Activities for Kids
Colorful Beaded Bracelet Craft for Kids
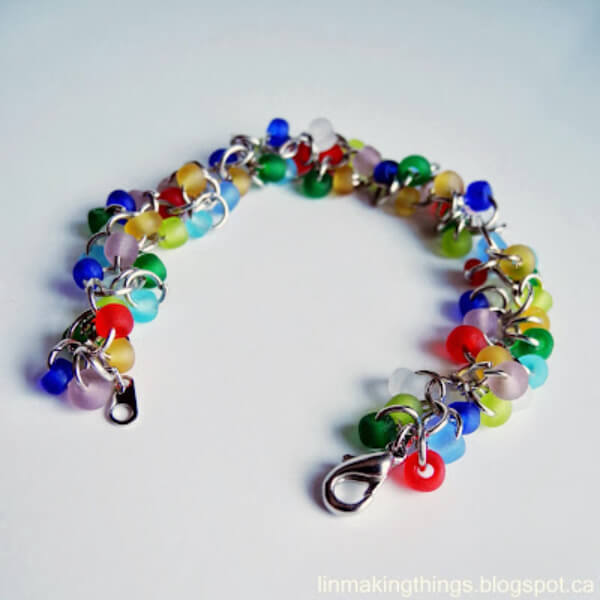
Image Source/Tutorial: Lin Making Things
Materials Required:
Colorful beads, Jump rings, Jewelry chain or string, lobster clasp, and Jewelry pliers
Procedure:
Attach colorful beads to jump rings and connect them along the bracelet chain. Add a clasp at the ends to finish the bracelet.
DIY Photo Puzzle Craft
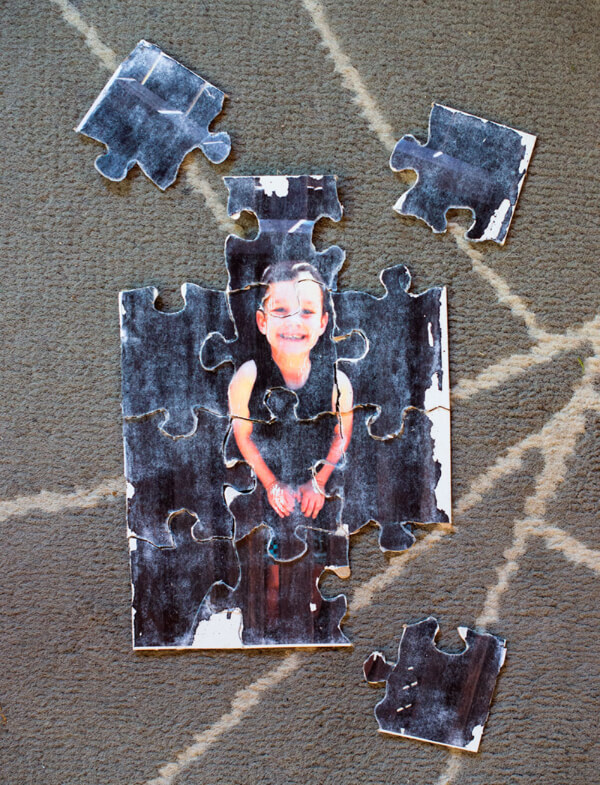
Image Source/Tutorial: The Home Steady
Materials Required:
Printed photo, Cardboard, Glue, Scissors or craft knife, and Marker
Procedure:
Glue the printed photo onto a piece of cardboard and let it dry. Draw puzzle shapes on the back and cut them out to create puzzle pieces.
Handmade Decorative Notebook Craft
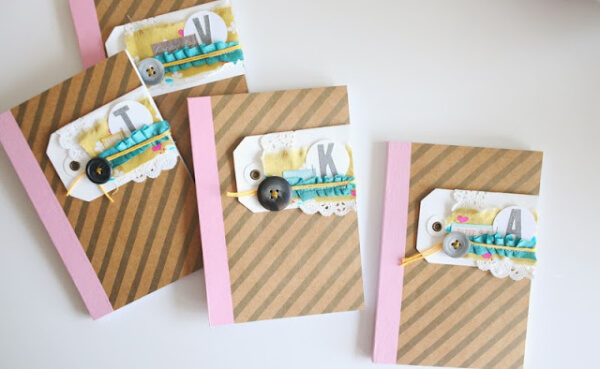
Image Source/Tutorial: Shannanoel
Materials Required:
Small notebooks or cardstock, buttons, ribbon, or lace. Glue or hot glue gun, decorative paper
Procedure:
Cover the notebook with decorative paper and glue ribbon or lace on the front. Add buttons and small decorations to create a unique handmade notebook.
Step-by-Step DIY Stocking Stuffers Tutorial
Learn how to make creative and easy DIY stocking stuffers with this step-by-step video tutorial! Follow along for simple handmade gift ideas, perfect for last-minute holiday presents and thoughtful stocking fillers. Get clear instructions, crafty inspiration, and fun gift ideas you can make at home. Perfect for beginners and gift makers!
Benefits of Handmade Stocking Stuffers for Kids
Handmade stocking stuffers offer children a unique and meaningful holiday experience. Unlike store-bought gifts, handmade creations encourage creativity, imagination, and personal connection. Making small gifts by hand also helps children develop fine motor skills, problem-solving abilities, and confidence in their artistic talents.
Many parents and educators appreciate handmade stocking stuffers because they promote thoughtful gift-giving rather than focusing solely on commercial products. Craft projects such as bookmarks, puzzles, bracelets, keychains, and sensory toys can provide both entertainment and educational value while creating lasting memories during the holiday season.
Tips for Creating Memorable Handmade Stocking Stuffers
- Choose projects that match the recipient’s age and interests.
- Use safe, child-friendly materials and supervise crafting activities when needed.
- Incorporate recycled or upcycled materials to make gifts more eco-friendly.
- Add personalized details such as names, favorite colors, or special messages.
- Keep projects simple enough to complete without frustration.
- Package handmade gifts creatively using festive bags, tags, or wrapping paper.
Thoughtful handmade gifts often become cherished keepsakes because they reflect time, effort, and creativity rather than monetary value.
FAQs
Q1. What are handmade stocking stuffers?
Answer: Handmade stocking stuffers are small DIY gifts and crafts designed to fit inside Christmas stockings. They can include bookmarks, bracelets, puzzles, ornaments, sensory toys, bath products, and other personalized creations.
Q2. Why are handmade stocking stuffers popular?
Answer: They are affordable, customizable, and often more meaningful than mass-produced gifts. Handmade items also encourage creativity and personal expression.
Q3. What are some easy handmade stocking stuffer ideas for kids?
Answer: Popular options include painted rocks, bookmarks, friendship bracelets, origami crafts, mini puzzles, sensory bottles, and personalized keychains.
Q4. Can handmade stocking stuffers be educational?
Answer: Yes. Many DIY gifts, such as learning stones, puzzles, geoboards, and activity kits, help children develop problem-solving, literacy, math, and fine motor skills.
Q5. How can I make handmade stocking stuffers more eco-friendly?
Answer: Use recycled paper, cardboard, fabric scraps, reusable containers, and natural materials whenever possible. Repurposing materials helps reduce waste and teaches children about sustainability.
Handmade stocking stuffers are a wonderful way to add creativity and personal meaning to holiday celebrations. Whether you create bookmarks, puzzles, bracelets, sensory activities, or festive keepsakes, these small gifts can bring big smiles while encouraging learning and imagination. By combining thoughtful crafting with holiday traditions, handmade stocking stuffers help create memorable experiences that families can treasure for years to come. Unlock a world of creativity with daily crafts and activities. Stay connected on Telegram, YouTube & Facebook.
Reviewed by Yash Sharma
More Articles from Kids’ Art & Craft
- Gingerbread man activities for preschool
- Free Printable Vegetable Coloring Pages for Kids
- Easy Kids Fun Butterfly Craft
- 24 DIY Plastic Bottle Craft Ideas for Kids
- 21 Awesome Pony Bead Craft Projects for Kids