Drawing
Beautiful House Landscape Drawing Using Crayon Color Tutorial

Let’s make a simple yet beautiful drawing with this step-by-step tutorial! A scenery of a house in a peaceful landscape with greenery!
Today, we brought you a drawing that will keep your mind at ease just by looking at it! This landscape drawing will be a great artwork activity for your little ones which will help them drive their motor skills and enhance creativity and innovation skills as well! Kids will learn to inspire by their surroundings and create something beautiful art out of it! This drawing is basically the most common one a kid should make in his/her childhood but through this step-by-step tutorial, they will able to make it with proficiency!
Simple House Landscape Drawing Using Crayon Color
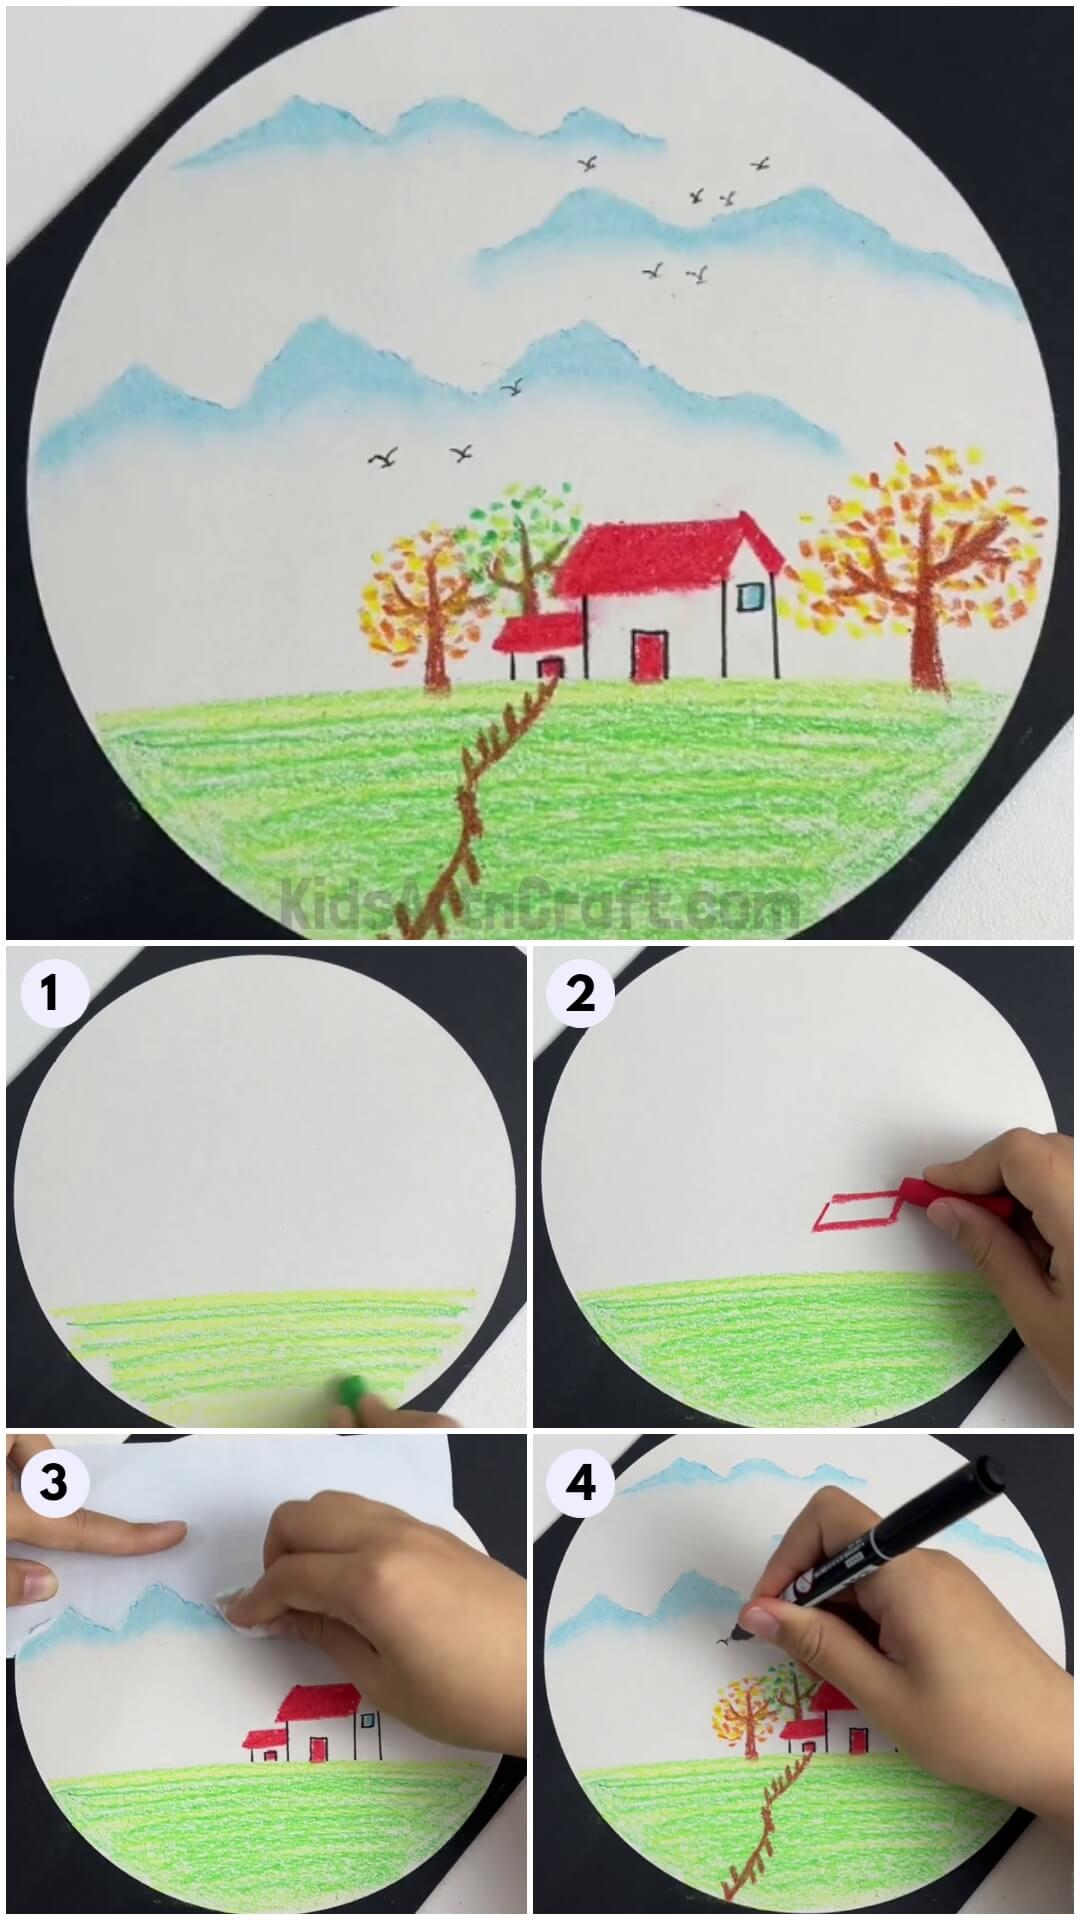
Read More: How to Draw Easy Scenery Step-by-Step Tutorial
Materials Required
- White Paper Sheet (Circular And Plain)
- Crayon Colors
- Black Marker
- Tissue Paper
Procedure
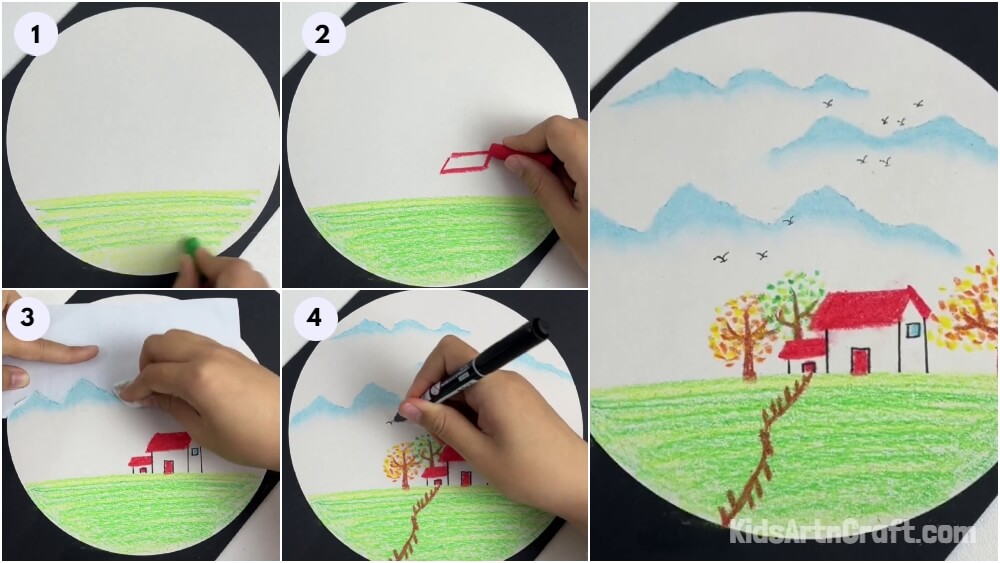
Step 1: Making Ground
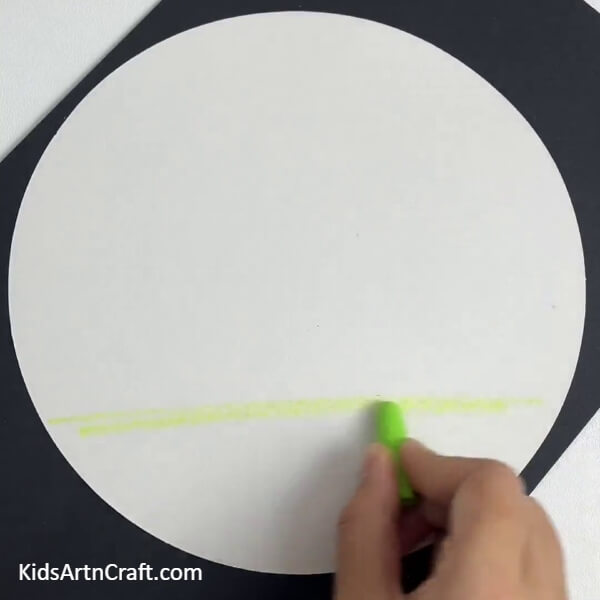
To begin this drawing, take a white circular paper sheet as the base for your artwork and a green wax crayon. Using the crayon make an irregular line over the below half of the base to serve as a ground in the drawing.
Step 2: Coloring The Whole Ground
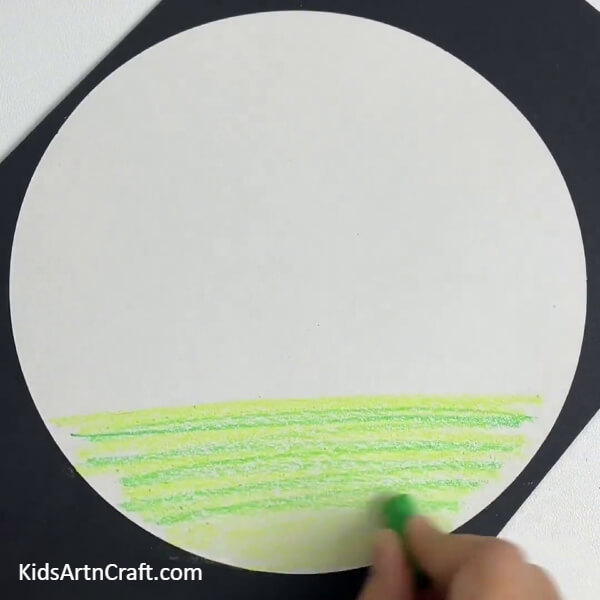
Using the green and yellow crayons, color out the whole ground below the ground line.
Step 3: Making Houses
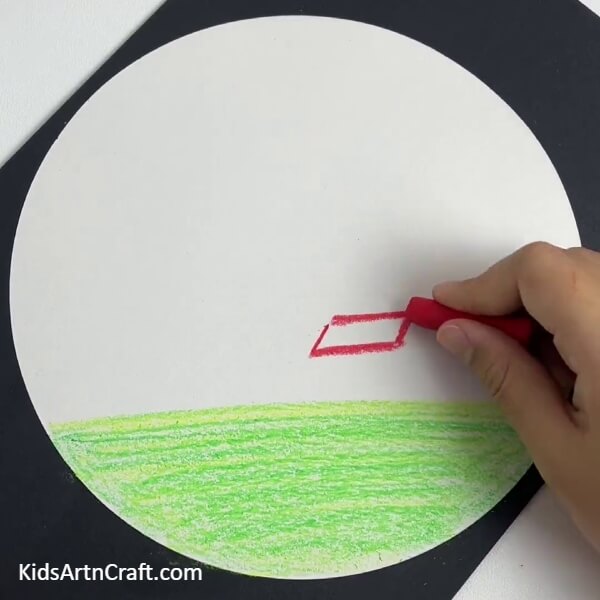
Using a red crayon, draw a rhombus shape a little over the ground to make the roof of a house and color it out, then using a black sketch pen draw the house beneath it and color the window with a blue crayon. Make another house back and roof the same and color their doors with the red crayon.
Step 4: Making A Mountain Stencil
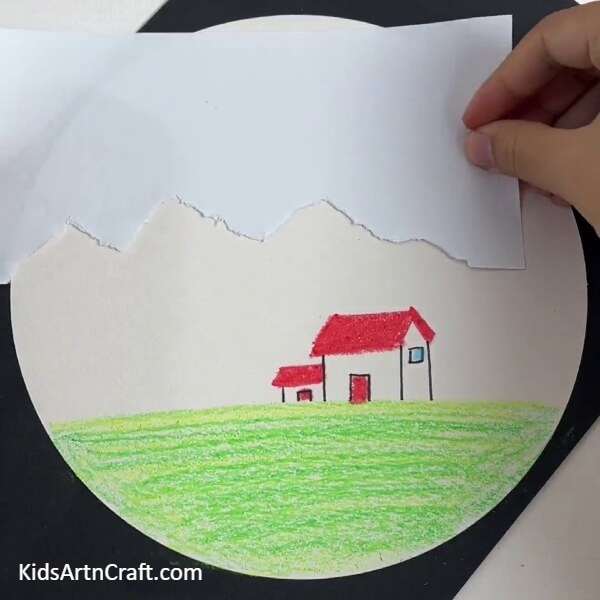
Take a white sheet and tear it out randomly to make a mountain stencil.
Step 5: Making Mountains
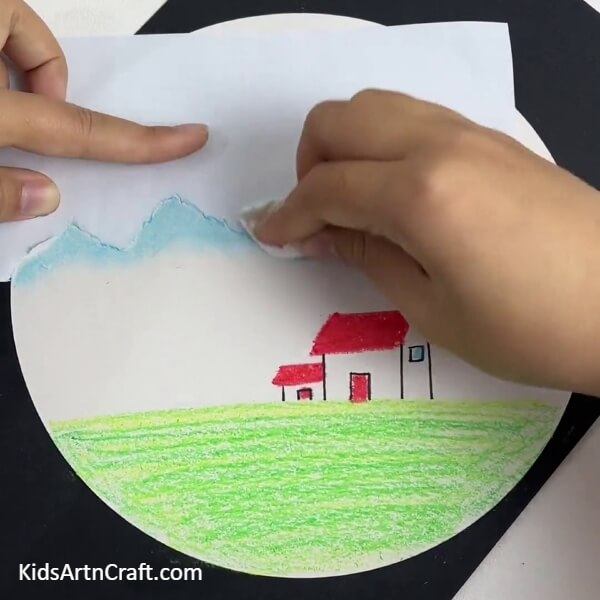
Place the stencil over the top half of the circular base and using the blue crayon, make a mountain outline. Now, using tissue, spread out the crayon over the base to make it look like the shade of the mountain.
Step 6: Making More Mountains
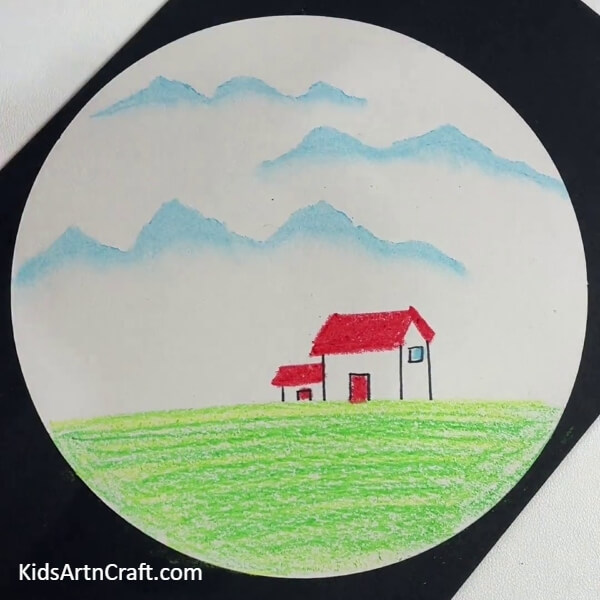
Place the stencil a little over the made mountain on the right and make more shady mountains over it and again over it to the left.
Step 7: Making Trees And Fence
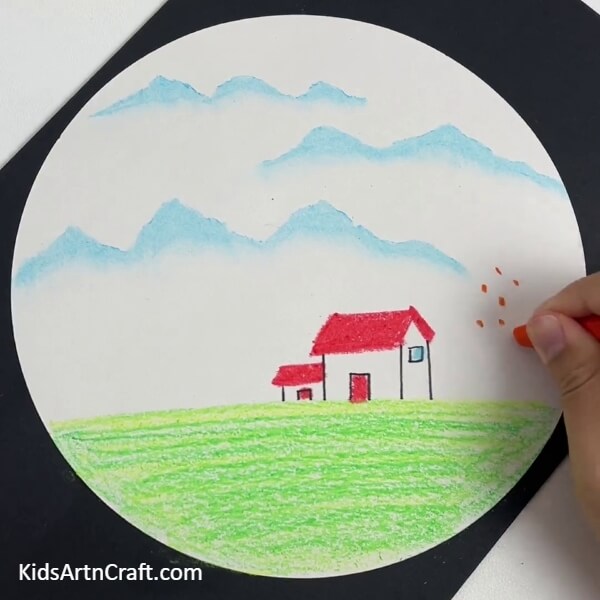
Using green, yellow, and orange crayons, make dotted leaves and make the tree trunk and branches with brown crayons near the houses over the ground.
For the fence, use a brown crayon coming from the back house’s door wavily to the end of the ground.
Step 8: Drawing Birds
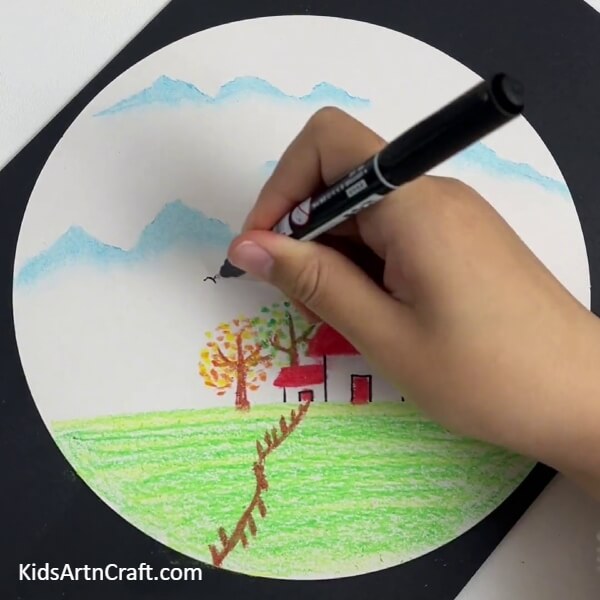
Using the black marker, draw the classic curvy birds in the sky randomly.
Your House Landscape Drawing Is Ready!
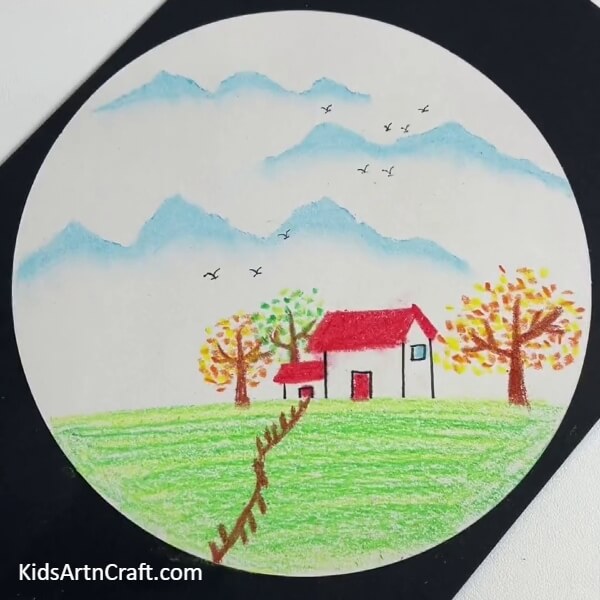
Well, well, this is the final look of your amazing and peaceful house landscape drawing!
The kiddos will definitely be motivated by the results and will admire them! Let them unleash their creative selves with this artwork and who knows this might be the first step to their artist future! So let them explore themselves and be creative as they want! They can even customize this drawing to make it as unique as they are! You can use this artwork to decorate your room or even as your school art project! It will thrive anywhere!
Follow us on Youtube for art and craft tutorials and much more.
More Articles from Kids Art & Craft
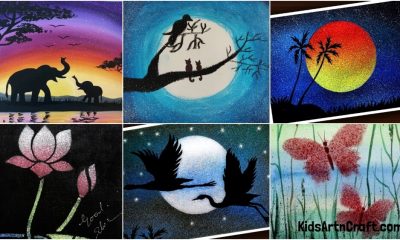
- Creative Owl Painting Idea For Kids Step-by-step Tutorial
- Fun Screaming Lemon Drawing Step-by-Step Instructions
- Tree Day And Night Sketch Pen Drawing Artwork
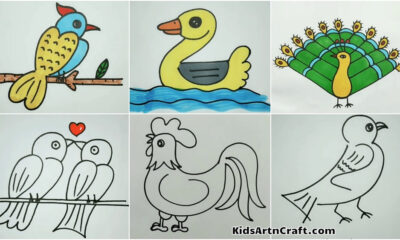
- Easy Hand Outline Hen Drawing Trick And Steps Tutorial
- Amazing Tree Drawing From Hand Outline Step-by-Step Tutorial


