


DIY and Crafts
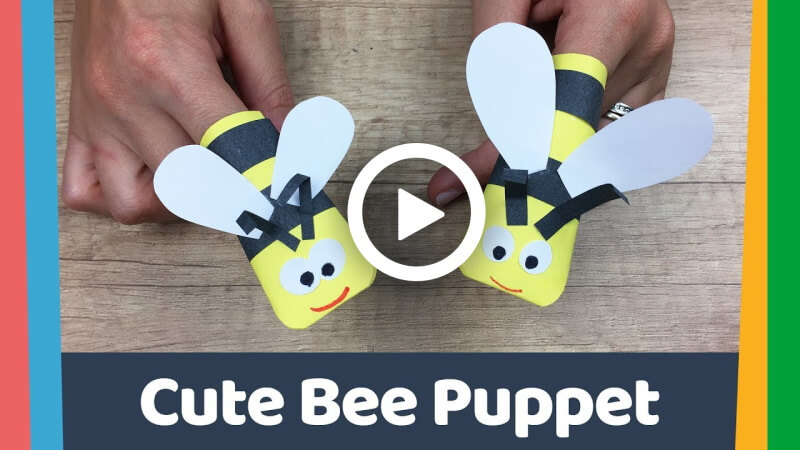
How to Make a DIY Paper Bee Puppet

Hi guys! Today, you are going to make a very interesting and loving insect. You must be thinking about what it might be? Do let’s reveal it! It’s a honey bee puppet. You can arrange a bee play with it. This insect can be scary and useful at the same time. They provide us, honey, you must know that. But let us tell you some more interesting facts about them that you might not know.
They have five eyes and six legs. They are the only insects that provide food eaten by man. They can fly fifteen miles per hour. They also swat their wings 11,400 times in one minute. Female bees, or queen bees, can sing as well. Interesting right! So now that you know so many facts about them. Let’s make one of them!
How to Make a DIY Paper Bee Puppet
Materials:
- A square-shaped yellow-coloured paper.
- Three long black coloured paper strips.
- A white paper.
- Two small white paper circles.
- A red colour sketch pen.
- A black marker pen.
- A glue stick.
- Scissors.
Procedure:
- Take a square-shaped yellow coloured paper, roll it from top to bottom straightly from the side.
- Apply glue on the end of a side with a glue stick to secure the paper.
- The inside of the roll will be hollow.
- Fold the top side of the piece a little straight.
- Apply glue on the fold and attach it with the glue stick.
- Cut the side edges of the glued fold part roundly like a head with scissors.
- It will be the head portion of the bee.
- Take two black colour long paper strips, roll them on the paper by leaving a little space from the top head portion.
- There should be a space between the two strips.
- Press glue on the end of the strips with the glue stick to secure them properly.
- Take two small paper circles and a black marker pen, and draw cute eyeballs in the middle of the circles to create two eyes.
- Attach the eyes in the middle of the round head portion of the bee with the glue stick.
- Take a white paper, cut out two same-sized honey bee wing shapes from it with scissors.
- Fold the end corner of the wings a little.
- Attach the wings with the folds on both sides of the top black strip with the glue stick.
- Take a red colour sketch pen, and draw a cute smile under the eyes of the bee.
- Take a black colour paper strip, cut it into two pieces.
- These pieces will be the head strings of the bee.
- Fold the tips of the pieces a little and attach them with the folds on the top of the eyes with the glue stick.
- Make some curves on the strings by rolling them with a sketch pen.
- Your cute puppet bee is ready!
- Put the bee on your finger and play with it.
It’s so cute and amazing, right? With this easy procedure, you can bring so much joy. Your friends are gonna love them. It also requires fewer materials that are easy for you to get. So, without wasting any time, grab your stationery and make a cute little craft!
FAQs on How to Make a DIY Paper Bee Puppet
Q1. What materials do I need to make a DIY paper bee puppet?
Answer: You will need construction paper, scissors, glue, markers, and a thin wooden dowel. Optional materials include glitter, sequins, and paint.
Q2. How do I make the bee’s body?
Answer: Start by cutting out a bee-shaped body from construction paper. Once the shape is cut out, you can use markers, paint, and glitter to decorate the bee.
Q3. How do I attach the bee’s wings?
Answer: Cut out two small wings from construction paper and attach them to the bee’s body using glue.
Q4. How do I attach the bee’s antennae?
Answer: Cut out two small antennae from construction paper, and attach them to the bee’s head using glue.
Q5. How do I attach the bee to the wooden dowel?
Answer: Attach the bee’s body to the wooden dowel using glue.
Q6. How do I make the bee puppet move?
Answer: The bee puppet can be made to move by pushing the wooden dowel up and down or side to side.
Q7. How do I make the bee puppet stand up?
Answer: Place the wooden dowel in a cup or bottle, and the bee puppet will stand up.
Q8. How should I store the bee puppet?
Answer: The bee puppet can be stored in a flat box or a container.
Q9. Can I use other materials to decorate the bee puppet?
Answer: Yes, you can use other materials such as sequins, glitter, and paint to decorate the bee puppet.
Q10. What age group is this craft suitable for?
Answer: This craft is suitable for children of all ages.
This DIY paper bee puppet craft is a simple, fun, and educational activity that kids will love making and playing with. It encourages creativity, improves crafting skills, and introduces children to the fascinating world of insects through hands-on learning. Whether at home or in the classroom, this cute bee puppet is a wonderful craft project for kids of all ages.
Make every day creative and fun for kids! Discover exciting DIY crafts and activities. Join our Telegram family and follow us on YouTube & Facebook.
Reviewed By Rachit Gupta
Read More:
- How to Make Paper Tulip Step-by-Step Instructions Easy Tutorial
- Learn A Magic Trick with Paper Craft
- Learn to Make Simple & Multicoloured Fringed Quilling Flower
- Owl Craft Ideas For Kids – Art & Craft Project for Kids
- Paper Crafts for Kids to Make Using Daily Materials


