


Easter
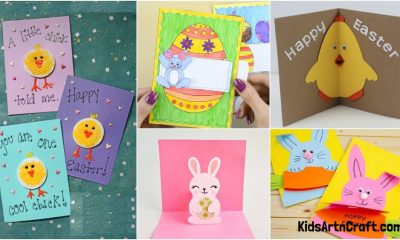
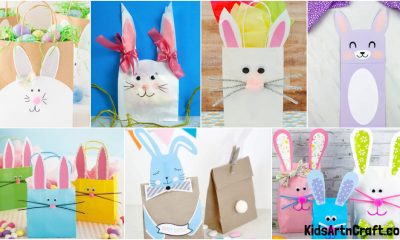
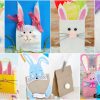
How to Make an Easter Bunny Gift Card

Create an adorable Easter Bunny gift card for your loved ones this season! With simple supplies and a few easy steps, you’ll be able to craft an Easter card that is sure to put a smile on anyone’s face. Learn how to make an Easter Bunny gift card today!
Hi guys! This is a whole season of festivals. So, you might be very happy now.
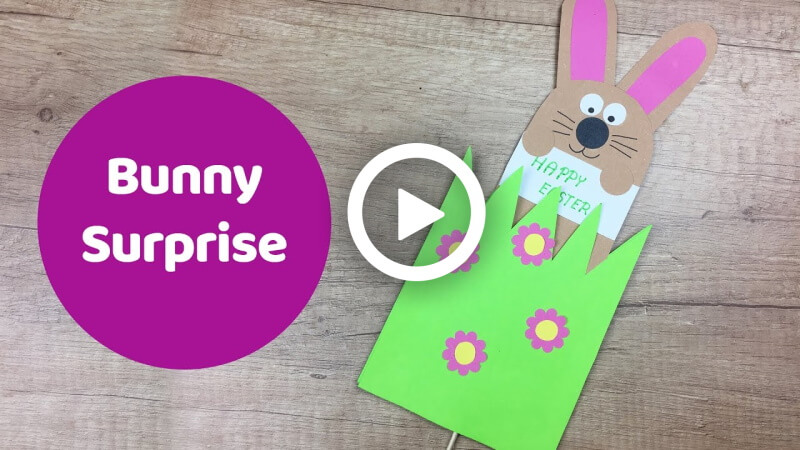
Today, you are going to make a paper Easter bunny card. It will be the best way to wish your family and friends a Happy Easter. Easter bunnies are usually hunted on Easter day and also to decorate gifts. This is a custom on Easter day to hunt them. This craft will be done to decorate your house. So, without any words, let’s get started!
How to Make an Easter Bunny Gift Card
Materials:
-
- Two rectangular green papers of the same size.
- Two brown colour rectangle papers of the same size and smaller than the green ones
- Two small and wide rectangular paper strips.
- Two small pink coloured wide paper strips, smaller than the brown strips.
- A bamboo stick.
- A small black circle.
- Two small white circles.
- A small, wide, rectangular white paper.
- Take two small circles of the same colour as the bunny’s skin (brown)
- A black marker pen.
- Crayons.
- A glue stick.
- Scissors.
Procedure:
- Take two rectangular green papers of the same size, put them together, and cut the top side of them like Grass by making zig-zag triangles with scissors.
- Two brown colour rectangle papers of the same size and smaller than the previous ones, put them together and cut the top of it roundly like a head with scissors.
- Take two small and wide rectangular paper strips, put them together, and cut the top of them roundly like a Bunny’s ears.
- Take two small pink colour wide paper strips smaller than the ears, put them together and cut the top of them roundly like a Bunny’s ears.
- Grab a glue stick and attach the pink strips over the brown strips from bottom to middle.
- These will be the ears of the bunny.
- Take a brown round cut rectangle paper you cut previously, attach the ears on the top sides of it with the glue stick.
- Attach the ears by turning them over, as it will be the back of the bunny.
- Take a bamboo stick and attach it to the middle of the piece with the glue stick.
- Make sure to put out some portion of the stick from the paper.
- Take the other brown round cut rectangle paper you cut previously, attach it over this stick-added portion.
- Take a small black circle and attach it to the front of the bunny as its nose with the glue stick.
- Take two small white circles with cute eyeballs on them, like the bunny’s eyes, and put them in front of the bunny with the glue stick.
- Grab a black marker pen and draw a cute smile and moustache on the bunny.
- Take a small, wide rectangle of white paper, attach it to the middle of the bunny with the glue stick.
- It will be the message board.
- Take two small circles of the same colour as the bunny’s skin and attach them on the top side of the previous whiteboard as the bunny’s hands with the glue stick.
- Take a green piece you cut previously, like grass, and put the bunny in the middle.
- Apply glue to the portions that do not hold the bunny carefully.
- Don’t attach the bunny to it.
- Take the other green piece you cut previously, like grass, and paste it over the previously glued portion.
- Move the bunny with the stick and pop it over the grass.
- Write ‘happy easter’ on the whiteboard.
- Highlight the piece with crayons.
- Your cute Easter Bunny card will be ready!
P.S- You can use different coloured paper as per your help.
Look how amazing it looks! You can decorate your house with them on Easter and Christmas Day. Your guests are gonna love them. Hurry up! Grab your stationery and let’s make a paper Easter bunny card.
Educational Benefits of This Easter Craft
This Easter Bunny gift card activity is not only fun but also educational for young learners. While cutting, folding, and decorating the bunny card, children practice:
- Scissor control and paper-folding skills
- Color recognition and creativity
- Focus and patience
- Writing short Easter wishes or messages
- DIY crafting confidence
These types of paper crafts are especially useful for preschoolers and elementary school students during spring classroom activities.
Best Supplies for Making Easter Bunny Gift Cards
To create a neat and colorful Easter Bunny card, use child-friendly craft materials such as:
- Colored craft paper or cardstock
- Safety scissors for kids
- Non-toxic glue sticks
- Sketch pens or crayons
- Googly eyes, ribbons, or stickers for decoration
Using thick paper helps the bunny card stay sturdy and makes it look more professional and attractive.
Fun Ways to Customize Your Easter Bunny Card
Kids can make their Easter Bunny gift cards more creative with unique decorations and personal touches. Try these fun ideas:
- Add cotton balls for fluffy bunny tails
- Draw colorful Easter eggs around the bunny
- Write “Happy Easter” in bubble letters
- Decorate with glitter or pastel stickers
- Add a secret message inside the card
Personalized Easter cards become memorable keepsakes for family members and teachers.
Easter Craft Safety Tips for Kids
Adult supervision is recommended while using scissors or glue during craft time. Choose non-toxic and kid-safe materials for preschoolers and younger children. Keep the crafting area clean and organized to make the activity safe and enjoyable.
Why Kids Love Easter Bunny Crafts
Easter bunny crafts are always a favorite activity among kids because they combine creativity, colors, and festive fun in one project. Making an Easter Bunny gift card helps children improve their fine motor skills, hand-eye coordination, and creative thinking while enjoying a meaningful holiday activity. Handmade bunny cards also make wonderful gifts for parents, teachers, grandparents, and friends during Easter celebrations.
FAQs on How to Make an Easter Bunny Gift Card
Q1. What materials do I need to make an Easter Bunny gift card?
Answer: You will need a piece of cardstock, a pair of scissors, a glue stick, colored markers, and some ribbon or twine.
Q2. How do I make an Easter Bunny gift card?
Answer: Begin by cutting out an oval shape on a piece of cardstock. This will be the head of the Easter Bunny. Then, draw two circles for the eyes and a triangle for the nose. Color the shapes in with markers. Cut out two ears from the cardstock, and glue them to the back of the oval head. Finally, attach a ribbon or twine to the back of the card to create a loop to hang the gift card.
Q3. How big should the Easter Bunny gift card be?
Answer: The size of the gift card will depend on your preference. Use a ruler to measure and make sure the card is the size you want.
Q4. What color should I use for the Easter Bunny gift card?
Answer: The color of the gift card is completely up to you. You can use any color or combination of colors that you’d like.
Q5. Can I add decorations to the Easter Bunny gift card?
Answer: Yes, you can add decorations to the gift card. Try using glitter, sequins, or other craft materials to make it extra special.
Q6. How do I write a message on the Easter Bunny gift card?
Answer: Write your message on the card using a permanent marker or a pen. You can also write it on a separate piece of paper and attach it to the card with a glue stick.
Q7. How do I hang the Easter Bunny gift card?
Answer: Attach a ribbon or twine to the back of the card to create a loop. You can hang the gift card on a wall or door.
Q8. How long does it take to make an Easter Bunny gift card?
Answer: It should take about 15 minutes to make an Easter Bunny gift card.
Q9. Is an Easter Bunny gift card suitable for adults?
Answer: Yes, an Easter Bunny gift card is suitable for adults. It’s a unique and creative way to give someone a special gift.
Q10. What kind of gift can I include with the Easter Bunny gift card?
Answer: You can include any type of gift you’d like. Consider including a sweet treat, a small toy, or a special message.
This Easter Bunny gift card craft is a simple, adorable, and budget-friendly activity for kids during the Easter season. It encourages creativity, improves crafting skills, and allows children to make heartfelt handmade gifts for loved ones. Whether at home, in school, or during holiday craft sessions, this Easter paper craft is sure to bring smiles and festive joy to everyone.
Creative minds start here! Explore easy crafts and engaging activities for kids on our Telegram, YouTube & Facebook pages.
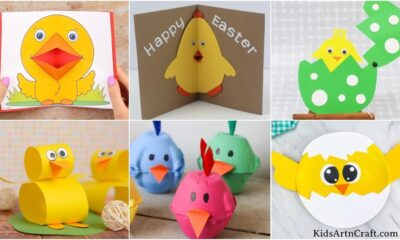
More Easter Craft Ideas from Kids’ Art & Craft
Simple Sponge Painting Ideas for Easter Art
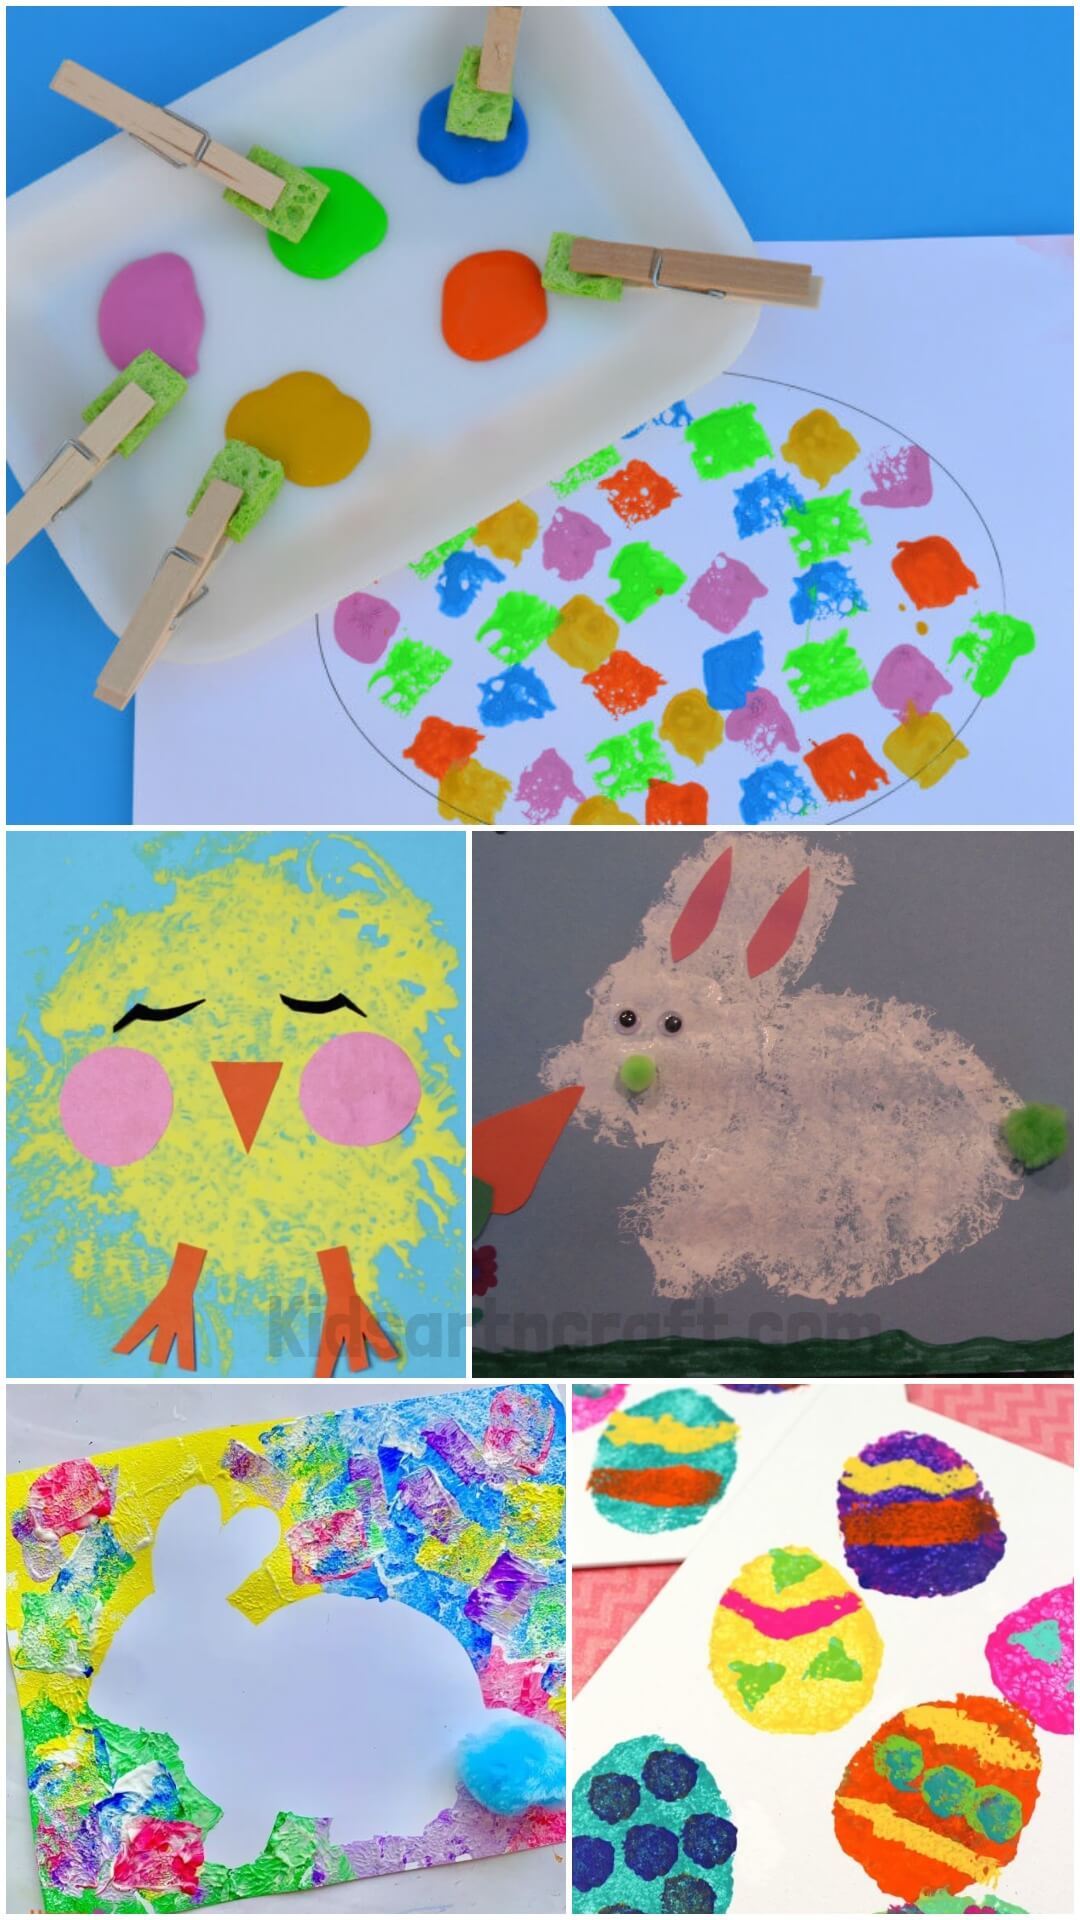
Create vibrant Easter art with simple sponge painting ideas. These easy, fun projects are perfect for kids and make for colorful, festive decorations and crafts.
Easy-to-Print Easter Flashcards for Preschool Learning
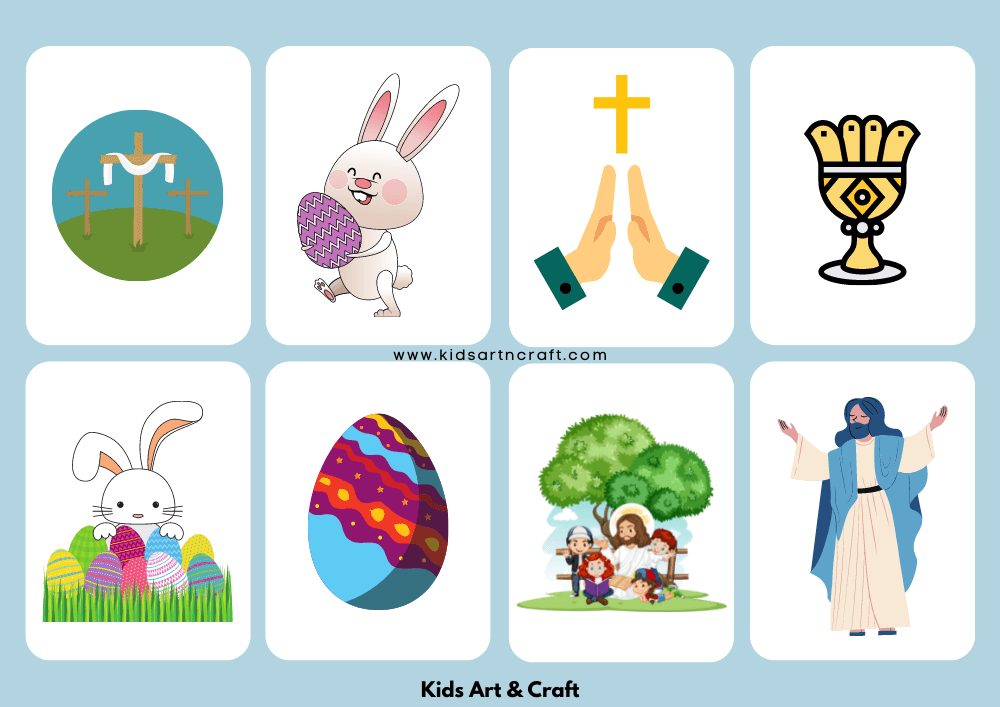
These easy-to-print Easter flashcards are perfect for preschool learning. Featuring fun, holiday-themed designs, they help children develop essential early learning skills while celebrating Easter.
Creative Easter Paper Cards You Can Make at Home
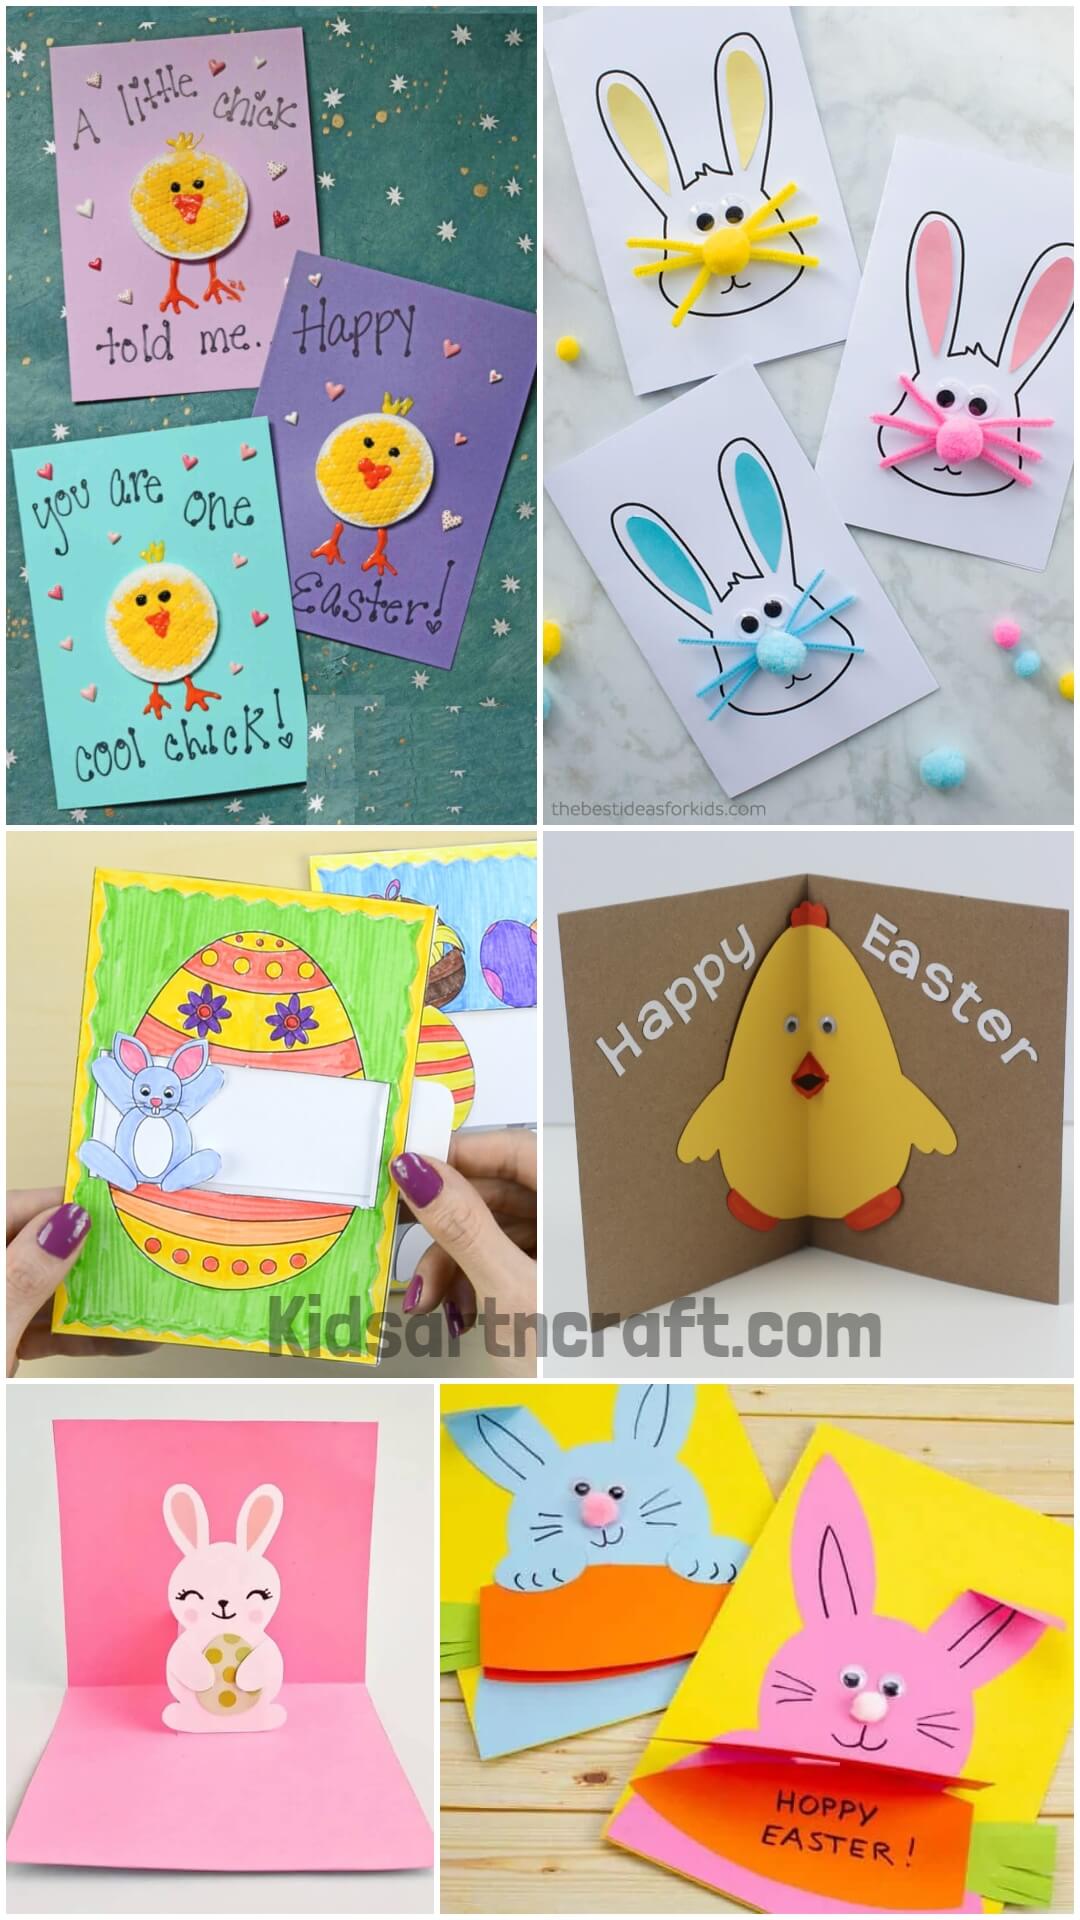
Unleash your creativity with homemade Easter paper cards. These easy-to-make projects offer a fun, crafty way to design beautiful greeting cards for friends and family.
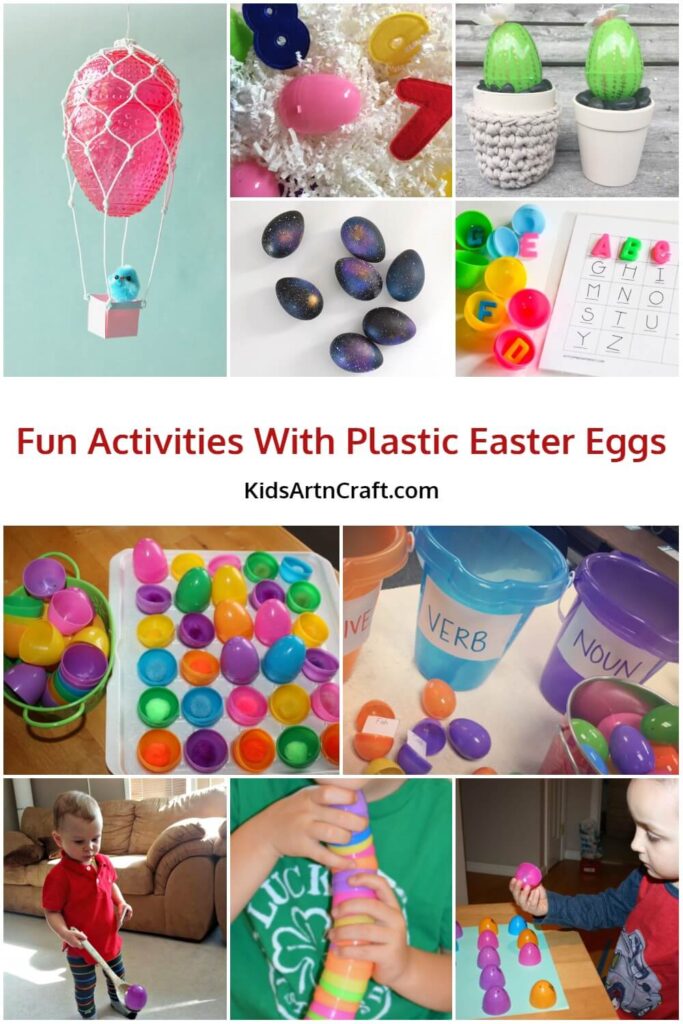
Easy Easter Games and Crafts Using Plastic Eggs
Explore easy Easter games and crafts using plastic eggs. These activities offer fun, hands-on entertainment for kids, perfect for celebrating the holiday in creative ways.
Easy-to-Print Easter Coloring Pages for Kids

Find easy-to-print Easter coloring pages for kids, filled with fun and simple designs. These pages are perfect for children to enjoy coloring during Easter celebrations.