


Easter
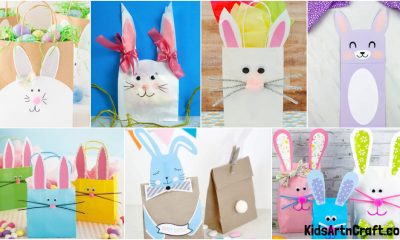
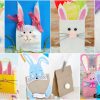
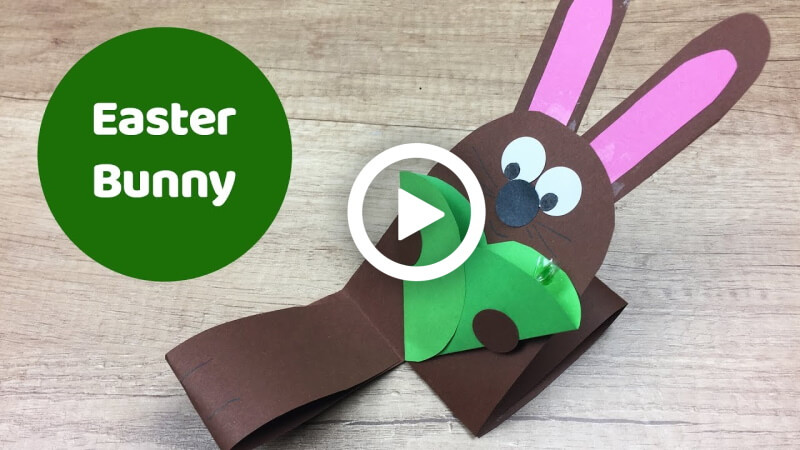
How to Make Easter Bunny with Pocket

Discover how to make a cute and charming Easter Bunny with a pocket using simple materials such as felt, fabric, and buttons. With this easy step-by-step tutorial, you can make a unique Easter decoration that can be used as a gift or a home décor.
This Easter, try this easy and simple bunny craft and decorate your home. Kids will have lots of fun helping and making these easy paper bunny crafts for Easter. Try it and gift it to your close ones on Easter. Here are some step-by-step procedures for making the Easter bunny craft.
How to Make an Easter Bunny with a Pocket
Materials required:
- A4 sheets
- Scissor
- Glue
- Pen or sketch pen
Procedures:
- Take an A4 sheet and cut out a rectangular piece of paper.
- Now take the paper and, with the help of the scissors, curve the top part of the paper.
- Then fold a little as shown in the video.
- Now take the scissors and, from the bottom, start cutting from the middle.
- Take a sheet and cut out 2 small rectangular pieces of paper, and with the help of the scissor curve the top parts.
- Take another paper and cut out small rectangular pieces for the inner ears and curve them as before.
- Now take the glue and paste the inner ears on the big ears as shown.
- Take the ears and paste them on the rectangular paper.
- Now take a sheet and cut out 2 eyes and a circle for the nose.
- Take the eyes and nose and paste them on the rectangular paper.
- Now take a pen and draw the face as shown.
- Take a paper and cut out a small circle and paste it on the backside of the rectangular paper.
- Now take another piece of paper and draw 2 circles and cut them out.
- Now fold them in half and paste them as shown.
- Paste it below the face.
- Take a paper and cut out 2 small circles and paste them on the sides of the pocket as shown.
- Now fold one side of the bottom towards the inside and paste it, and one towards the outside and paste it.
- Take the pen and draw 2 small lines on both legs as shown in the video.
That’s it! Your Easter bunny with a pocket is ready.
Materials Needed for Easter Bunny Pocket Craft
- Colored craft paper or pastel cardstock
- Scissors
- Glue stick
- Black marker or sketch pen
- Googly eyes (optional)
- Cotton balls for bunny tail
- Pencil for tracing shapes
- Small decorations like stickers or glitter
Using simple and affordable materials makes this Easter craft beginner-friendly for toddlers and elementary school kids.
Educational Benefits of This Easter Craft
Making paper bunny pocket crafts gives children a playful learning experience. This activity can help improve:
- Fine motor skills through cutting and folding
- Creativity and imagination
- Shape recognition and color learning
- Focus and patience
- DIY crafting confidence
Interactive craft activities encourage children to learn through hands-on play and creative thinking.
Fun Ideas to Use the Bunny Pocket
After completing the Easter Bunny Pocket, kids can use it in many creative ways:
- Store mini Easter chocolates or candies
- Keep tiny handwritten notes inside
- Use as classroom Easter decorations
- Create personalized Easter gift holders
- Add names and use them as party favors
Why Kids Love This Easter Bunny Pocket Craft
This adorable Easter Bunny Pocket craft is a fun and creative activity for preschoolers and young kids. Children enjoy making cute bunny crafts because they can use them to store tiny candies, Easter notes, stickers, or small surprise gifts. The pocket design makes the craft both decorative and useful, which keeps kids more engaged during the activity.
Crafting also helps children improve hand-eye coordination, concentration, and creativity while learning basic cutting and folding skills. Parents and teachers can use this easy Easter activity at home, in classrooms, or during holiday craft sessions.
Easter Bunny Pocket Craft Safety Tips
Adult supervision is recommended while using scissors or small decorative items with younger children. For toddlers, pre-cutting the shapes can make the activity safer and easier.
FAQs on How to Make an Easter Bunny with a Pocket
Q1. What materials do I need to make an Easter Bunny with a pocket?
Answer: You will need felt in two colors, scissors, a needle, thread, a pen, and stuffing.
Q2. What do I need to do first?
Answer: First, you will need to cut out two bunny shapes from the felt. Use the pen to draw out the shapes on the felt before you cut them out.
Q3. How do I make the pocket?
Answer: Cut out a small rectangle from one of the bunny shapes. This will be the pocket.
Q4. How do I attach the pocket to the bunny?
Answer: Use the needle and thread to sew the pocket onto the bunny. Make sure that the pocket is securely attached.
Q5. How do I add the stuffing?
Answer: Stuff the bunny with stuffing, making sure to leave some space for the pocket.
Q6. How do I attach the two pieces of felt together?
Answer: Use the needle and thread to sew the two pieces of felt together. Make sure to leave a space open at the top for the pocket.
Q7. How do I finish the bunny?
Answer: Once the two pieces of felt are sewn together, close the opening with a few stitches and trim off any excess thread.
Q8. How do I make the bunny’s face?
Answer: Using the pen, draw the bunny’s face on the felt. You can also add buttons, yarn, or other decorations to make it look more realistic.
This Easy Easter Bunny Pocket Craft is a perfect holiday activity for kids who love creative DIY projects. It is simple, colorful, and enjoyable for preschool, kindergarten, and elementary-age children. Whether used for Easter classroom decorations, gift pockets, or fun family crafting time, this bunny craft adds excitement to the Easter celebration while helping children develop important creative skills.
Make learning fun with creative crafts and playful activities for kids! Follow us on Telegram and follow us on YouTube & Facebook family.
More Easter Crafts from Kids’ Art & Craft
Best Character-Based Easter Egg Designs for Kids
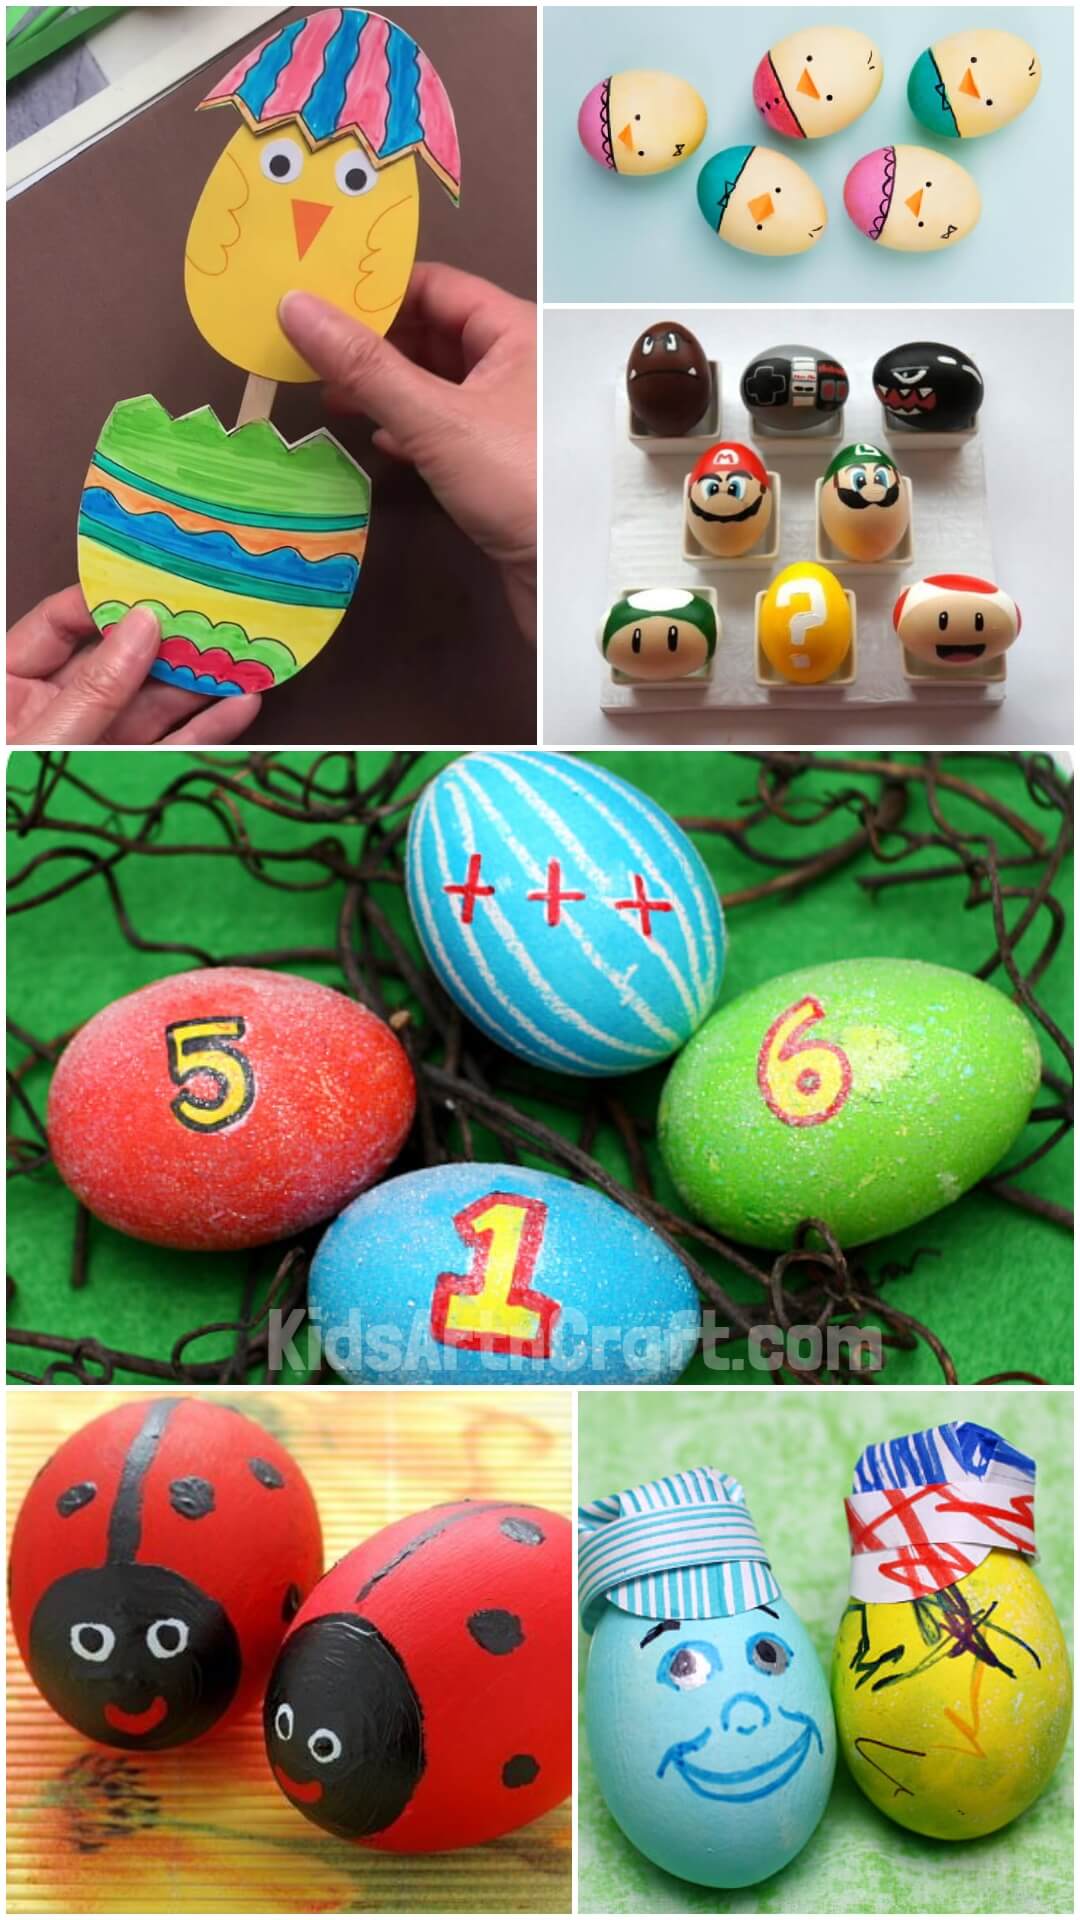
Discover the best character-based Easter egg designs for kids. These exciting ideas bring beloved characters to life and are perfect for a creative Easter egg hunt.
Best DIY Garland Ideas for Easter Celebrations
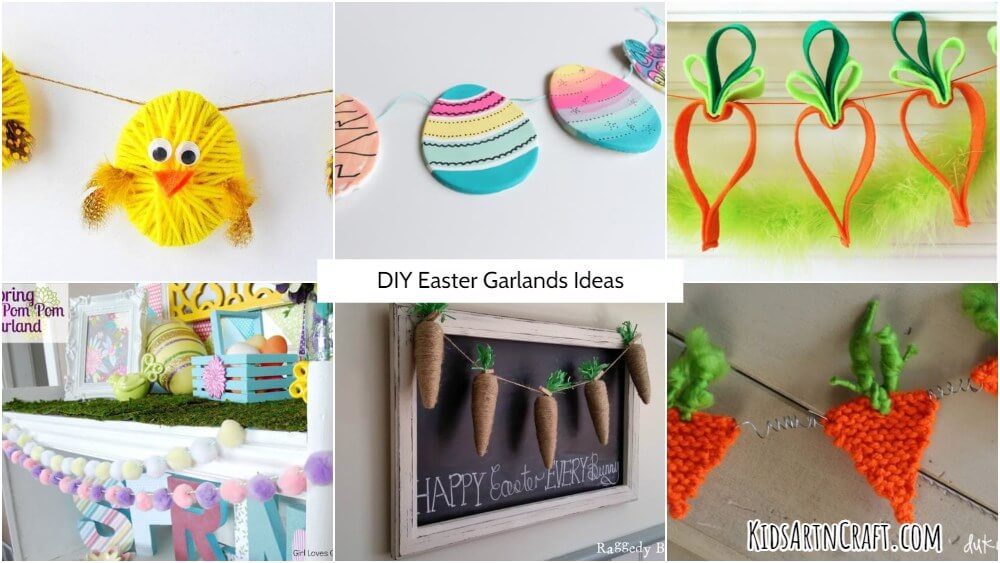
Find the best DIY garland ideas for your Easter celebrations. These creative projects are fun for the whole family and will enhance your festive décor.
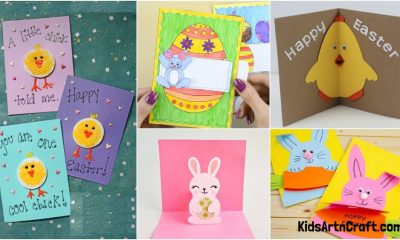
Easy-to-Print Easter Coloring Pages for Families

Discover a selection of easy-to-print Easter coloring pages for families. These engaging designs encourage creativity and bonding time, making them perfect for children and adults to enjoy together.
Easy-to-Print Easter Coloring Pages for Kids
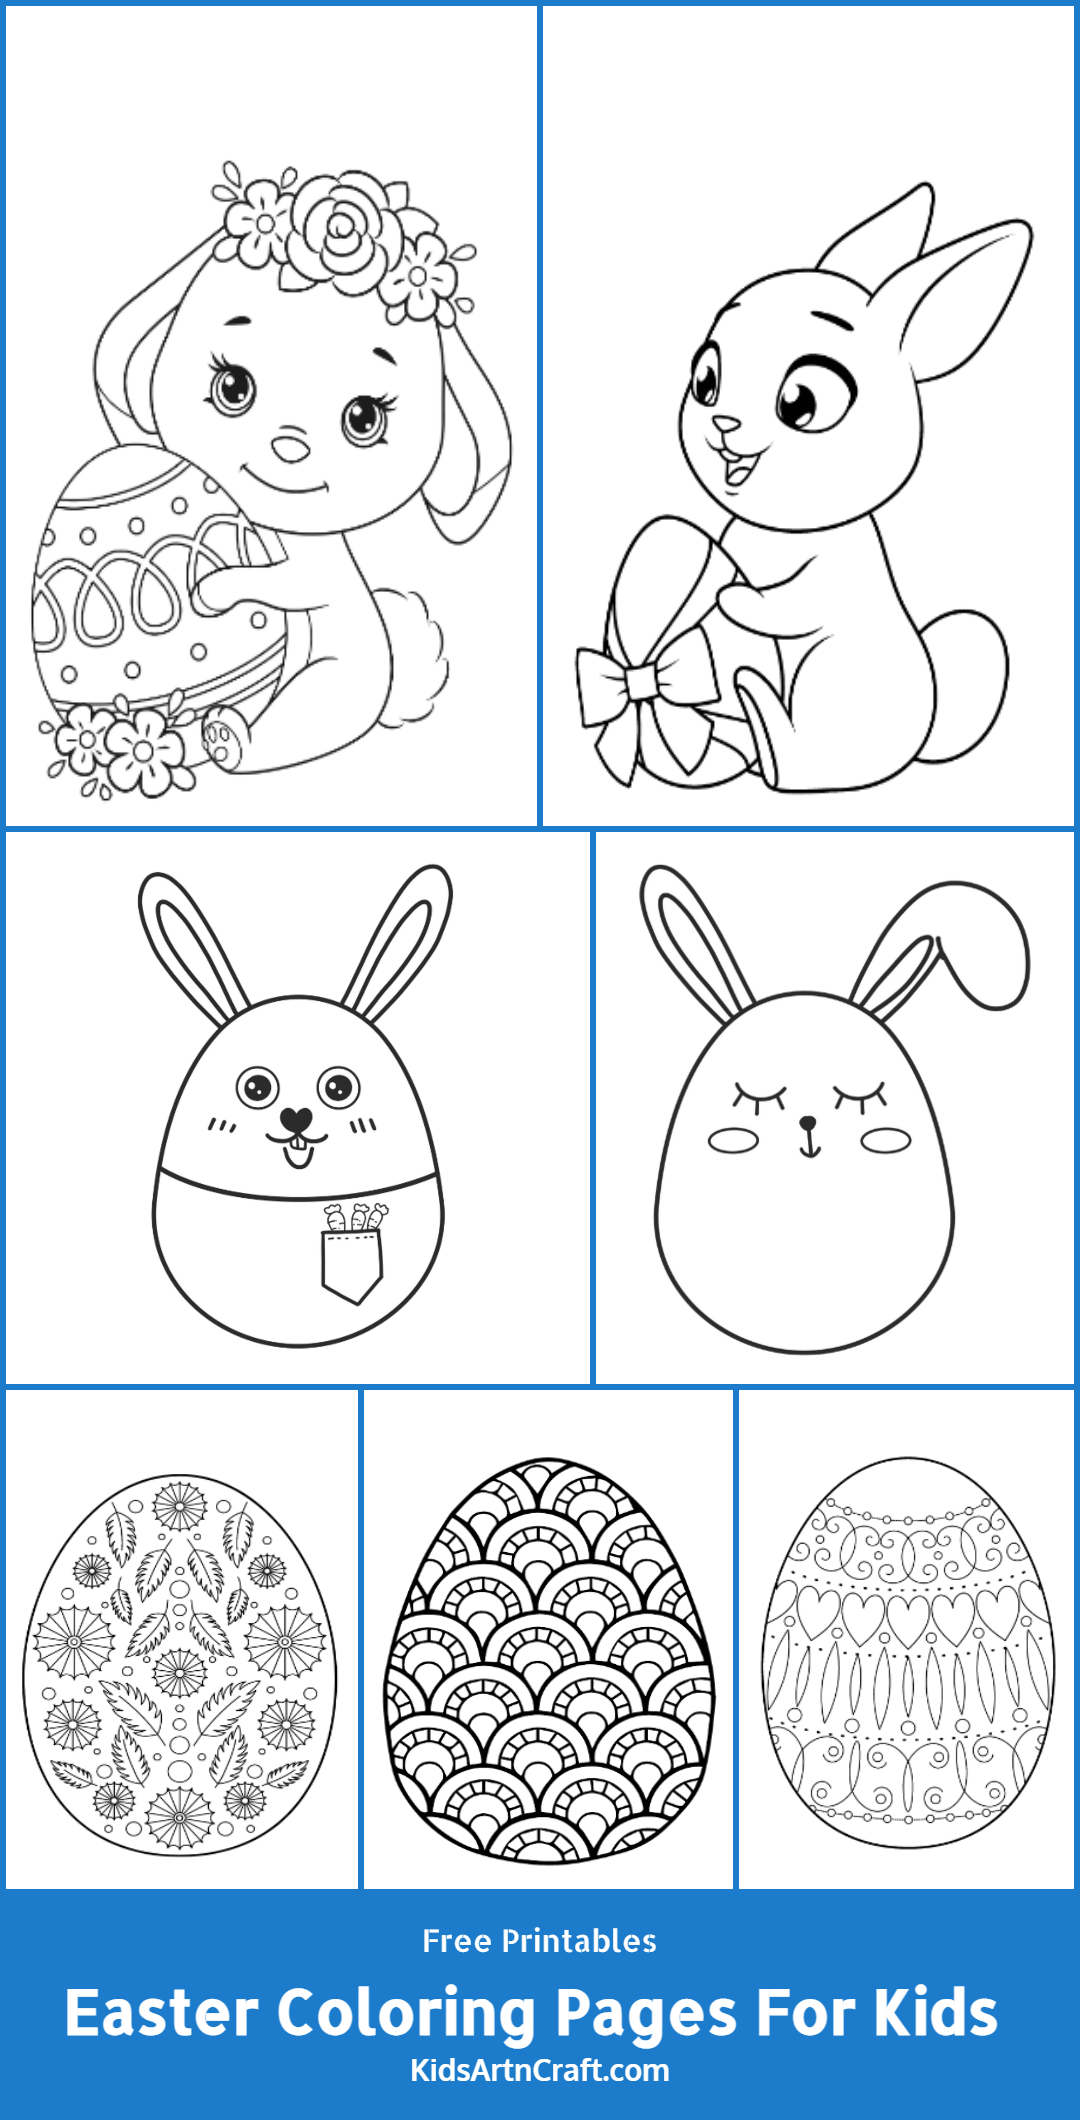
Keep kids entertained this Easter with easy-to-print coloring pages. These delightful designs are perfect for young artists and help create a festive atmosphere through creative expression.
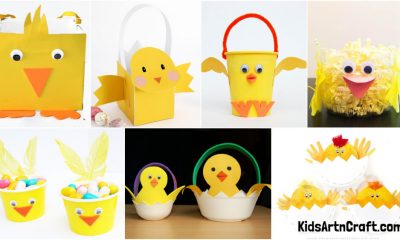
How to Make Your Own Easter Baskets at Home
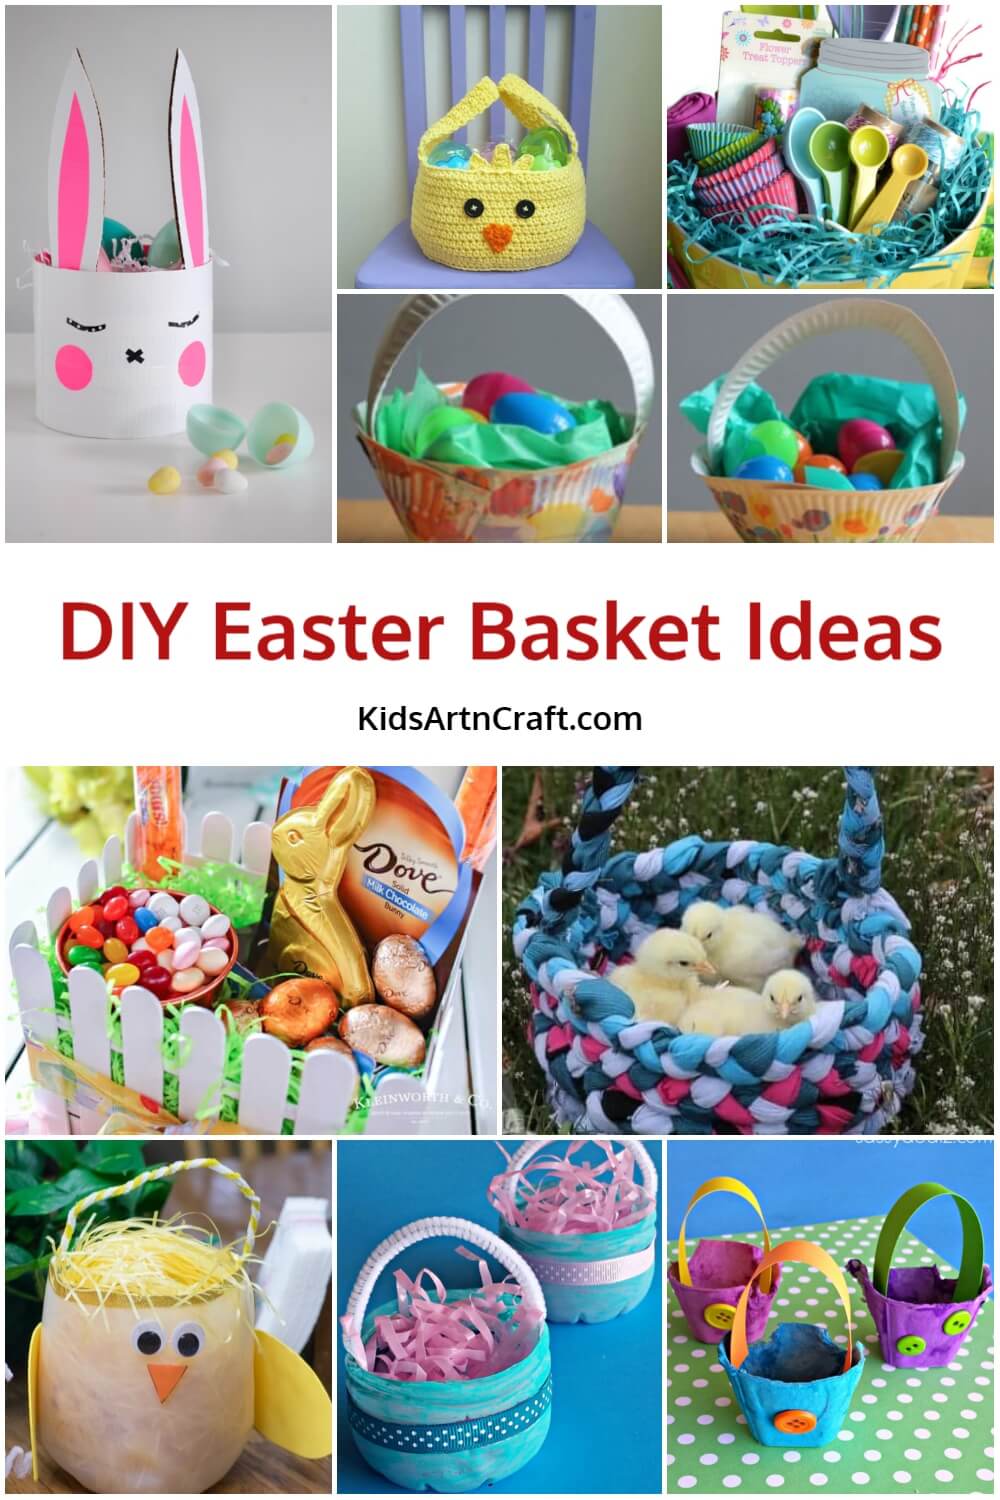
Learn how to make your own Easter baskets at home with easy DIY techniques. These fun projects will help you craft personalized baskets for your Easter celebrations, suitable for all skill levels.