Paper Crafts
Easy Paper Doll Craft – How to Make Cute Origami Girl

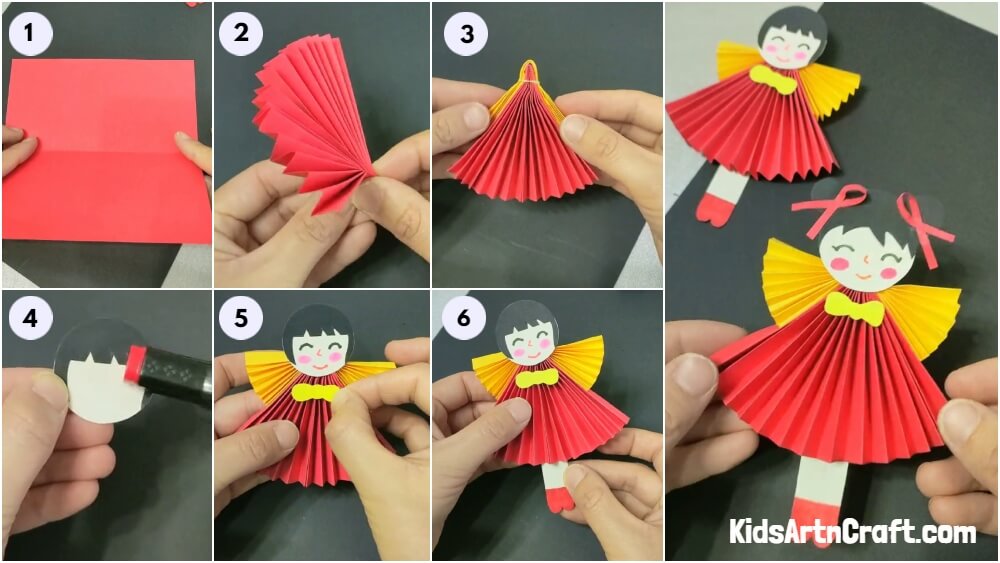
This article will teach you how to make a fun and easy paper doll toy that is great for kids! Follow the instructions to make this classic craft and keep the kids busy!
Dolls are a big part of our childhood and it is everyone’s favourite toy too. Every kid loves playing with their dolls and sometimes they refuse to share their favorite doll as they are protective of it. The kids used to find a best friend in their dolls. So, today to relive our childhood memories, we are going to make a doll that is going to be your new favourite toy. Let’s get started!
To make your favourite toy, all you need is the materials and follow all these teeny tiny steps.
How to Make Easy Paper Doll Craft For Kids
Read More: Fun To Make Paper Chick Craft
Materials Required
- Craft paper (Red, Yellow, Black and Cream)
- Elastic rubber band
- Marker/sketch pen (Black, Red and Pink)
- Scissors
- Glue
Procedure
Step 1: Taking A Red Craft Paper
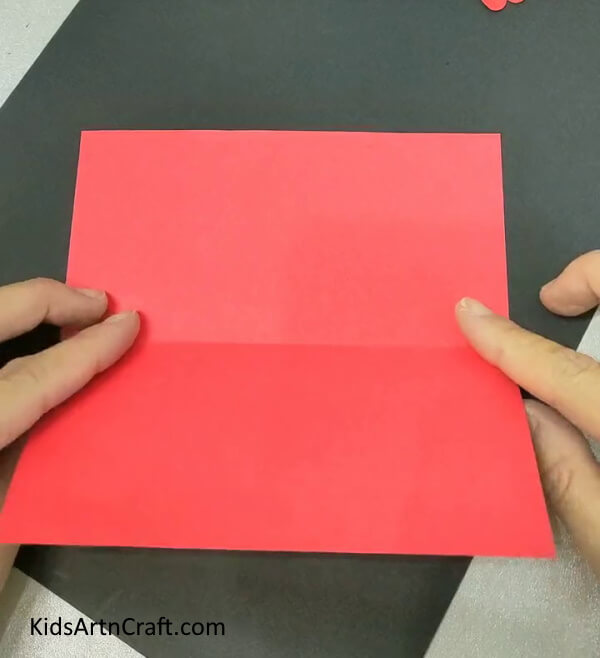
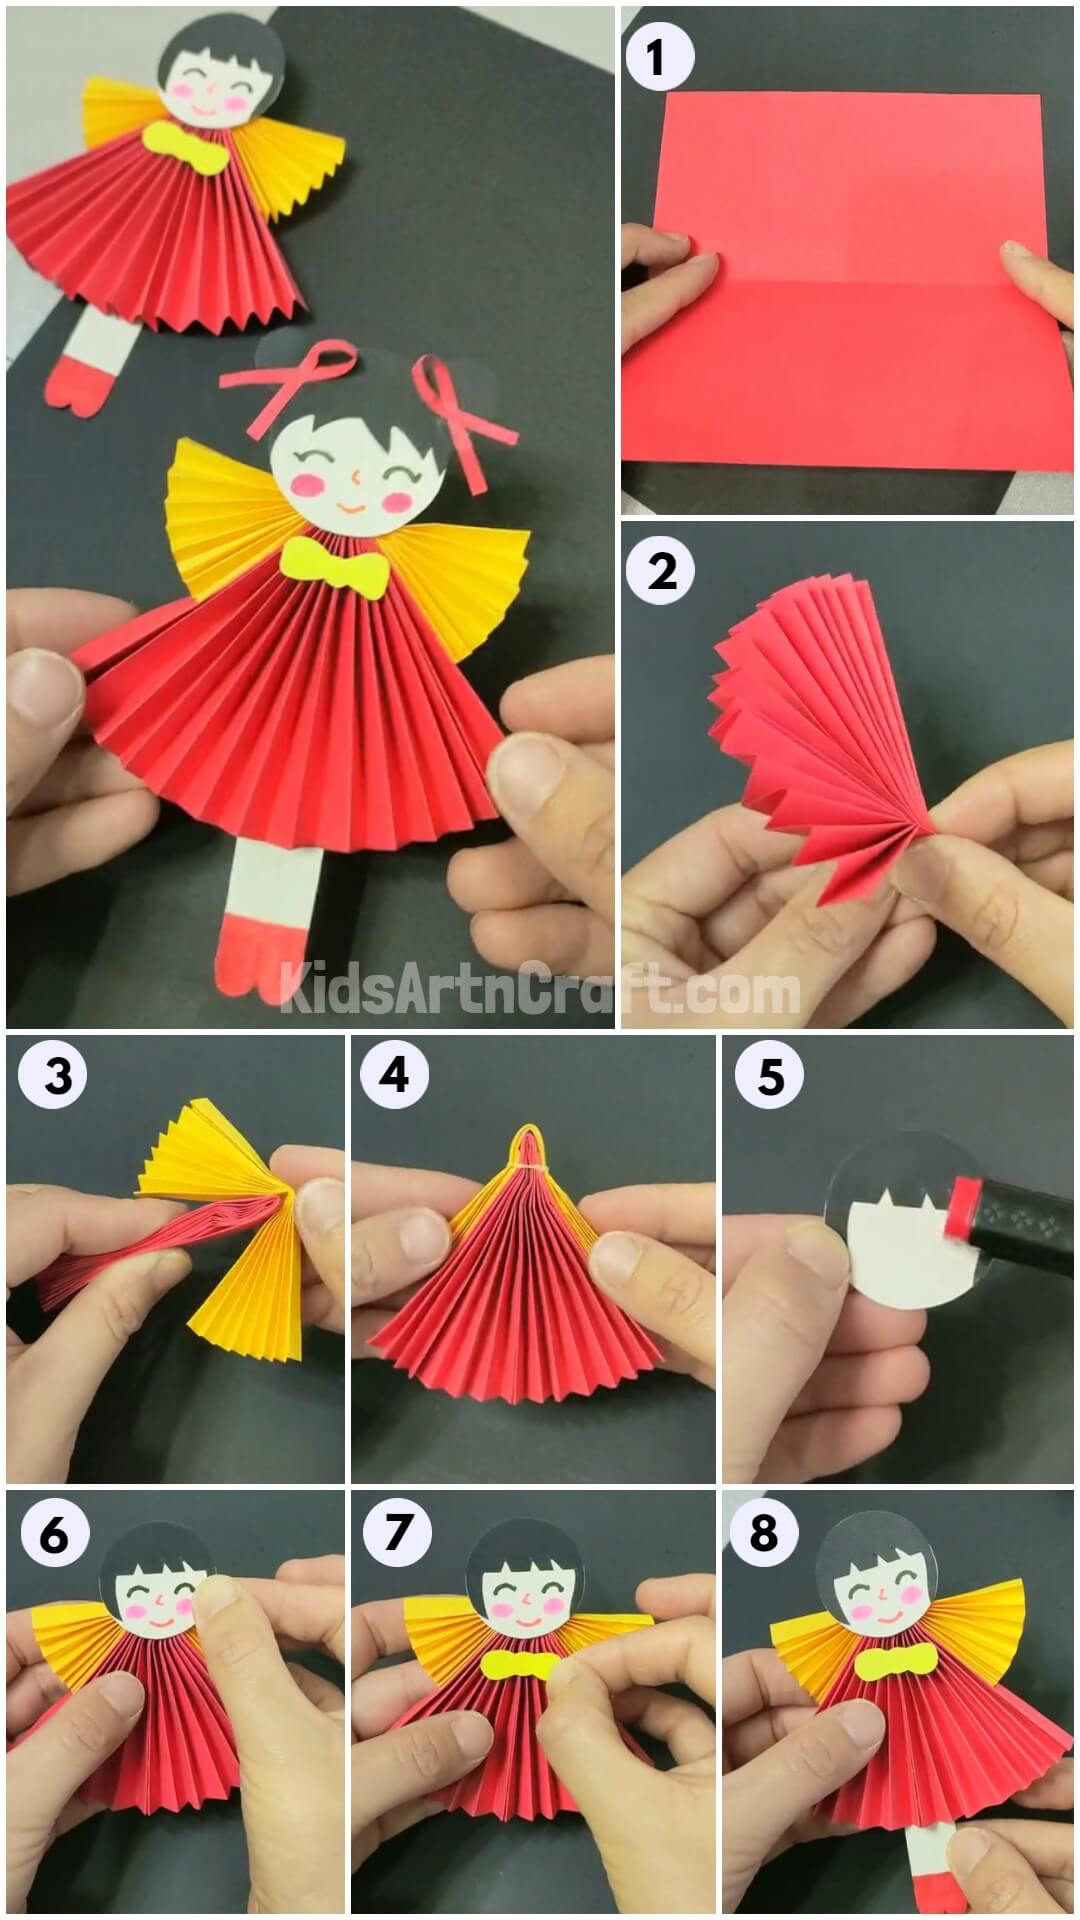
The first step is to take a piece of red coloured craft paper and fold it in half to make a perfect middle line.
Step 2: Folding The Red Craft Paper Alternatively
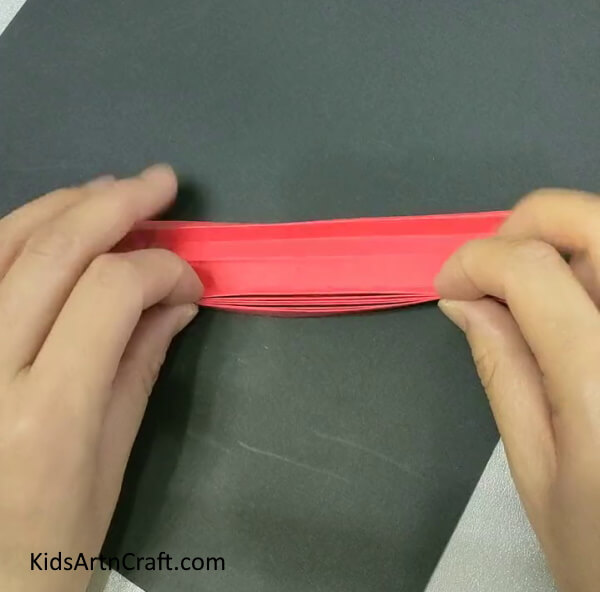
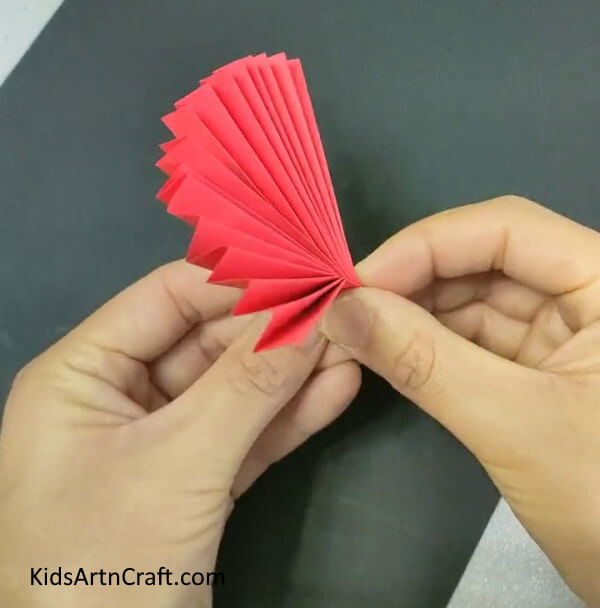
Now, fold the red coloured craft paper alternatively. This step is exactly the same as how you make a simple Chinese fan.
Step 3: Making Red Craft Paper Into a Fan
Keep repeating the folding technique from the above step on a red-coloured craft paper. In the end, you will get a Chinese fan-like shape, which we used to make in our childhood.
Step 4: Putiong The Red Fan In Between The Yellow Fan
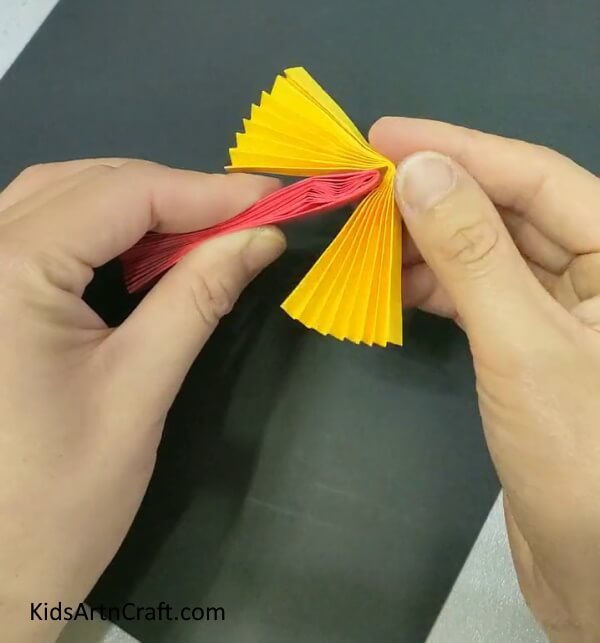
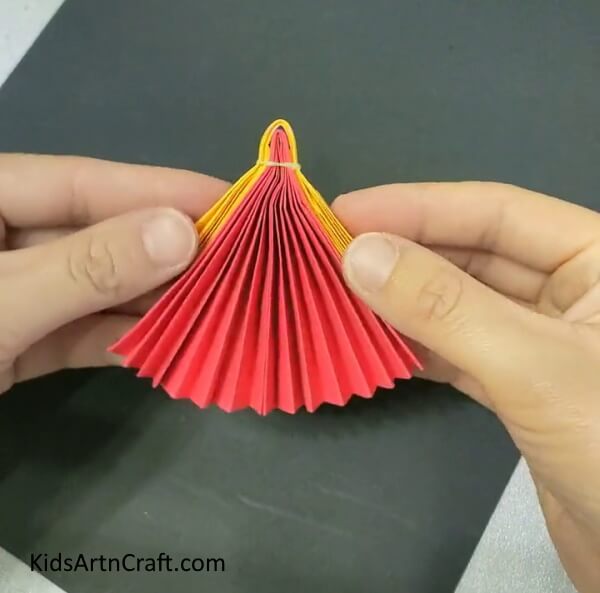
Firstly, with the help of the yellow coloured craft paper make a similar Chinese fan as above by repeating the same steps. Now, put the red-coloured fan in between the yellow-coloured fan as shown in the picture. Remember to take the yellow coloured craft paper a little smaller in size than red coloured craft paper.
Step 5: Tying An Elastic Rubber Band Over The Fans
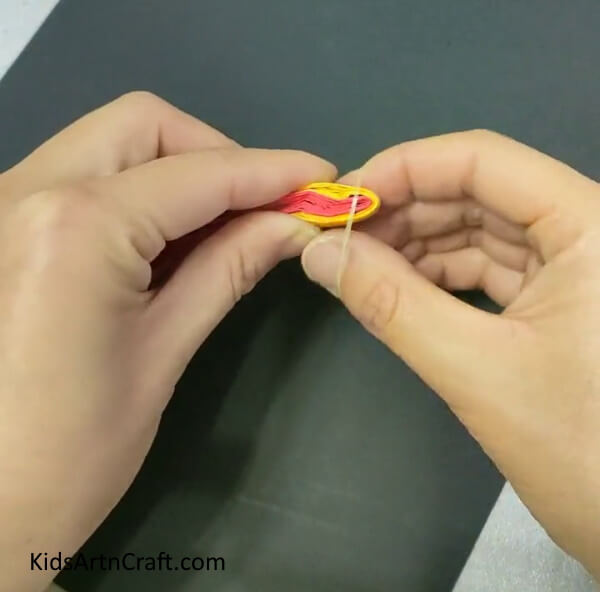
Now, with the help of an elastic rubber band, tie the upper part of the fans which are placed inside of each other. Tie the elastic rubber band on the fan in such a way that both fans get tied as shown in the picture.
Step 6: Spreading The Fans After Tying The Rubber Band
After tying the elastic rubber band, spread out the red coloured craft paper and yellow coloured craft paper from the bottom of the craft paper as shown.
Step 7: Making A Face And Hair With Cream And Black Craft Paper
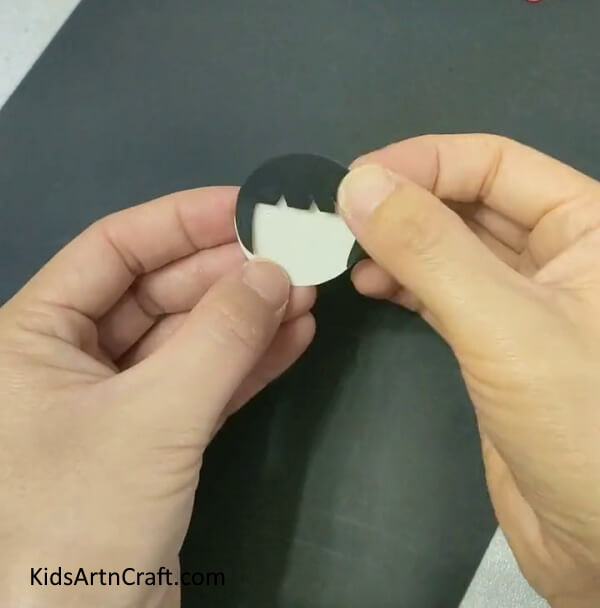
Now, with the help of black coloured craft paper and cream-coloured craft paper make the face of the doll as shown. Remember to cut the outlines very properly and it should not look messy. After making the face, stick the hair on the face as shown in the picture with the help of glue.
Step 8: Making Face Features With The Help Of Markers/sketch pens
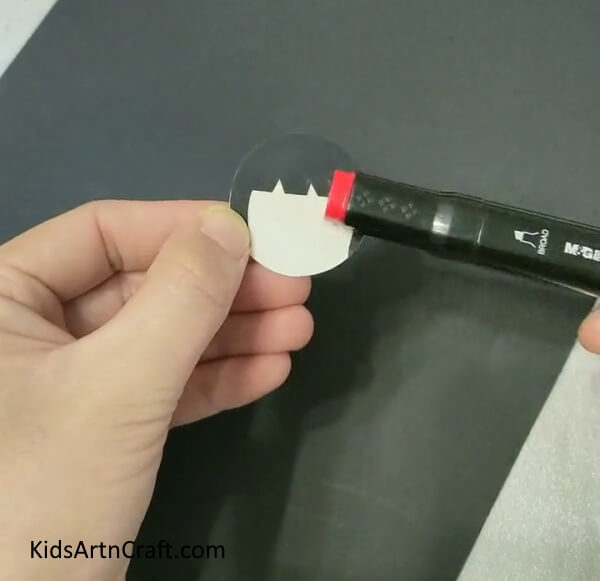
With the use of markers/sketch pens make face features of the doll. Take a black marker/sketch pen and make the eyes of the doll. Now, take a red marker/sketch pen and make the nose and smile of the doll. Then, take a pink marker/sketch pen and make a blush of the doll.
Step 9: Sticking The Doll Face On The Fans With Glue
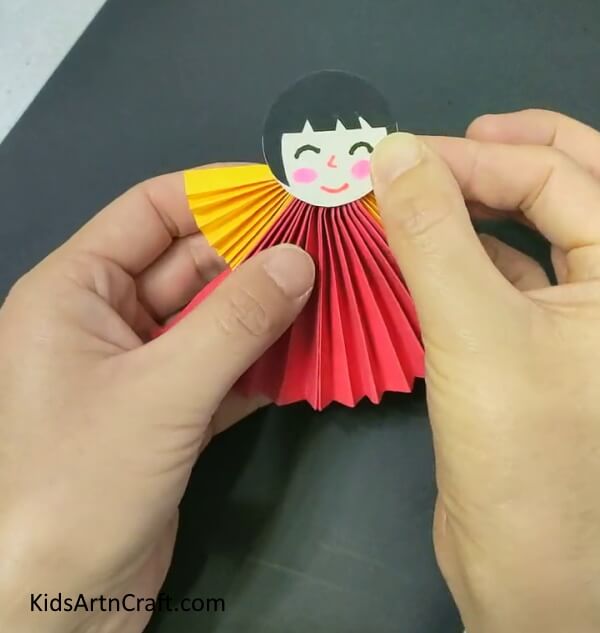
Now, with the help of glue, stick the face of the doll on the upper part of the tied red coloured craft paper and yellow coloured craft paper as shown.
Step 10: Making A Bowtie With Yellow Craft Paper
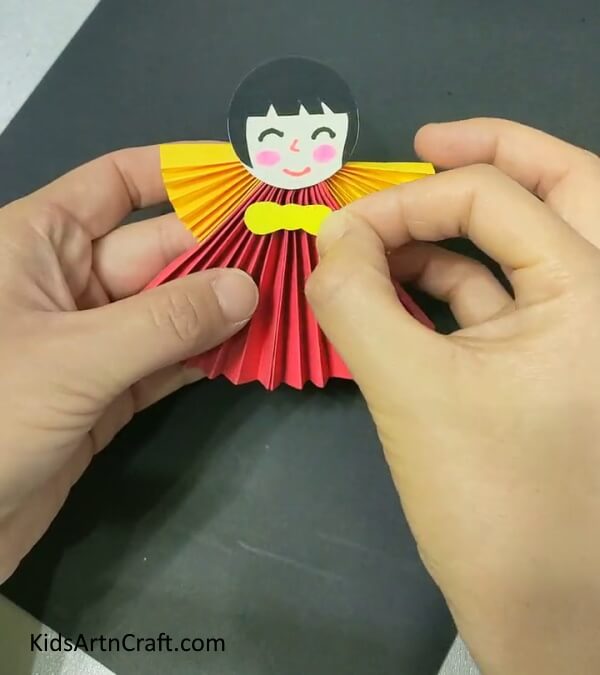
To make your doll look more adorable, make a small bowtie for the doll with the help of yellow coloured craft paper. After making the bowtie, stick it on the red coloured craft paper with the help of glue just below the face of the doll
Step 11: Making Legs Of The Doll
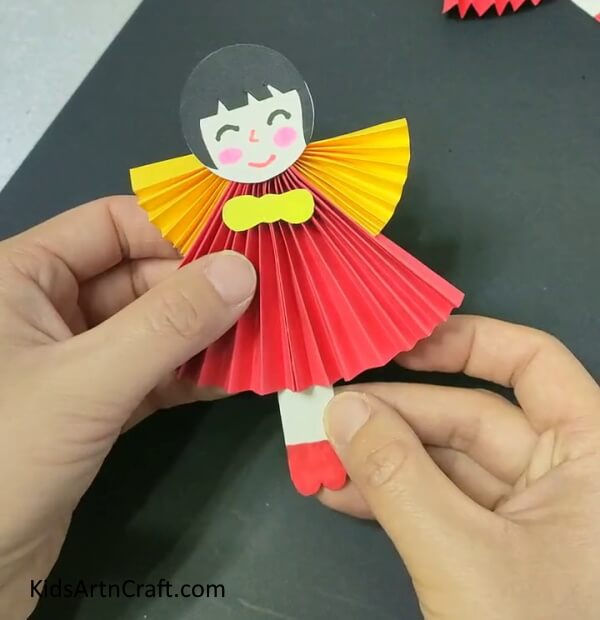
Now, to make the legs of the doll, use cream-coloured craft paper. After making, stick the legs under the red coloured craft paper with the help of glue. Then, to make the shoes of the doll, use a red marker/sketch pen and draw a semicircle on the bottom of the cream-coloured legs and fill it with a red marker/sketch pen as shown in the picture.
Your Craft Is Ready!!
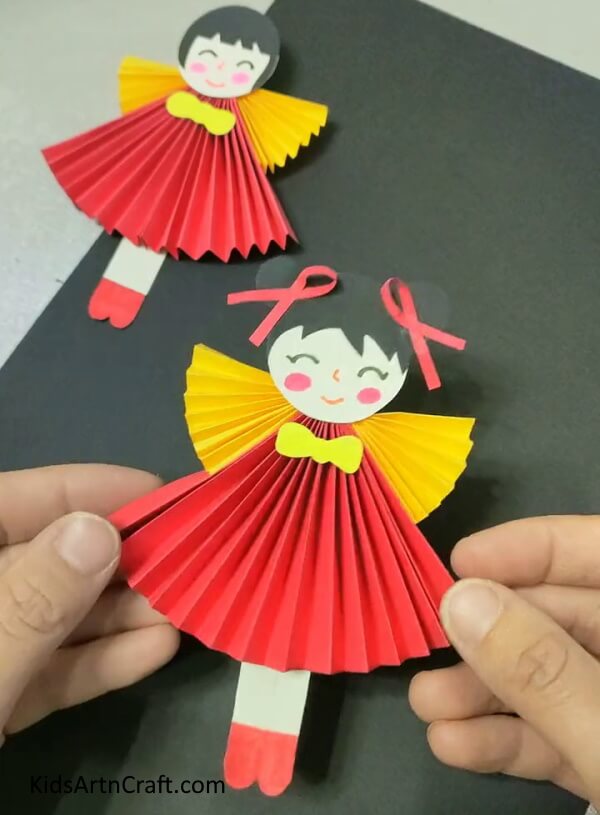
Tada! Your cutest doll is finally ready so you can play with it. This craft can even be used for decor purposes. I really love how the doll has turned out. The doll really gave me a trip down memory lane and I’m suddenly missing my childhood. But you don’t have to worry as you can cherish your childhood days by making this cutest doll and playing with it and making it your best friend. You can make your doll in different styles of your choice and enjoy playing with it.
Some More Doll Craft Tutorial
Crafting a Paper Cup Doll With A Change of Outfit
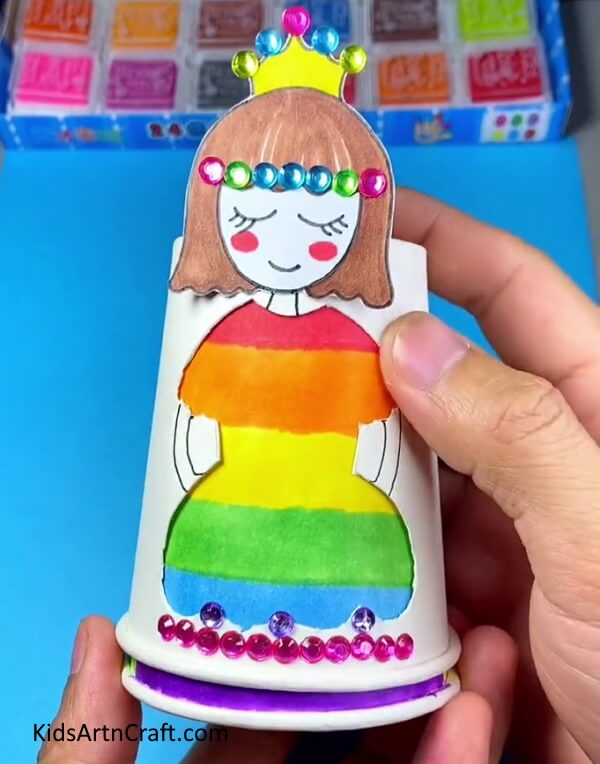
Image Source/Tutorial: Kids Art & Craft
Crafting paper cup dolls with a change of outfit is a fun and creative activity that can be done with children. It is a great way to explore their imagination and allow them to develop their art skills while also having fun.
So, what are you waiting for, go and make the cutest doll anyone has ever seen and have fun playing with it.
Follow us on Youtube for art and craft tutorials and much more.
More Articles from Kids Art & Craft
- Origami Paper Plane Craft Tutorial For Kids
- Make DIY Origami Paper Envelop Craft For Kids
- Fun To Make Paper Flower Bucket Craft – Step-by-Step Tutorial
- Easy Paper Bird Toy Craft To Play For Kids
- Easy Origami Shirt and Bow Paper Bag Craft At Home


