Step By Step
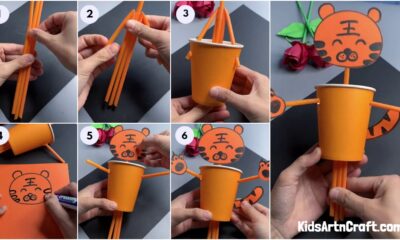
Easy & Cute Penguin Craft Anyone Can Make – Step by Step Tutorial

Make a simple and adorable penguin crafts with your kids! This fun and easy craft is perfect for all ages and will brighten up any room. All you need is a few basic items, and you can get crafty in no time.
This article will show you how to make a fun and easy penguin crafts that anyone can do. Whether you’re a novice crafter or an experienced one, this project is sure to be a hit. With just a few simple supplies, you can create a cute and cuddly penguin in no time! Read on to find out how.
Simple & Easy Penguin Craft Idea For Kids
Read More: Duck Paper Plate Crafts For Kids
Material Required:
- Pencil
- Black, yellow & red craft papers
- White A4 sheet
- Scissors
- Forceps
- Glue
Instructions:-
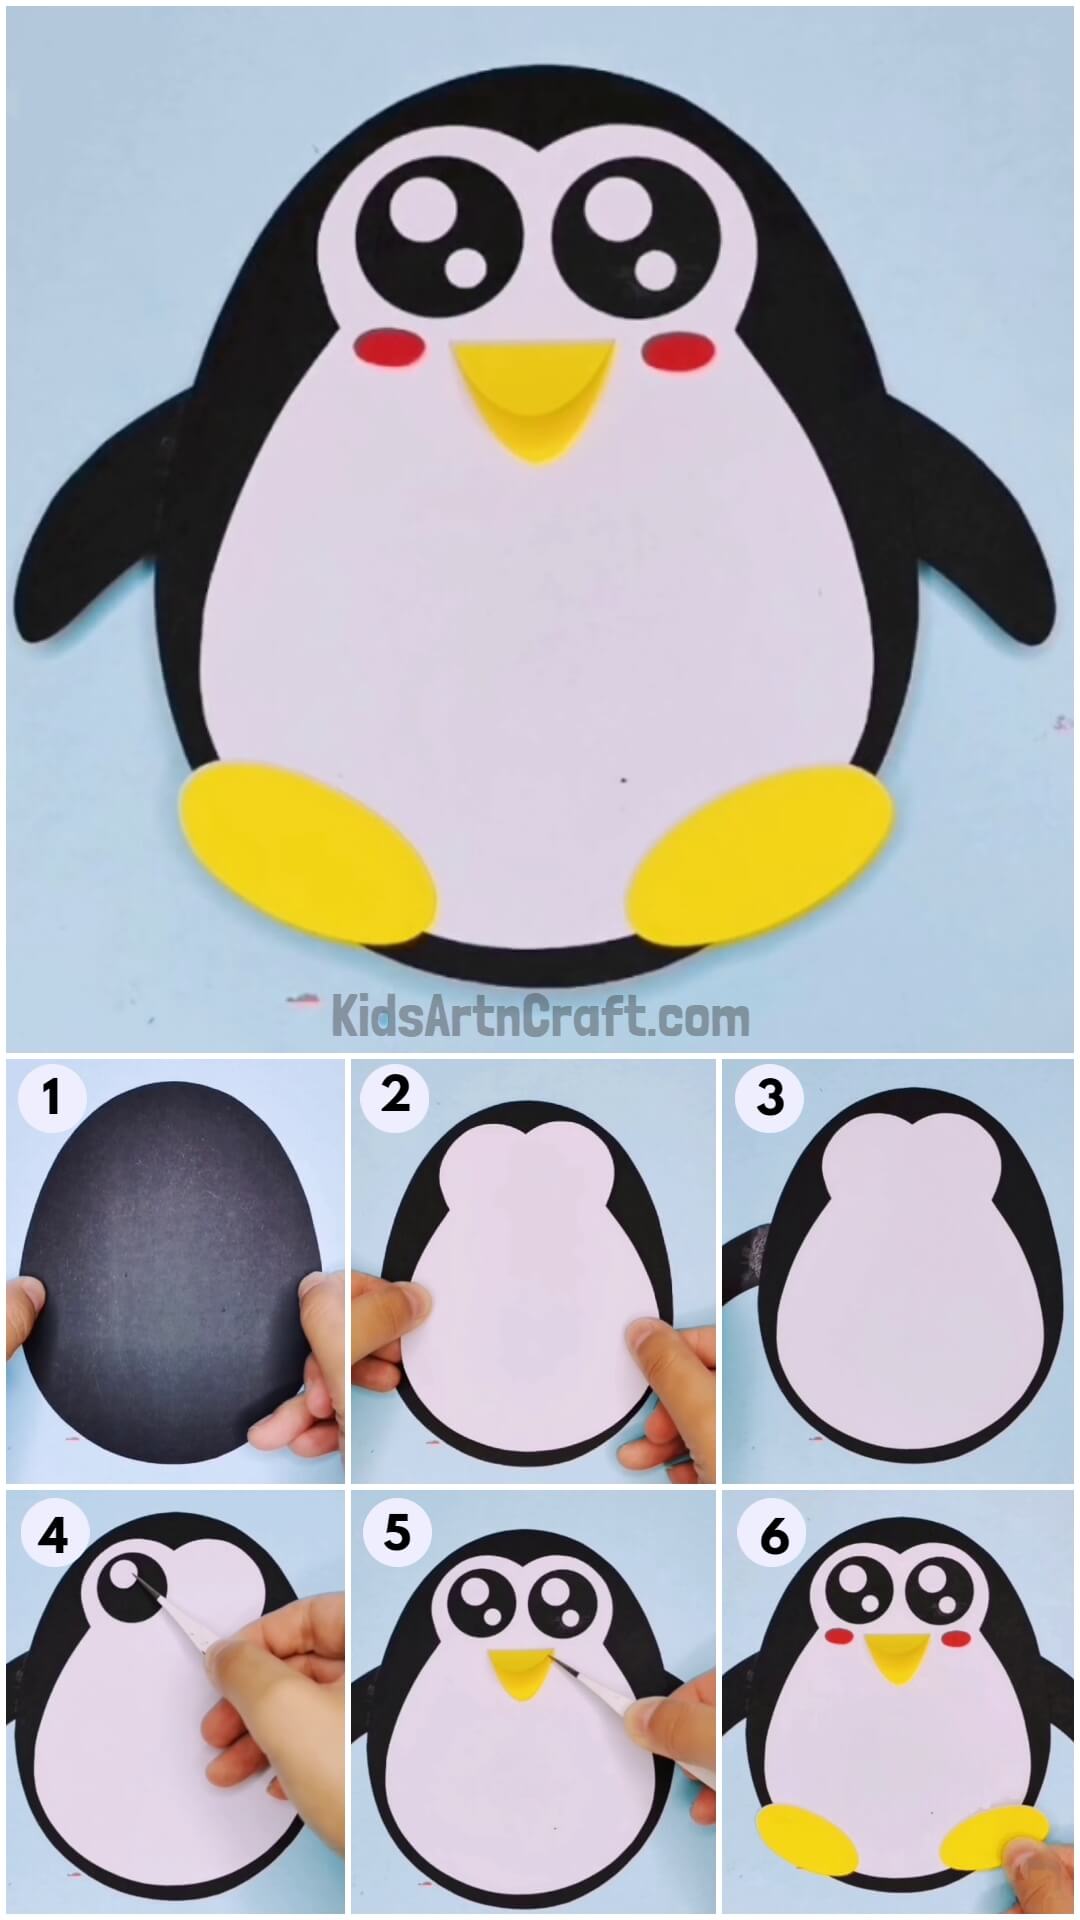
Creating an Oval Shape with a Black A4 Sheet- Step 1
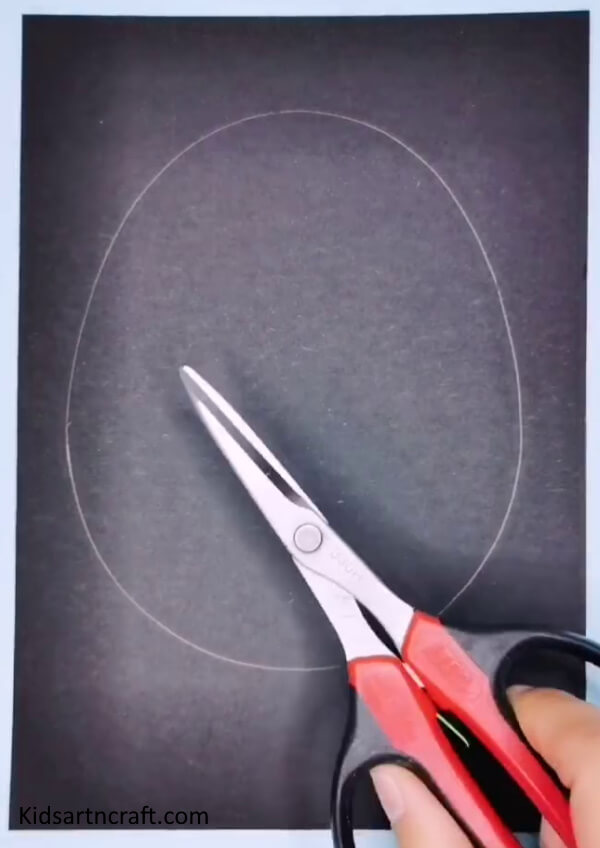
Let’s start this craft by taking a black A4 sheet and drawing an oval shape on it using a pencil. Cut out that shape using scissors.
Creating a Penguin Shape with Pencil and Scissors- Step 2

Now, draw a shape like the above image on a white A4 sheet using a pencil and cut it out with the help of scissors.
Creating an Oval Shape- Step 3

Your black oval shape should look something like this.
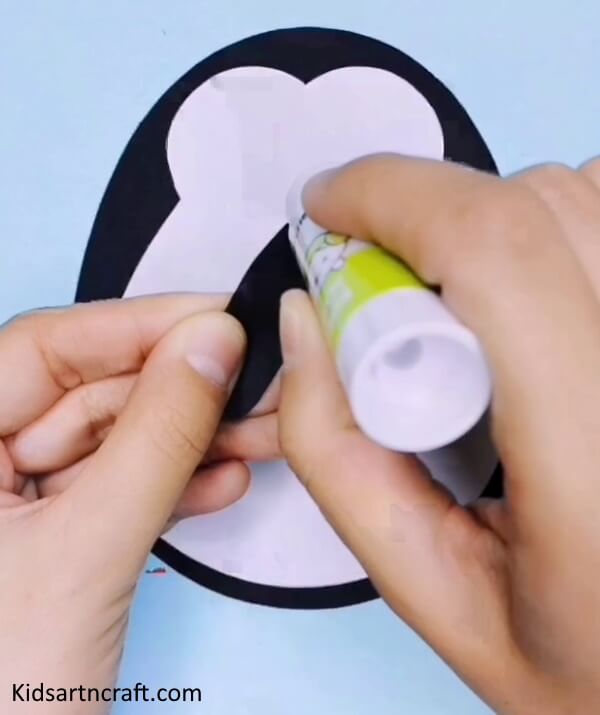
Decorating with Glue and Cutouts- Step 4
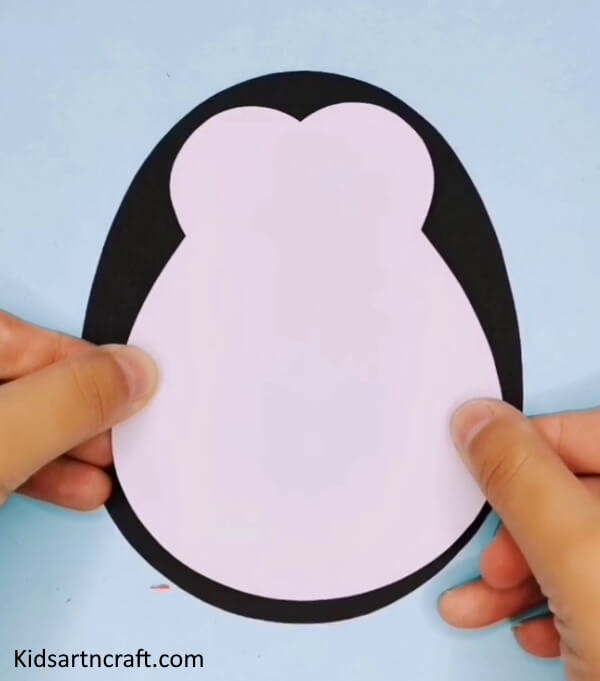
Now, take the white shape cutout and stick it over the black oval shape using glue.
Crafting a Hand with Black Paper- Step 5
Now, cut the shape of a hand from the black craft paper and stick it in the correct place.
Adding the Final Touch to the Penguin’s Hands- Step 6

Cut one more such hand shape and stick it on another side of the penguin in alignment with the previous hand.
Time for the Penguin’s Eyes!- Step 7

Now comes the turn of the eyes of the penguin. For this, cut two small black circles and stick them in the correct place on the head.
Enhancing Eyes with Four Circles- Step 8
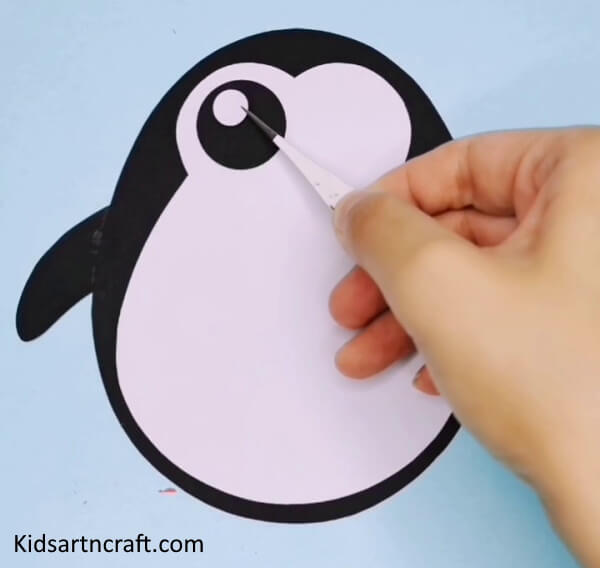
To make the eyes look even better, cut 4 small circles(2 of them, even smaller). Place them in the correct place on the eyes using forceps.
Creating a Decorative Eye Look- Step 9
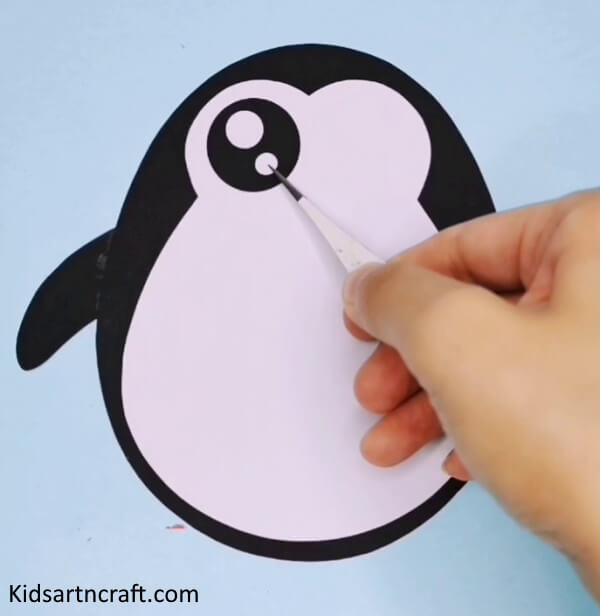
Stick 2 small circles on both eyes as shown above.
Craft Is Almost Complete- Step 10
Your craft will start looking something like this.
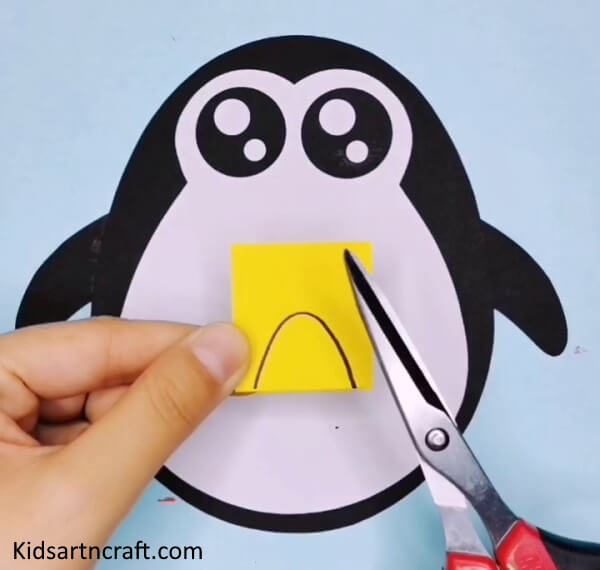
Creating a Penguin Nose with Craft Paper- Step 11
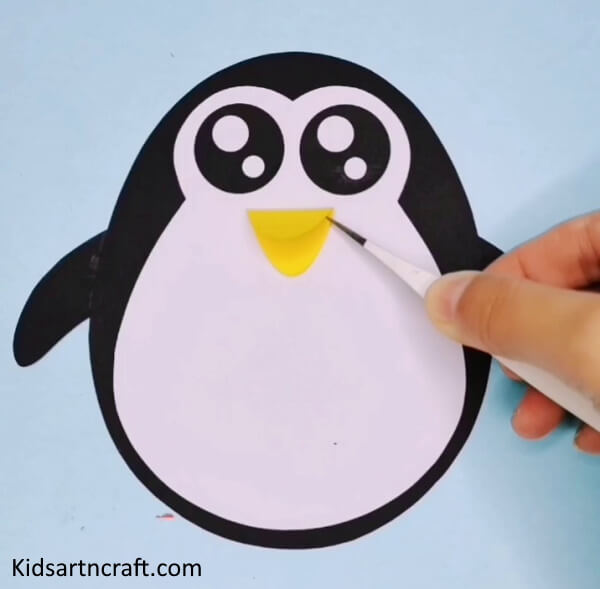
Now, make the nose of the penguin by cutting an elliptical shape from yellow craft paper and pasting it using glue as shown above. Fold the other part of the nose forwards.
Cute Up Your Penguin with Red Ovals!- Step 12
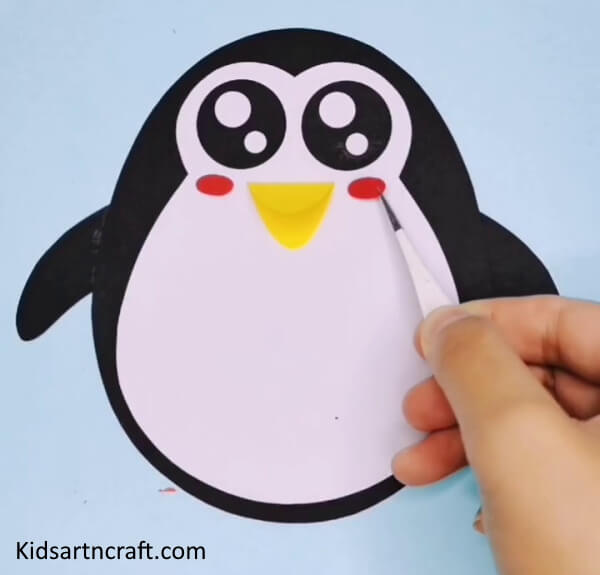
Stick 2 red oval shapes on both cheeks to make the penguin look cuter.
Crafting the Feet of a Penguin with Yellow Paper-Step 13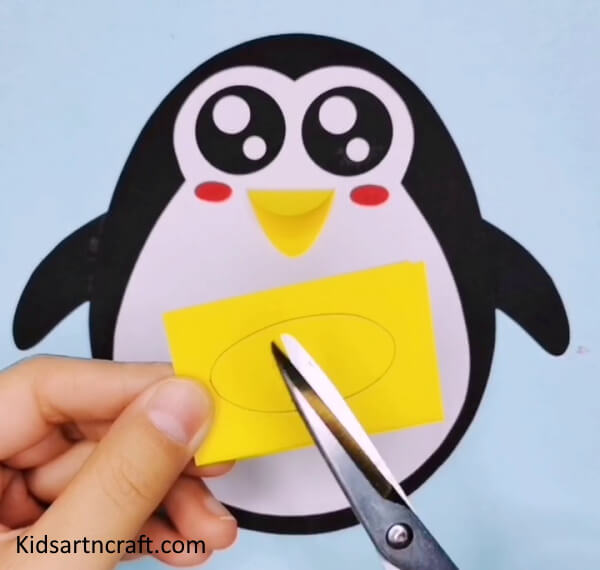
Now, cut two ellipses from yellow craft paper to make the feet of the penguin.
Assembling a Penguin with Glue- Step 14
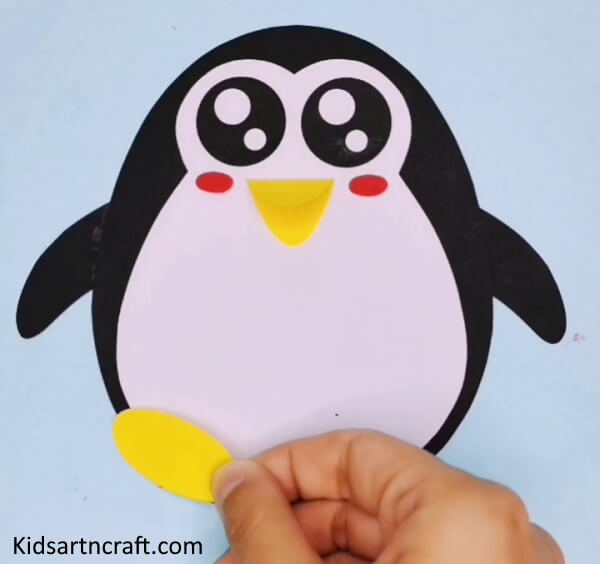
Stick the yellow feet at the bottom of the penguin’s body using glue.
Almost There!- Step 15

Your craft will look something like this.
Giving The Penguin A 3d Look- Step 16
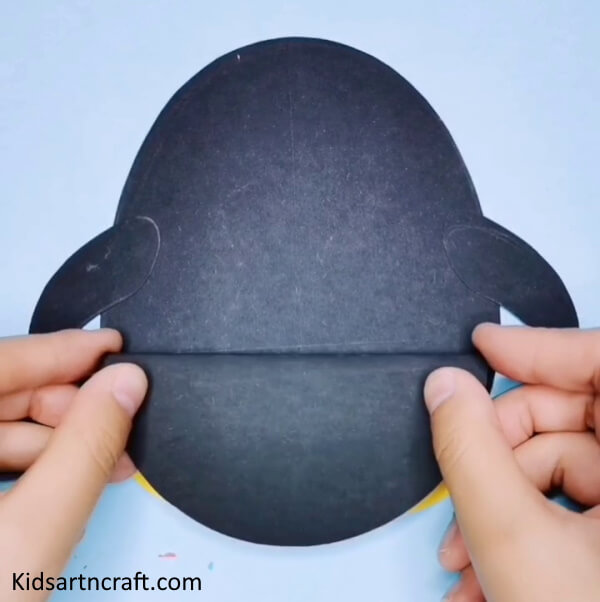
Now, fold a black craft paper without making the crease and stick it at the back side of the penguin to make it look a bit 3D.
Beautiful Penguin Is Ready!- Final Step
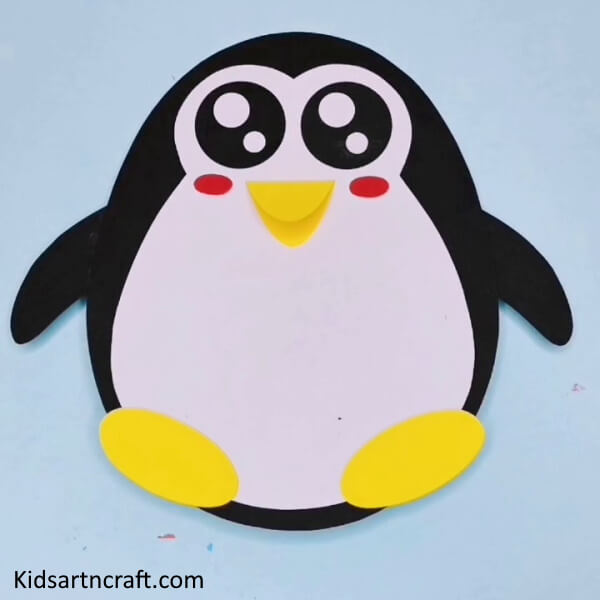
And congrats! your cute penguin craft is ready using just a few craft papers and is ready to be shown to others with pride. Anybody would get impressed by taking a look at this craft and would want one such penguin craft for themselves as well. You can share this tutorial with them too but first, it’s your turn to get creative and make this adorable penguin craft using craft papers.
Some More Penguin Craft Tutorial
Adorable Penguin Craft Project for Children Using Paper
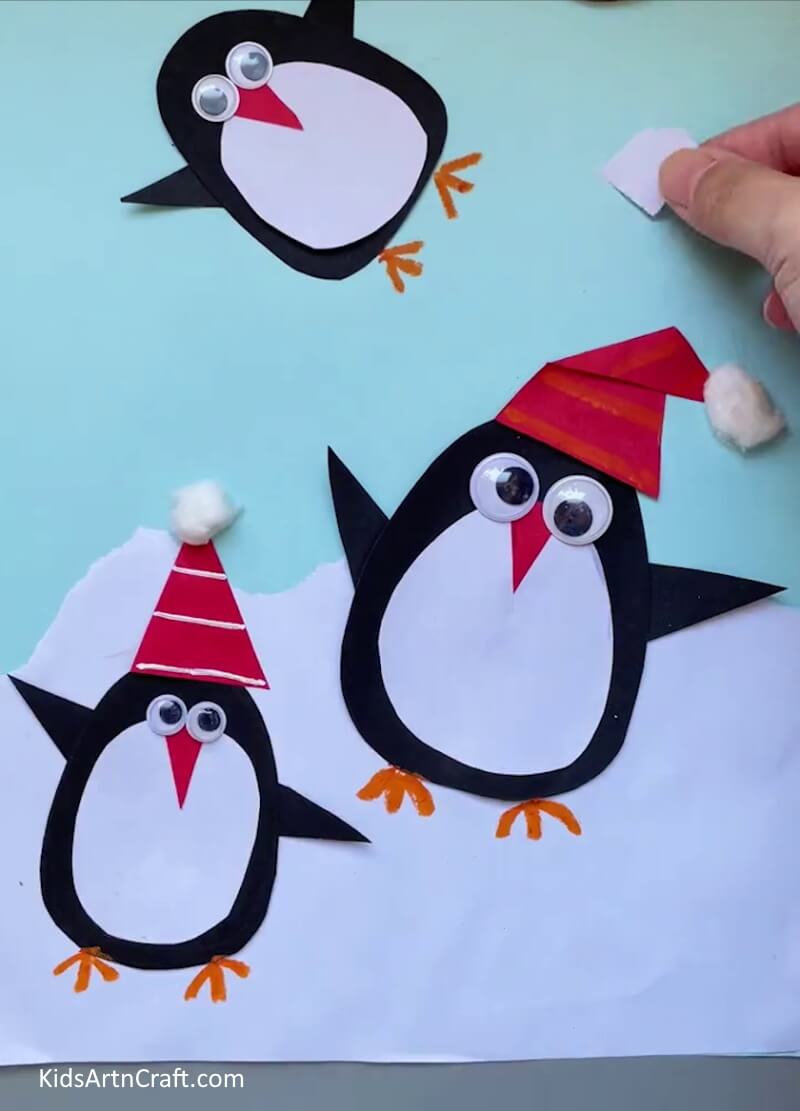
Image Source/Tutorial: Kids Art & Craft
This fun project is perfect for young children to make! Using paper, kids can make their own adorable penguins. It’s a great way to get kids creative and crafty!
Enjoyable Penguin Toy Using Clay and Bottle Cap
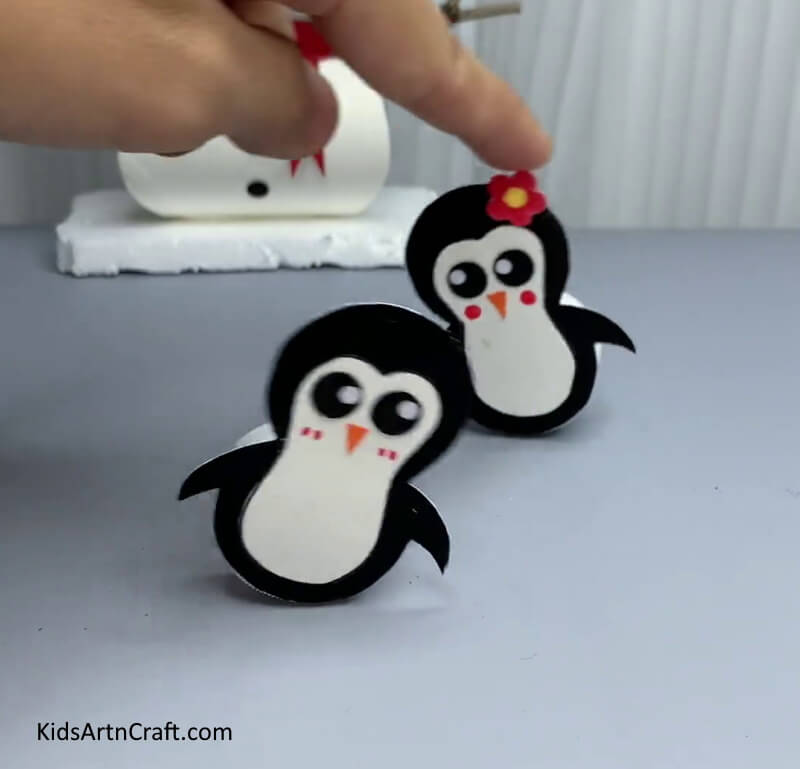
Image Source/Tutorial: Kids Art & Craft
This fun and creative toy is made of clay and a bottle cap. It is a great project for children and adults alike, as it’s easy to make and provides hours of enjoyment. It’s a great way to express creativity and make something unique.
A Penguin Craft Made Using Paper Roll For Kids
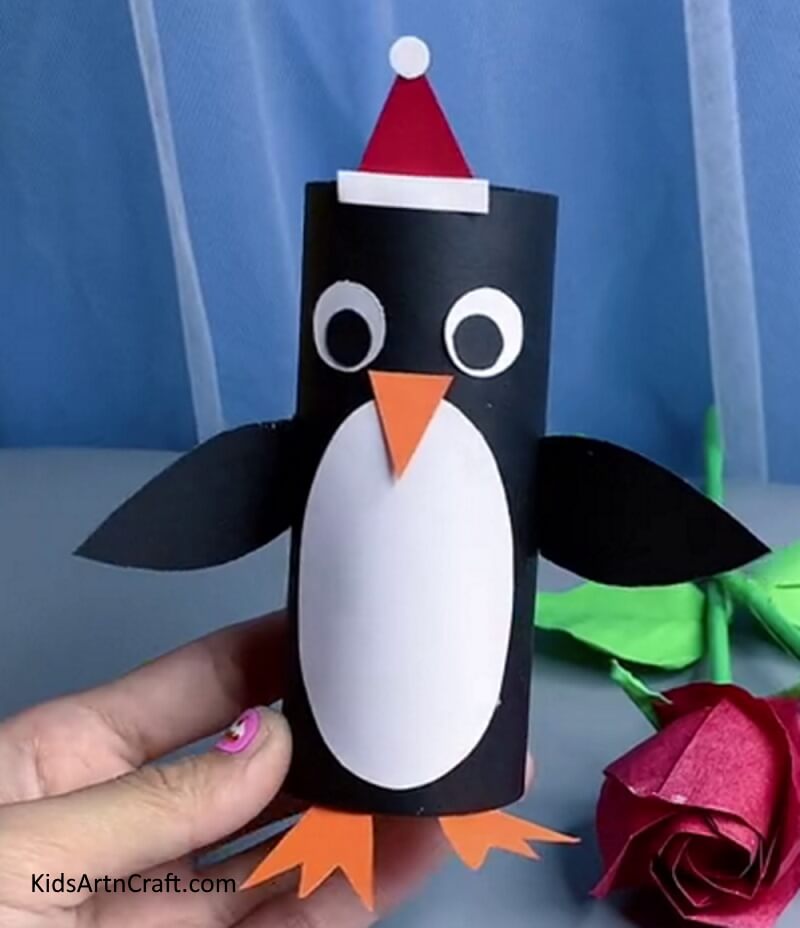
Image Source/Tutorial: Kids Art & Craft
This simple penguin craft made out of a paper roll is the perfect activity for kids. It is easy to make and fun to decorate. With a few supplies, kids can create their own unique penguin and express their creativity.
Simple Process Peanut Penguin Craft For Kids
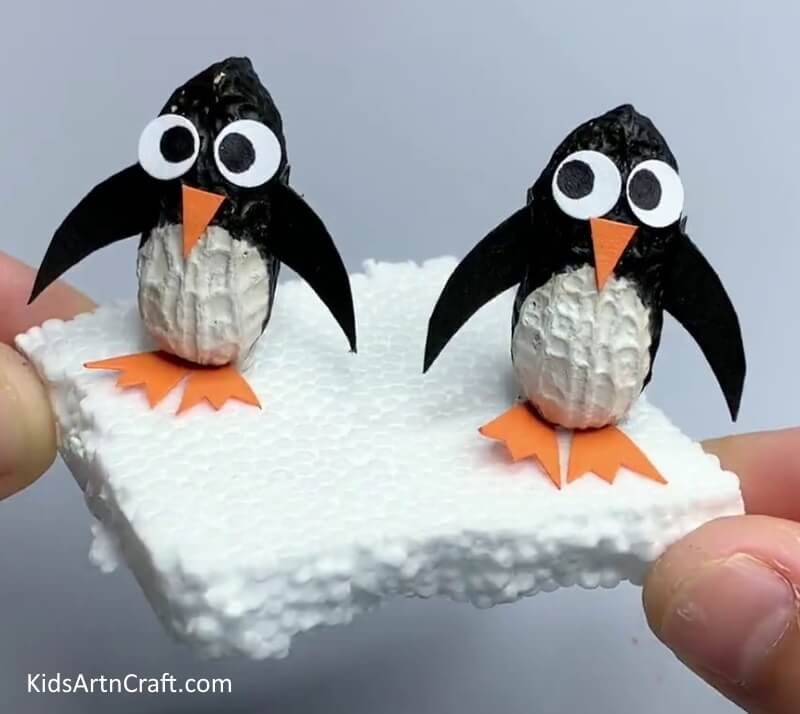
Image Source/Tutorial: Kids Art & Craft
This fun and easy craft is perfect for kids! It uses simple materials like peanuts and construction paper to make a cute penguin. This craft is sure to bring a smile to your little one’s face!
FAQs
1. What materials do I need to make a penguin craft?
You will need scissors, construction paper, glue, and markers or crayons.
2. How long will it take to make a penguin craft?
It typically takes about 15 minutes to make a penguin craft.
3. What age group is this craft suitable for?
This craft is suitable for all ages.
4. Is there an easier way to make a penguin craft?
Yes, you can buy a pre-made penguin craft kit from any craft store.
5. What colors should I use for the penguin craft?
You can use any colors you like for the penguin craft.
6. How do I assemble the penguin craft?
You can find instructions and step-by-step instructions for assembling the penguin craft online.
7. Do I need any special tools to make the penguin craft?
No, all you need is scissors, construction paper, glue, and markers or crayons.
8. Is the penguin craft safe for children?
Yes, the penguin craft is safe for children as long as they are supervised while using scissors and glue.
9. Can I make multiple penguin crafts at once?
Yes, you can make multiple penguin crafts at once with an assembly line method.
10. Can I use my own art supplies to make the penguin craft?
Yes, you can use your own art supplies such as paints, crayons, and glitter to make the penguin craft.
This fun and easy-to-make penguin craft is a great way to get creative with your kids or just express your own creativity.
Follow us on Youtube for art and craft tutorials and much more.
More Articles from Kids Art & Craft
- Unicorn Crafts for Kids
- DIY Flower & Ant Craft from Peanut/Groundnut shells
- Button Craft Ideas To Make With Adults
- DIY Winter Lantern Crafts to Decorate Your Home
- Sports Themed Craft Ideas For Kids