DIY and Crafts
Easy Rainy Day Leaf Craft Tutorial For Kids

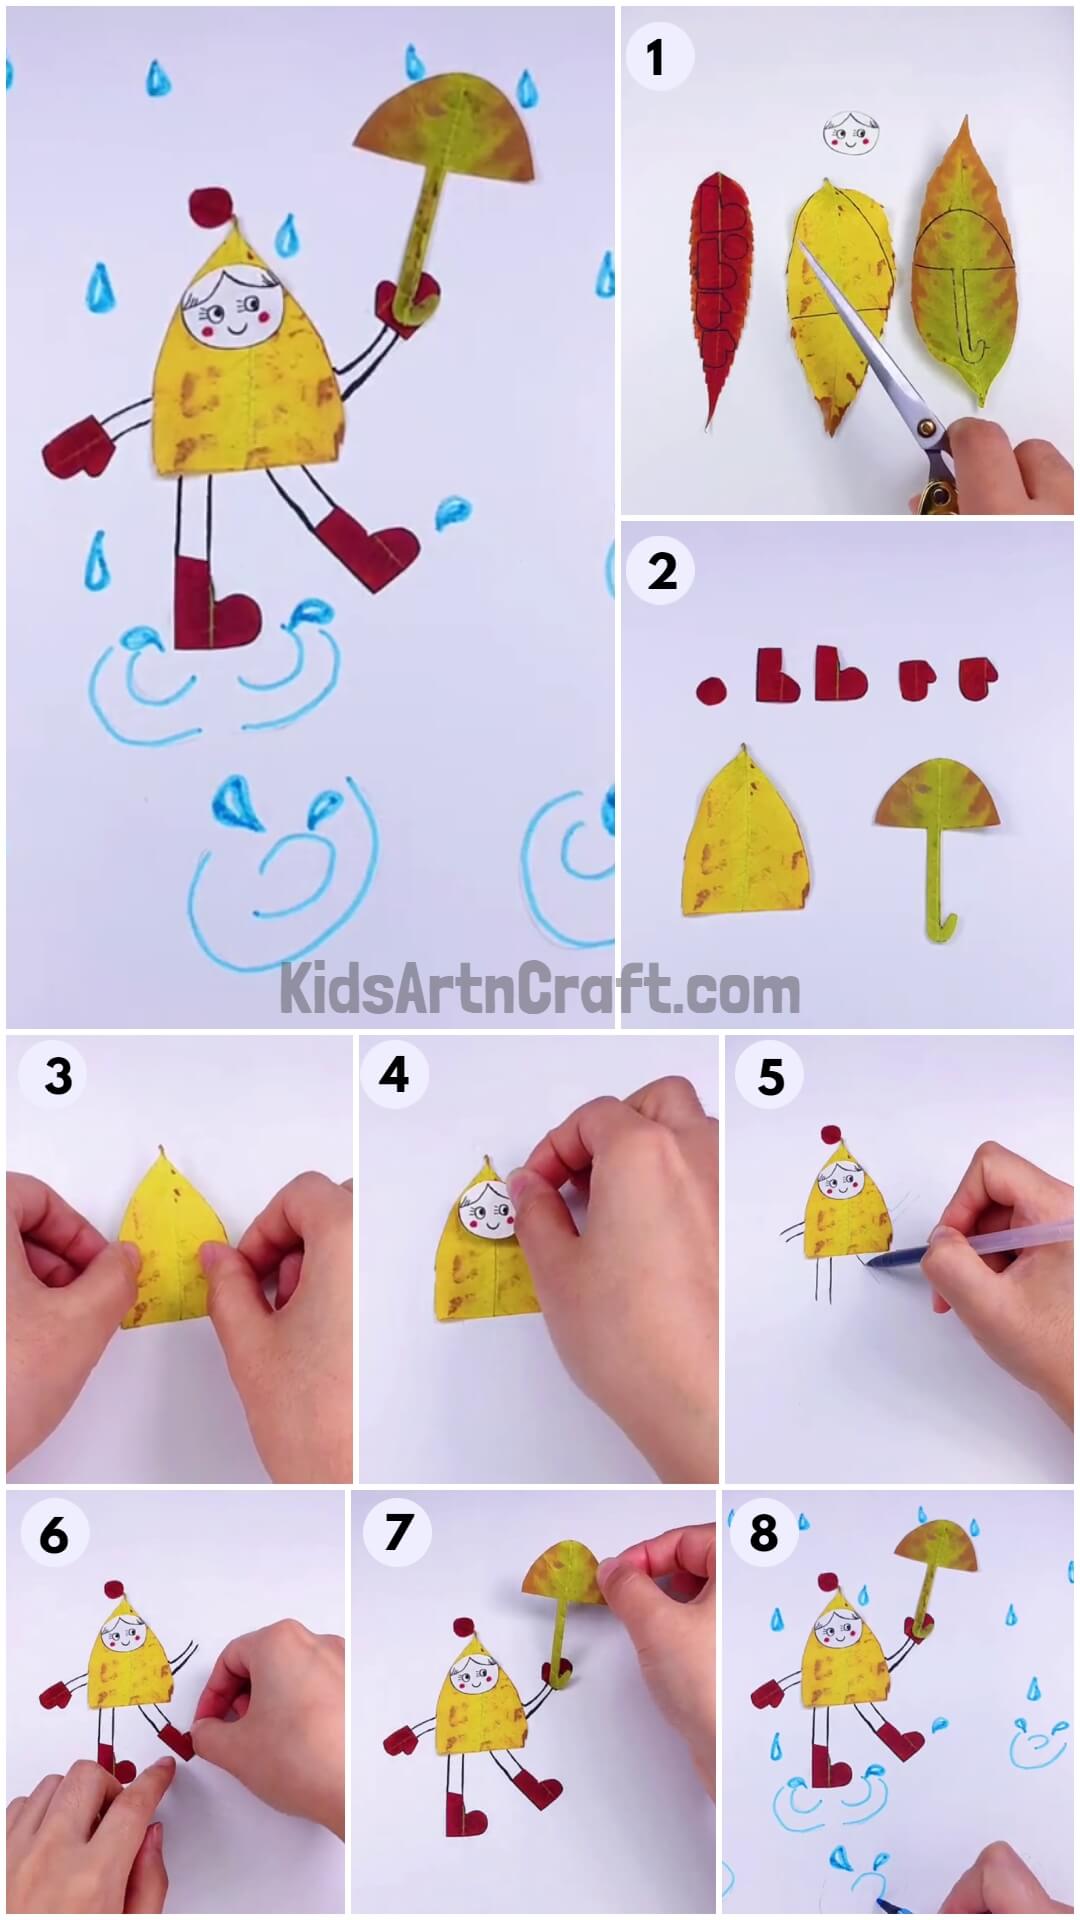
This fun craft for kids is a great way to keep busy on a rainy day. All you need are some basic materials and your kids can make their own cool artwork. It’s a great way to stay creative and have fun on a rainy day!
We all love monsoons and the fun that comes with it. Whether it be dancing and playing in the rain or having a good, peaceful sleep inside your rooms while it rains outside. They bring cooling winds with them and sometimes flooded toads as well. But that’s okay because it gives you an opportunity to float some boats in those waters. Today, we will be depicting one such rainy day through craft. The material used in making this craft is also unique as it includes leaves. So, go out in the park or some garden and collect some fallen leaves coloured yellow and red. Do not pluck from the tree. Gather all the other material required and let’s get started.
DIY Rainy Day Artwork Craft For Kids
Read More: Beautiful Lantern Night Scenery Painting Tutorial
Materials Required
- A white sheet of chart paper
- Red and yellow coloured leaves
- A black and a blue sketch pen
- A pair of scissors
- Black gel pen
- A pencil
Procedure
Step 1: Drawing On The Leaves
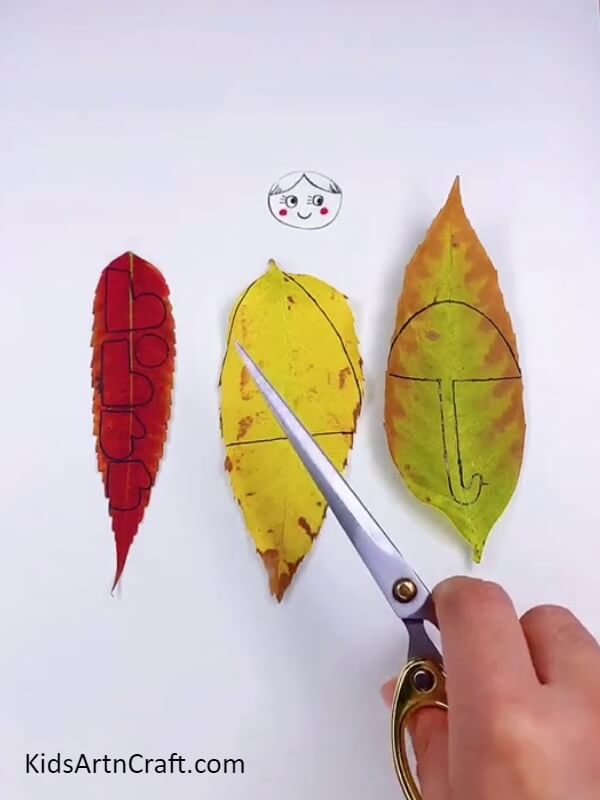
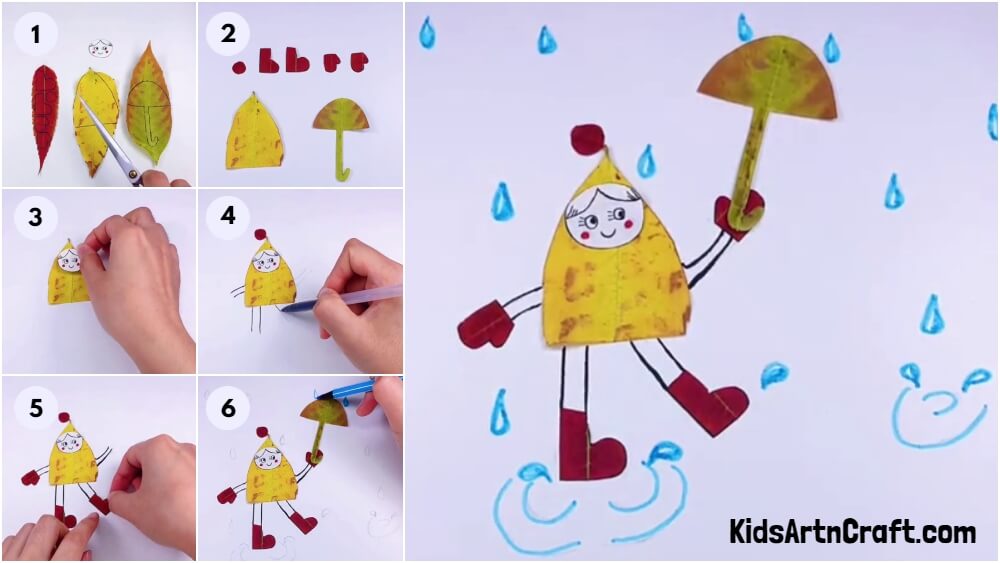
Take two yellow and a red leaf. Now, draw an umbrella shape on one of the yellow leaves a horizontal line in the middle of the other yellow leaf. Then, on the red leaf, draw two small shapes resembling a boot and two other small shapes resembling mittens. Also draw a small circle on the same red leaf. Finally take a white sheet of paper and cut a small circle out of it. Draw two eyes, a smiley, some hair on it as shown in the picture below. Don’t forget to add two red dots on its cheeks using a red sketch pen. It should resemble the face of a girl. See the picture below for complete reference.
Step 2: Cutting Out All The Shapes Drawn On The Leaves
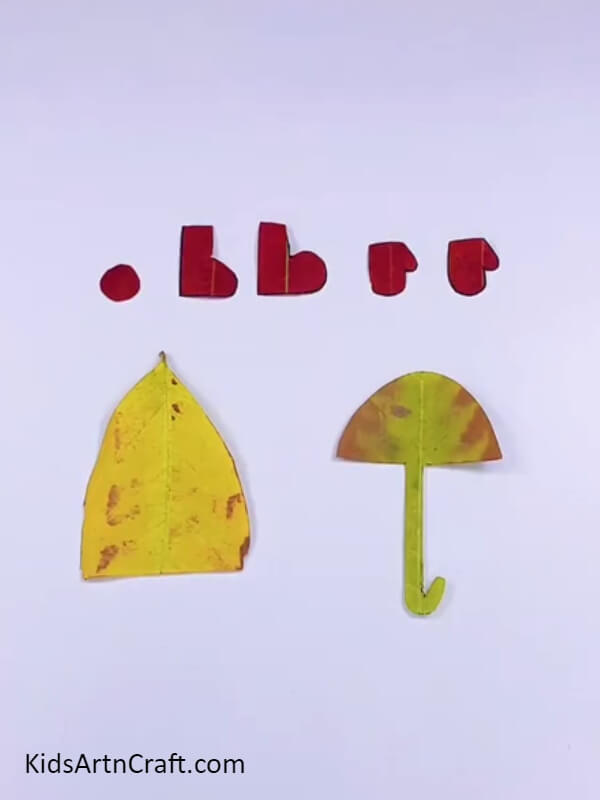
Take a pair of scissors and cut out the umbrella from the yellow leaf, the mittens, boots and the circle from the red leaf and for the other yellow leaf, cut on the lines in the middle ,i.e. cut the leaf into half. See the picture below for reference.
Step 3: Pasting The Leaf On The Sheet
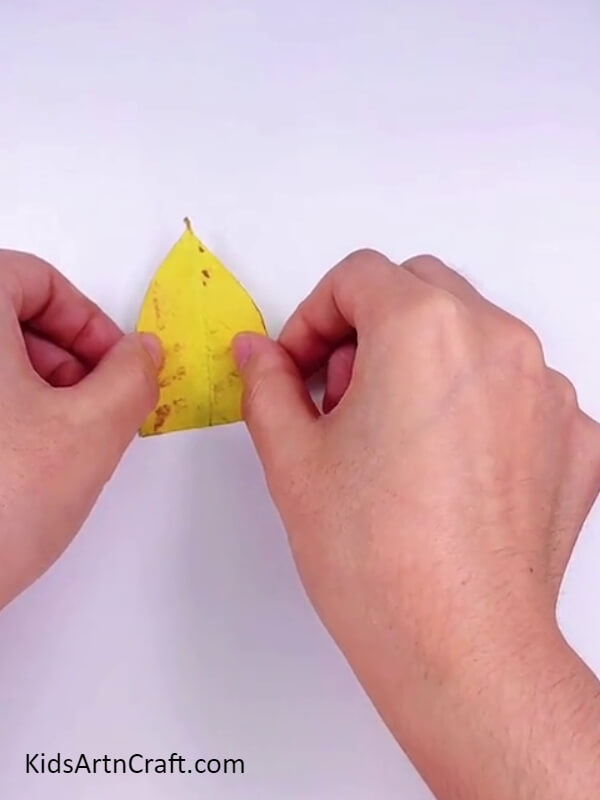
Take the half cut leaf and paste it in the mid section of the left side of the sheet. The cornered side should be on the top as seen in the picture below.
Step 4: Pasting The Face On The Leaf
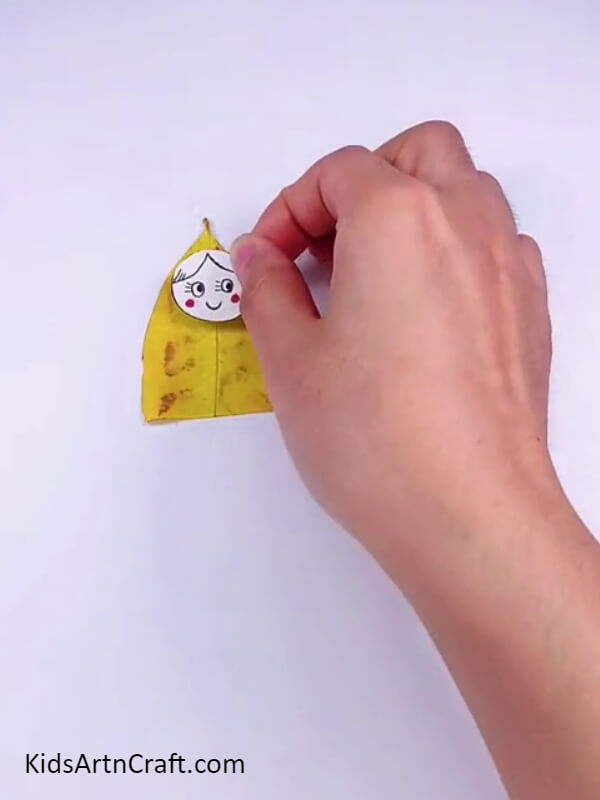
Now take the cut out face you made in the first step and paste it at the top of the leaf already pasted on the sheet. See the picture below for reference.
Step 5: Making The Other Body Parts
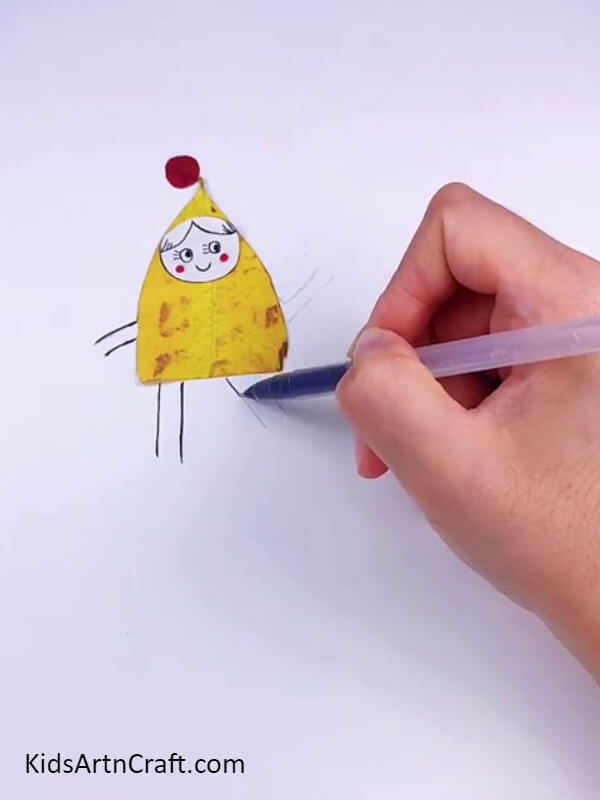
Take a pencil and draw a pair of swinging legs and arms connected to this leaf. You can do that by simply drawing lines on the white sheet connected to the leaf pasted. Outline these lines with a black sketch pen. See the picture below for reference. Finally, paste the red dot you made out of the leaf earlier on the white sheet right above the leaf. Ser the picture below for complete reference.
Step 6: Pasting The Boots And The Mittens
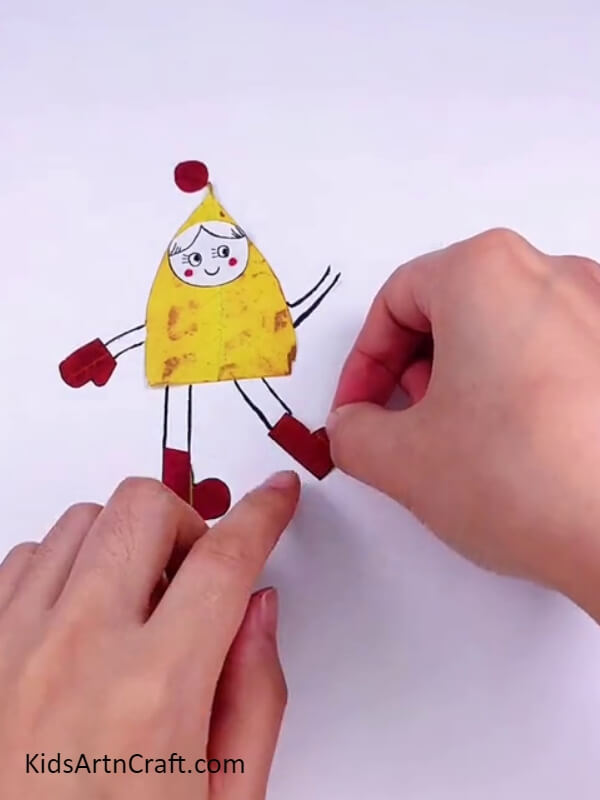
Paste the mittens on the ends of each arm and the boots on the ends of each leg as shown in the picture below. The big leaf in the middle with the head of the girl is the rain coat and thus the body of the girl with arms and legs attached to it.
Step 7: Pasting The Umbrella
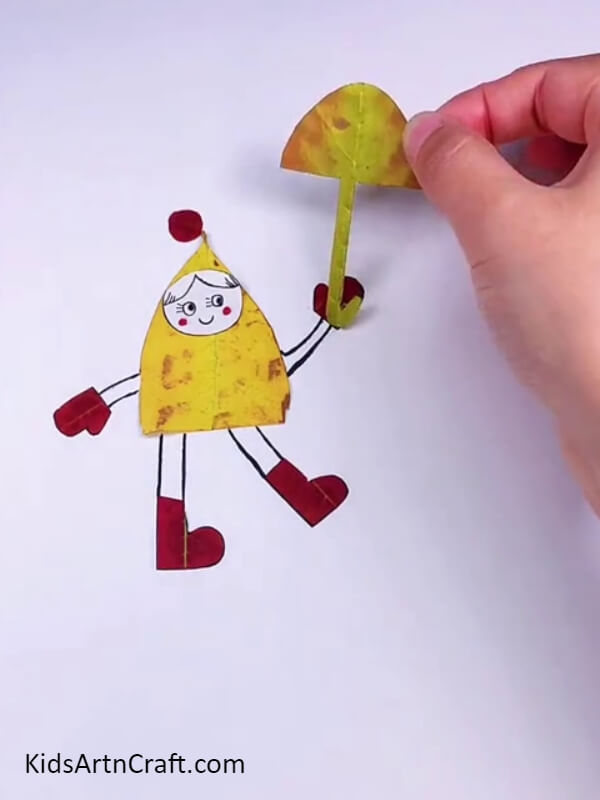
Take the leaf umbrella and paste its handle on the right hand and mitten of the girl. See the picture below for reference.
Step 8: Making Some Drawings With A Pencil
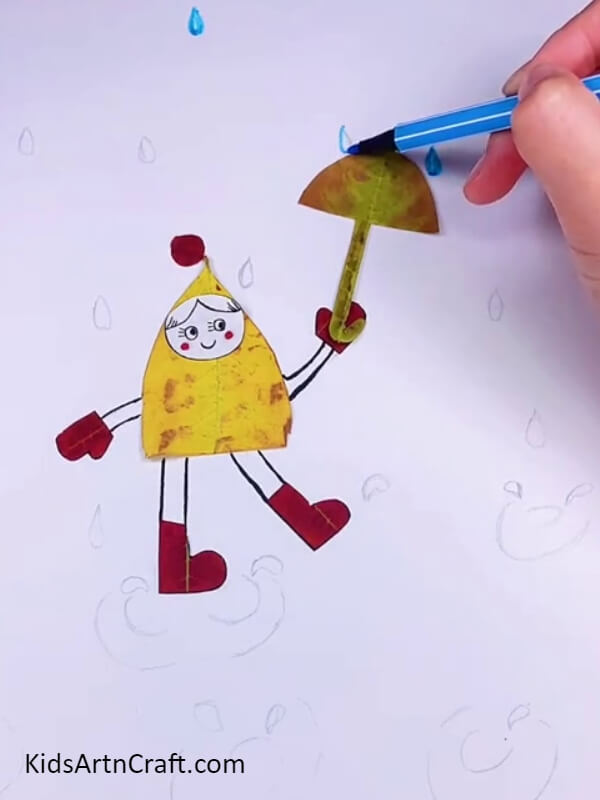
Take a pencil and draw a lot of small droplet shapes on the entire blank sheet making it look like it’s raining. Also, on the bottom section of the same blank surface draw some splashes created by the falling droplets. Draw a bigger splash below the leaf feet of the girl. See the picture below for reference.
Step 9: Outlining The Pencil Drawings
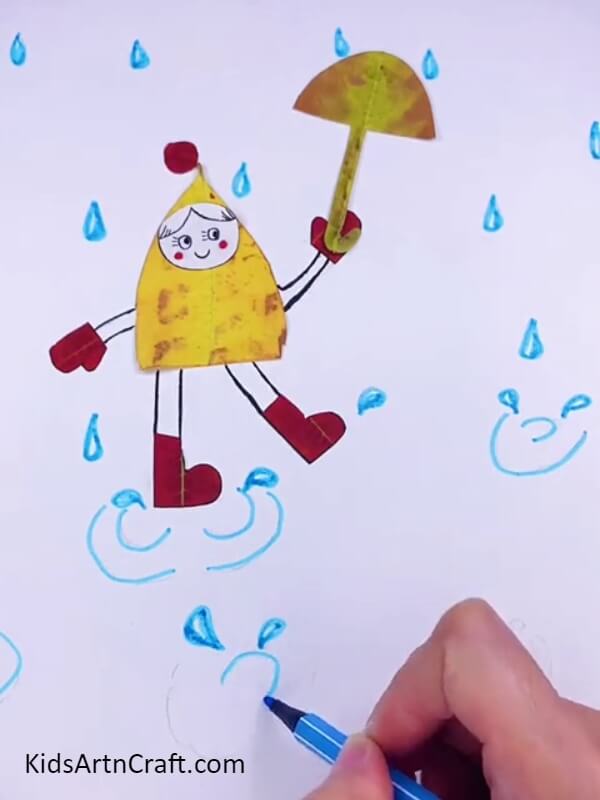
Take a blue sketch pen and outline all these droplets and splashes with it. This shall give a finer definition to the drawings as shown in the picture below.
Finally !! Your Rains, Raincoats And Umbrellas Is Done!!
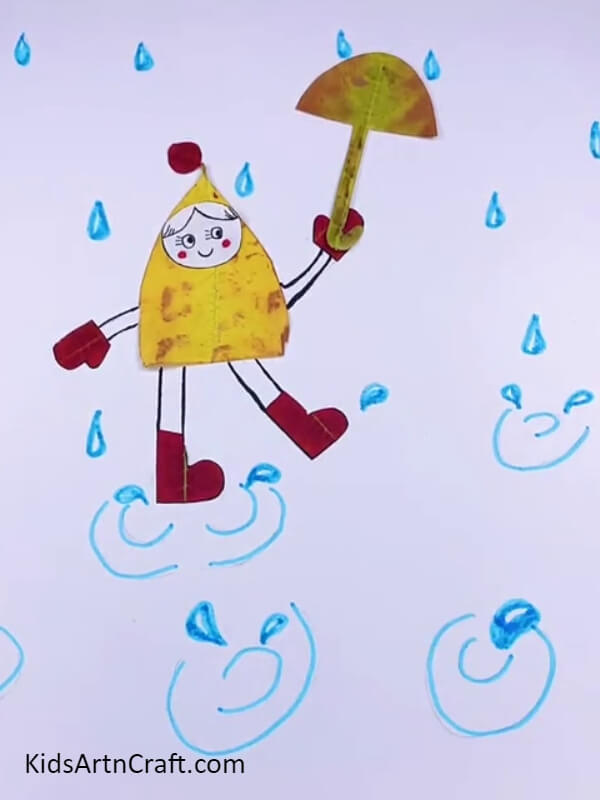
This completes this leaf craft with all its rain droplets and splashes, raincoats and umbrellas. The girl is all geared up from head to bottom to play in the rain as can be seen in the picture below.
Today, you learned to turn dead leaves into living craft. The tutorial taught you great drawing and cutting skills. You also learned good sketching skills. You can hang it on the walls of your room or paste it in your art book. You can even submit it as your art project in school. Keep looking for more such unique material to create art with and keep inventing new ideas to level up your art game. Keep thriving, good luck.
Some More Leaf Craft Tutorial
Creative Way To Make Leaf Art And Craft
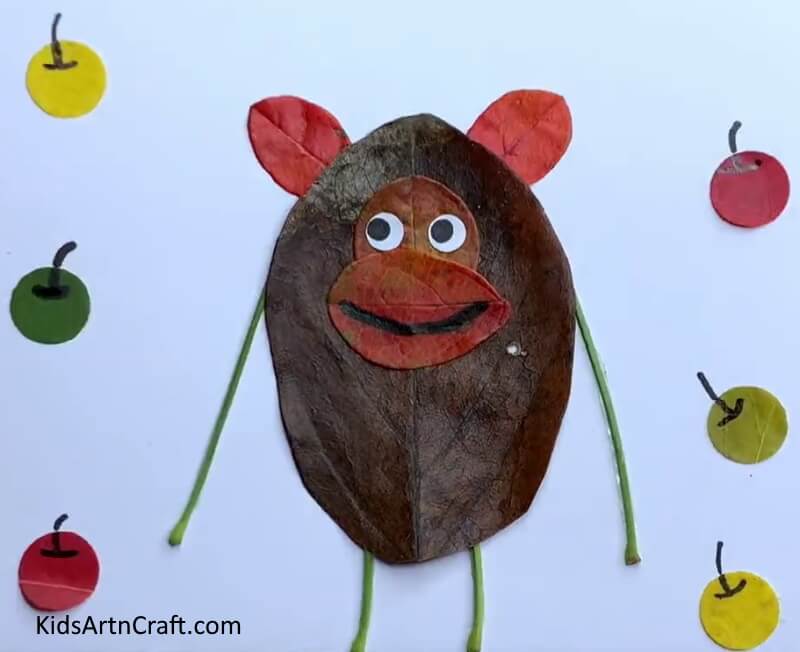
Image Source/Tutorial: Kids Art & Craft
Leaf art and crafts are a fun and creative way to keep children occupied. There are so many wonderful ideas that can be used to make beautiful leaf art and crafts with children. From making leaf prints to creating decorative wreaths, these activities will keep kids entertained and engaged while also helping them express their creativity.
Creative Way Fall Leaves Boy Craft For Kids
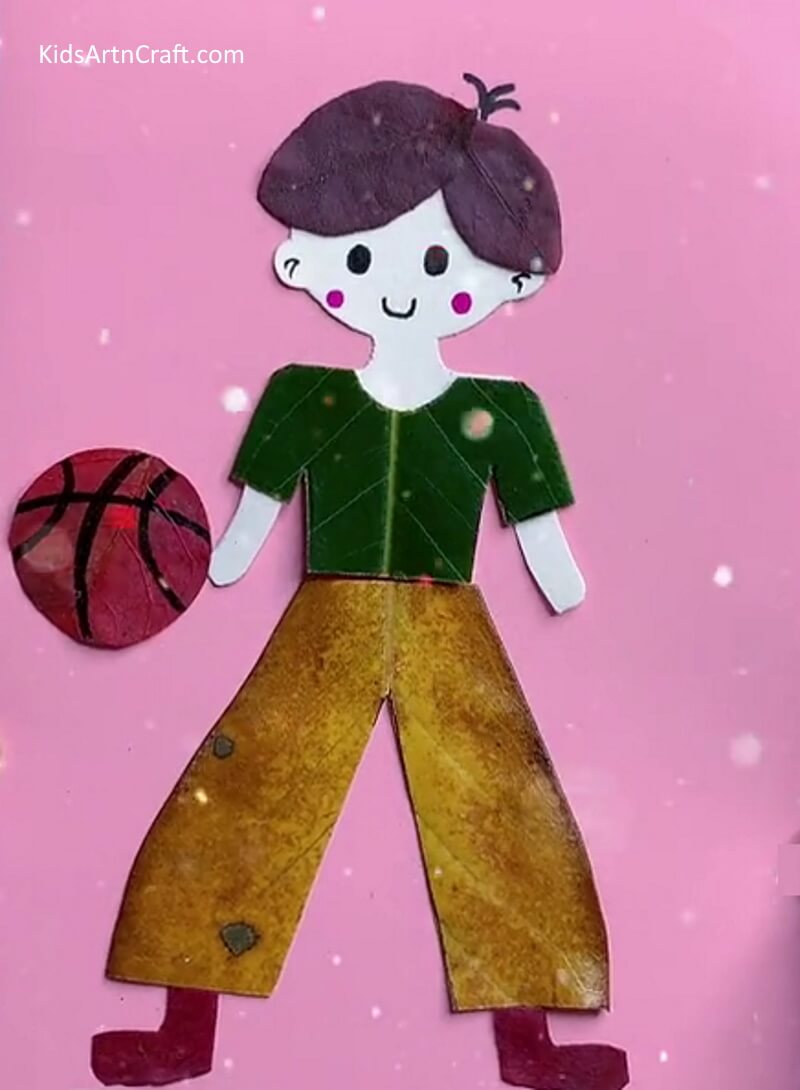
Image Source/Tutorial: Kids Art & Craft
This fall craft is perfect for kids of all ages. It involves collecting colorful leaves, gluing them onto a paper cutout of a boy, and adding in your own creative touches. This craft will be sure to bring a smile to any child’s face this season.
Follow us on Youtube for art and craft tutorials and much more.
More Articles from Kids Art & Craft
- Autumn Leaf Squirrel Craft Tutorial For Beginners
- Cute Fish Underwater Artwork By Fall Leaves and Bushes Craft Tutorial
- Easy Fall Leaf Artwork Tutorial For Kids
- Beautiful Swan Craft Using Fall Leaves Ideas
- DIY Flying House Using Leaves – Up Movie Inspo


