Painting
Rainbow Tree Beautiful Painting Tutorial For Beginners

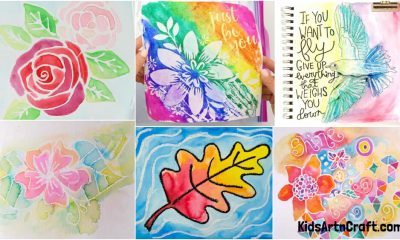
Are you a beginner looking for an easy painting project? Check out this Rainbow Tree project! It’s an awesome way to make a beautiful piece of art. The instructions are simple and easy to understand. Be creative and make this colorful painting come to life!
This tutorial will teach you an extraordinary painting technique which will make your art look more professional. And the best part a about this art is its simplicity. It will take you a simple technique to learn and make this art. The painting is inspired by a tree with all rainbow colours for its leaves. It will also teach you to use different objects to paint with. So, collect all the material required and let’s start making this painting.
Simple Rainbow Tree Beautiful Painting
Read More: Cute Penguin Hand Outline Painting Tutorial For Kids
Materials Required
- A cream coloured sheet of paper
- A pair of scissors
- Water colours
- Paint brush
- Ear bud
Procedure
Step 1: Starting with the sheet of paper
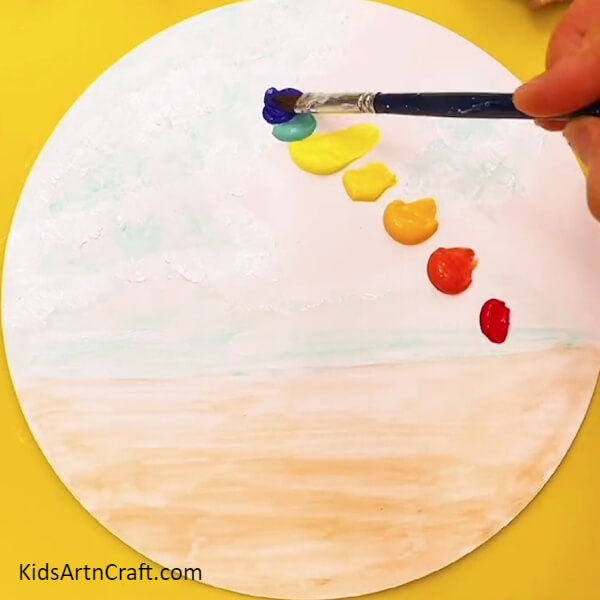
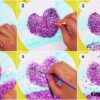
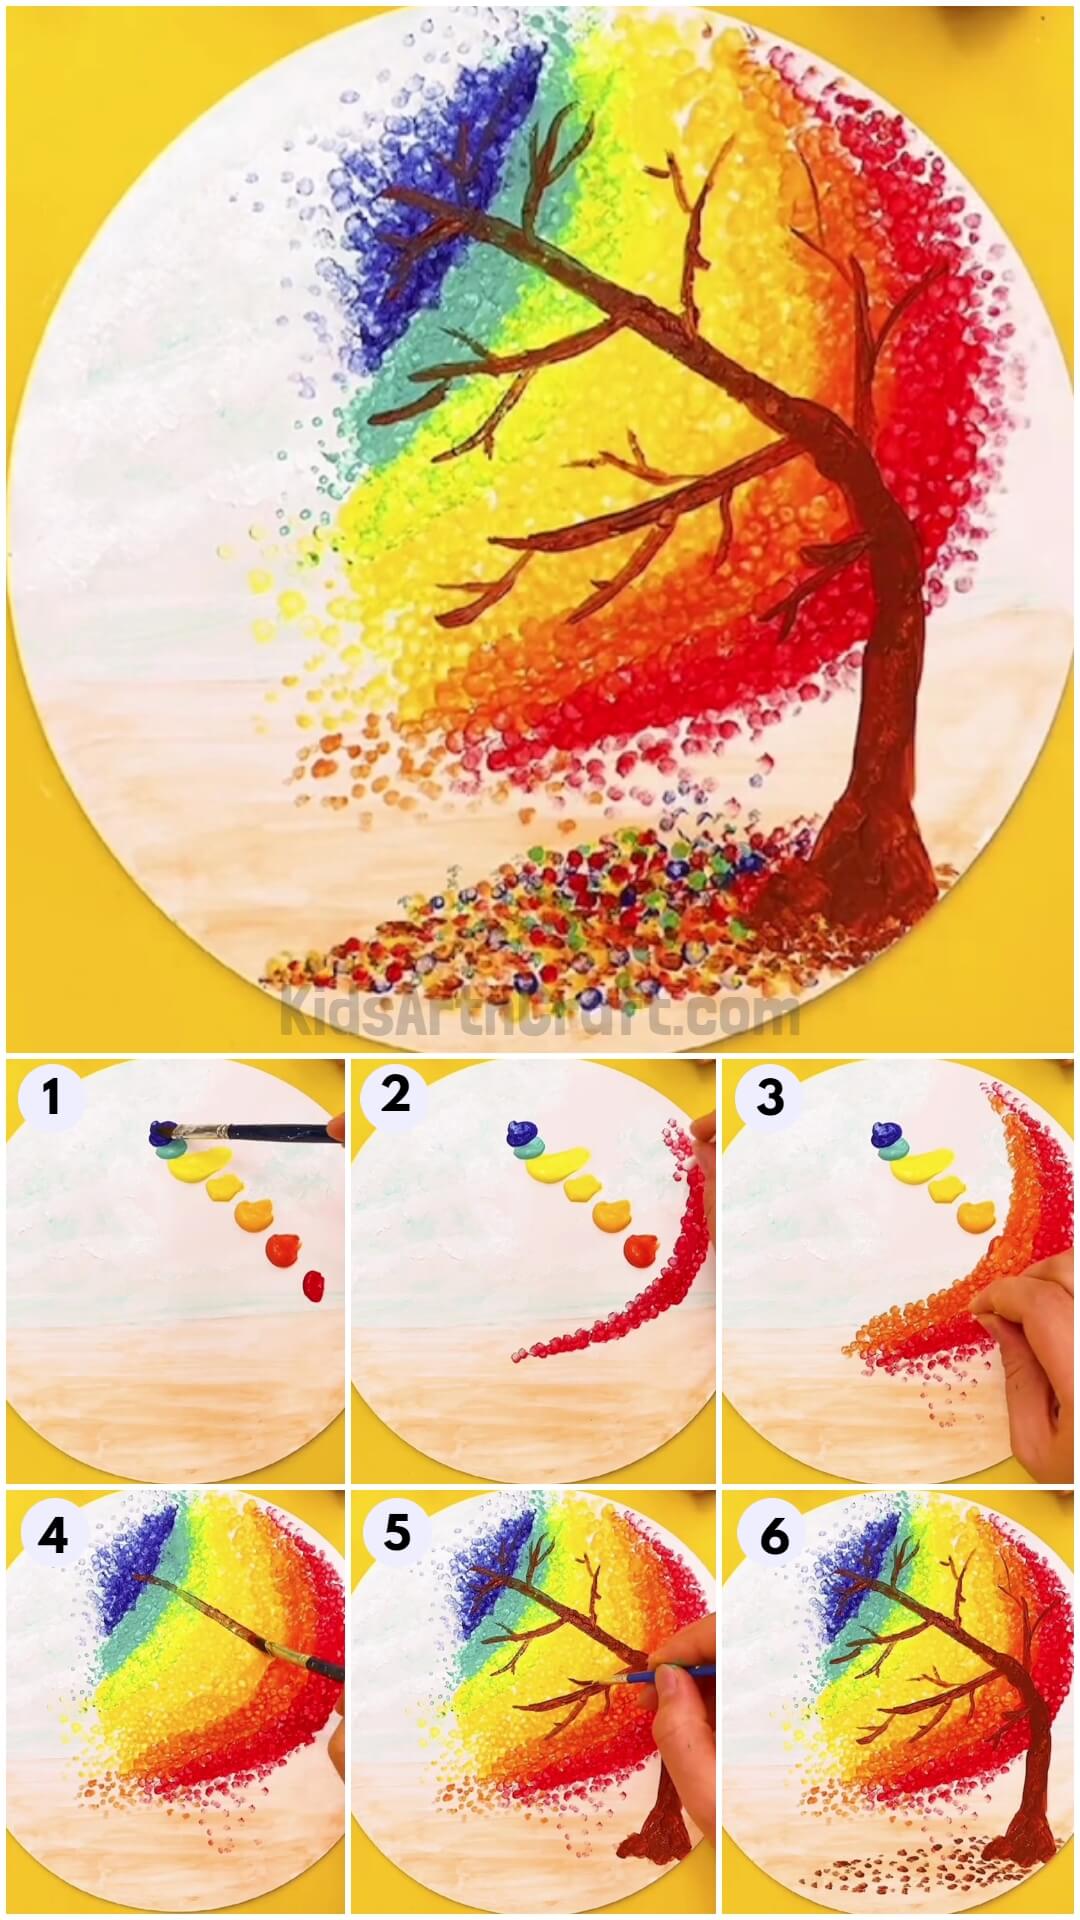
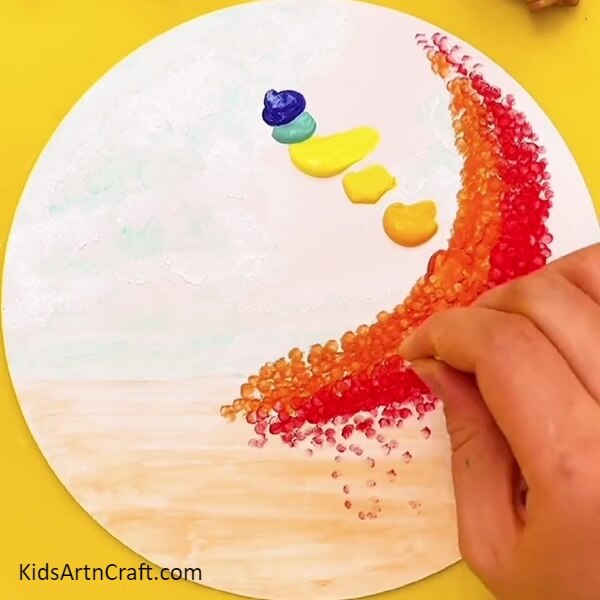
Take a sheet of paper and cut a circle out of it and place it on the table. Now, take some dark blue paint and pour a small amount a little below the top of the sheet right in the middle. Pour some paint in the colour sea green at the bottom of the blue paint. Pour some yellow paint below, then some neon yellow, yellow, mustard, orange and maroon paint below each other in the order mentioned above. The paint drops need to be poured in a slanting order as shown in the picture below.
Step 2: Painting With An Ear Bud
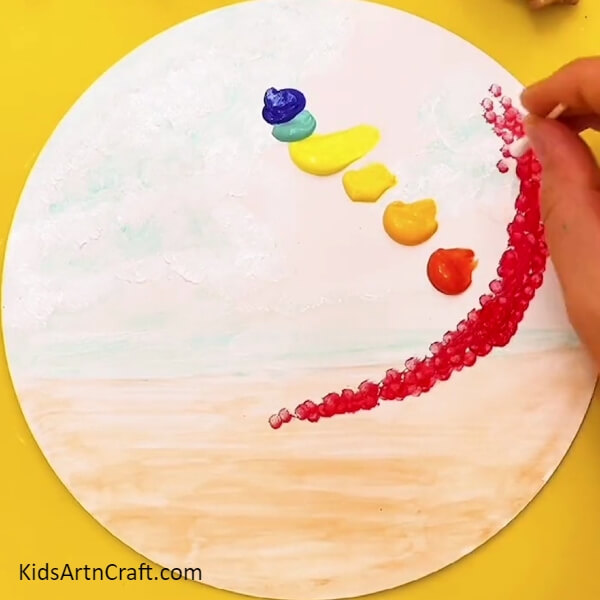
Take an ear bud and spread the maroon paint at the bottom using an ear bud. Make small dots using this ear bud to form a big crescent shape. See the picture below for reference.
Step 3: Painting The Orange Drop
Repeat the technique on the orange paint above the maroon one. Blend the orange paint in the maroon one below to make it look more natural. See the picture below for reference.
Step 4: Spreading The Mustard And Yellow Paint Out
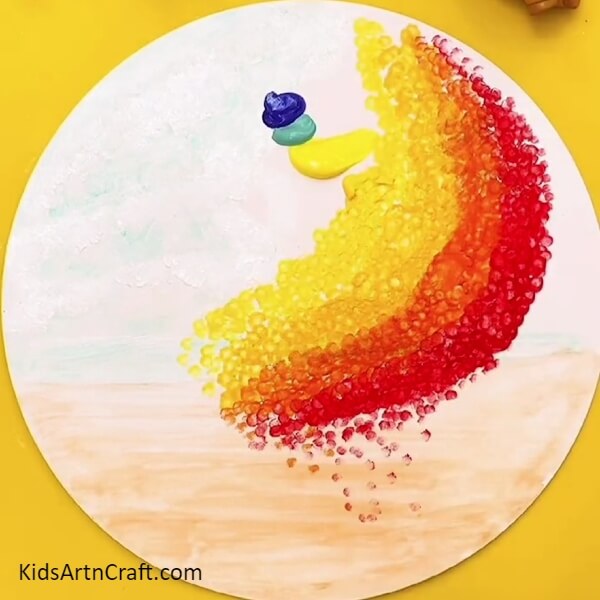
Make the same crescent shape out of the mustard and yellow paint drops above the orange one. Don’t forget to blend the harsh lines to make it look more natural and organic. See the picture below for reference.
Step 5: Completing Rest Of The Paint Drops
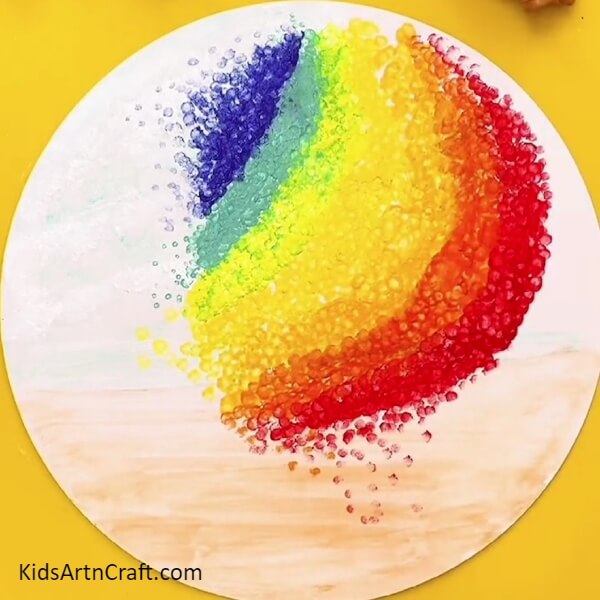
Spread out the rest of the paint drops using similar technique, instead this time make the spread out smaller with each paint drop and for the final drop at the top, make it a little triangular. Make their outlines look more natural. See the picture below for reference.
Step 6: Using A Paint Brush
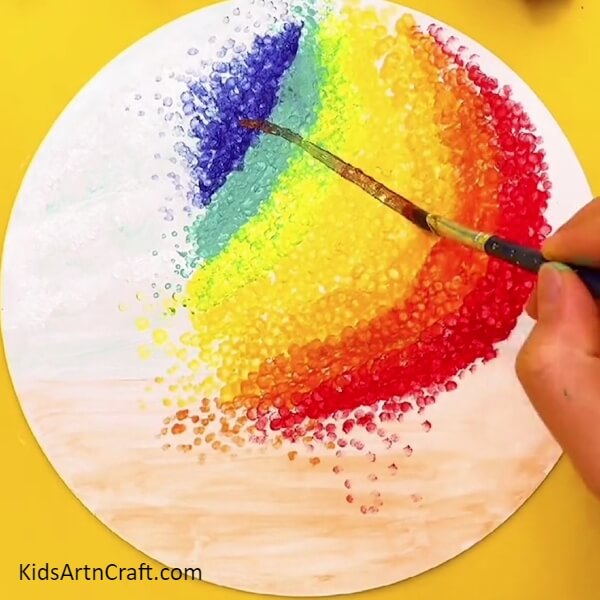
Let the paint dry out completely before painting on them with a brush. To do that, take some brown paint onto the brush and make a straight stroke throughout the middle slant of the entire painted rainbow. See the picture below for reference.
Step 7: Painting The Entire Tree
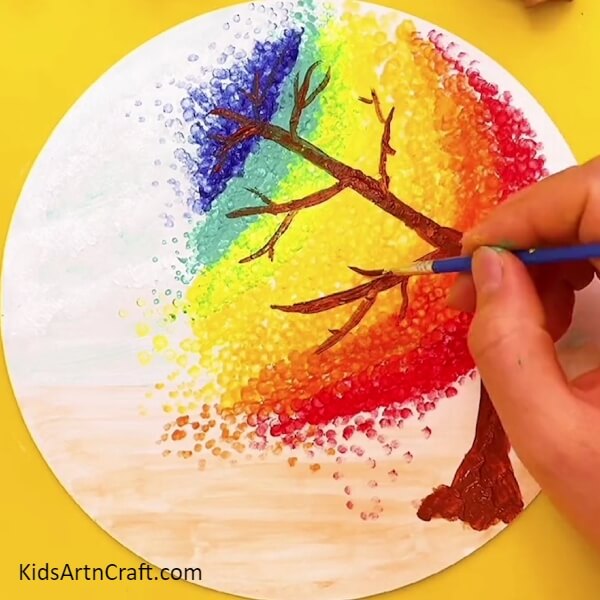
This line which will be the trunk of the tree needs to be thin at the top while descending into a thick trunk at the bottom. Make the trunk straight at the bottom, outside the lines of the rainbow and slanted and bended down in throughout the painted rainbow. Now, paint some branches on each side of the bended area of the tree. See the picture below for reference.
Step 8: Beautiful Tree With Rainbow Leaves
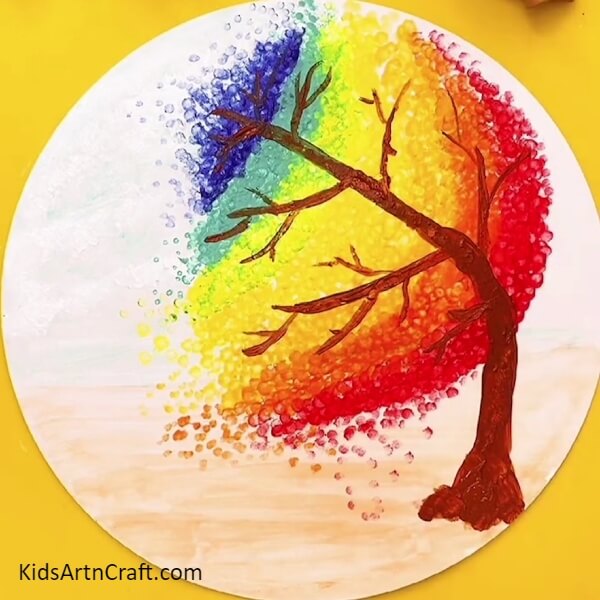
The tree in now ready with all its rainbow leaves in the background. See the picture below for reference.
Step 9: Painting Some Fallen Leaves
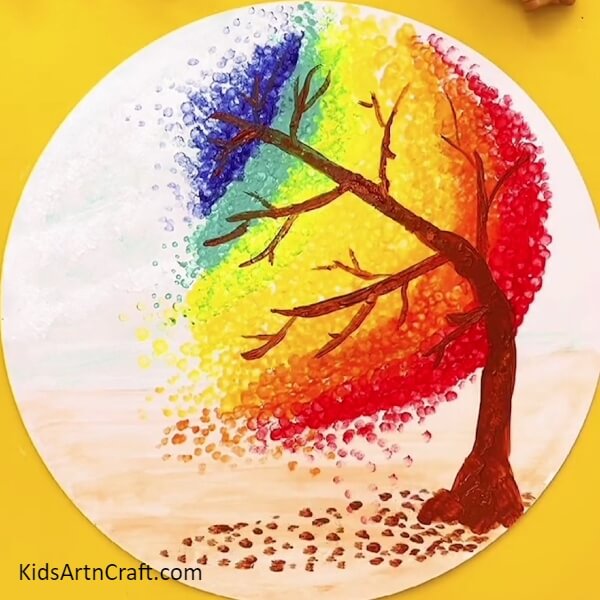
Using the maroon paint and ear buds paint some dots at the bottom of the tree as shown in the picture below. These will act as the fallen leaves on the ground beneath the tree.
Painting A Whole Pile Of Leaves
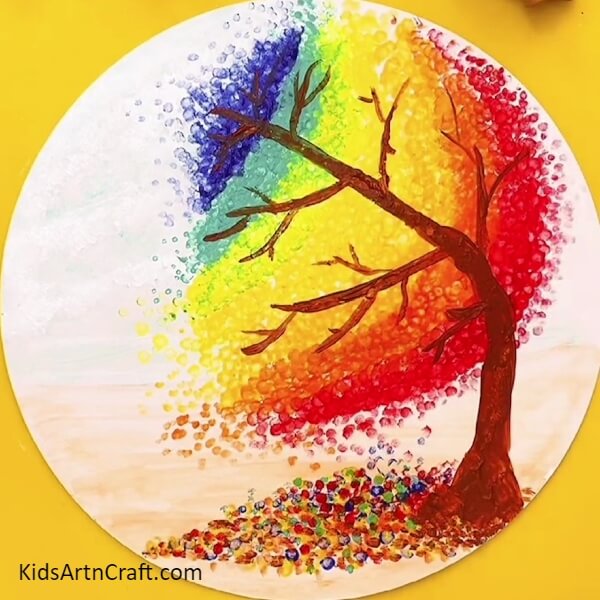
Using the rest of the rainbow colours make dots at the bottom of the sheet to make it look like a pile of fallen rainbow leaves. See the picture below for reference.
This brings an end to the tutorial and we have a beautiful tree painting. You learned great painting skills today which look quite professional. You can hang it on the walls of your room or paste it in your art book. Keep practising the techniques that you learn in these tutorials and keep inventing your own ideas to create more original craft.
Keep following the tutorials to learn more craft. Good luck
Thank you for visiting the website.
Follow us on Youtube for art and craft tutorials and much more.
More Articles from Kids Art & Craft
- DIY Foam Net Home Craft For Kids
- Easy Craft Activities At Home Video Tutorial for Kids
- Fruit Foam Net Easy Corn Craft Tutorial for Kids
- How to Make Paper Umbrella For Kids
- Colorful Lion Artwork Craft Tutorial For Kids