Games
Easy Straw Bubble Blower DIY craft Tutorial For Kids

Create your own bubble blower through this easy tutorial. Let’s make bubbles through your very own bubble blower!
Welcome to this easy tutorial on how to make a DIY straw bubble blower. This step-by-step tutorial is a must-try for kids. Everyone loves bubbles, we have made it easier for you to make your very own bubble blower by following this easy tutorial. You will require some straws for making your bubble blower. Enjoy making it all by yourself. Let’s get started!
Easy Straw Bubble Blower – DIY Craft for Kids
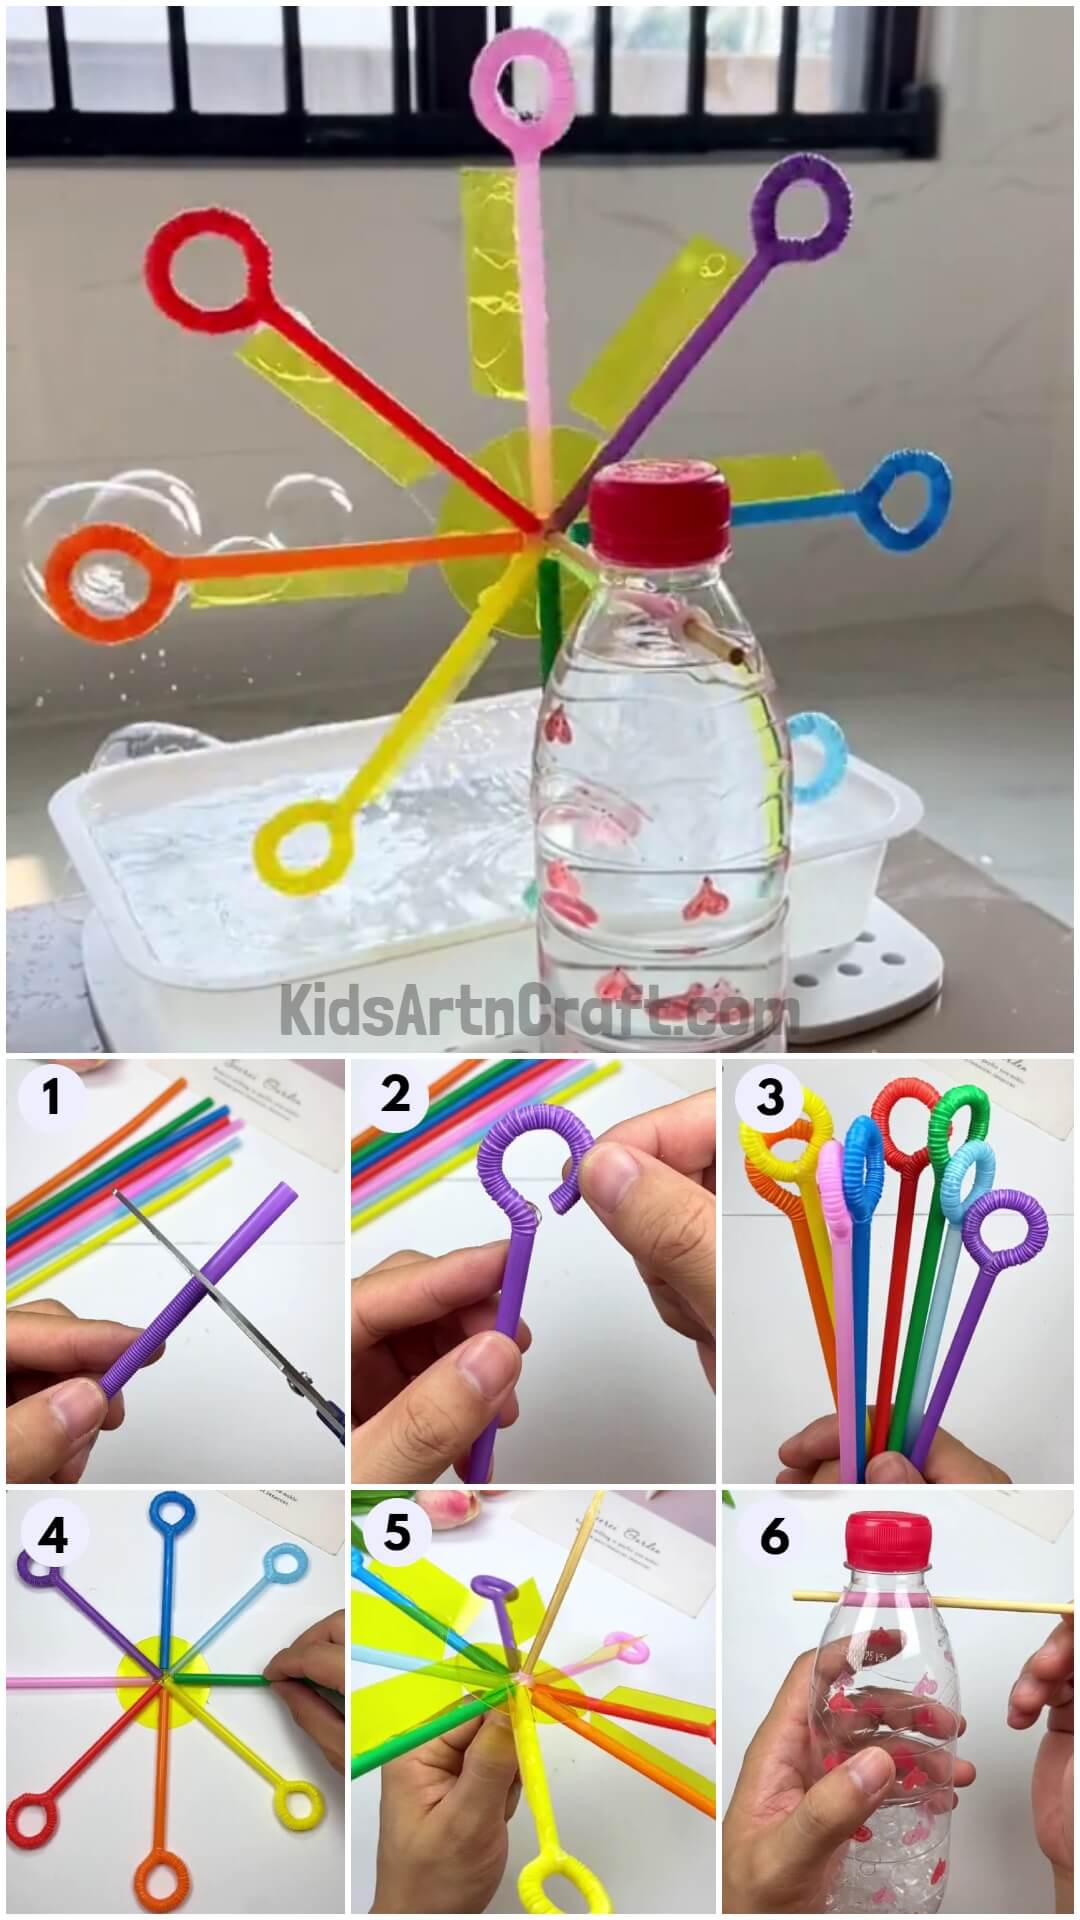
Read More: Learn To Make Easy Heart Shaped Paper Mouse Craft
Materials Required
- Colorful plastic straws
- Transparent plastic paper
- Glue
- Scissors
- Liquid soap
- Plastic bottle
- Plastic container
- Pencil
- Wooden stick
Procedure
Step 1: Cutting The Straw
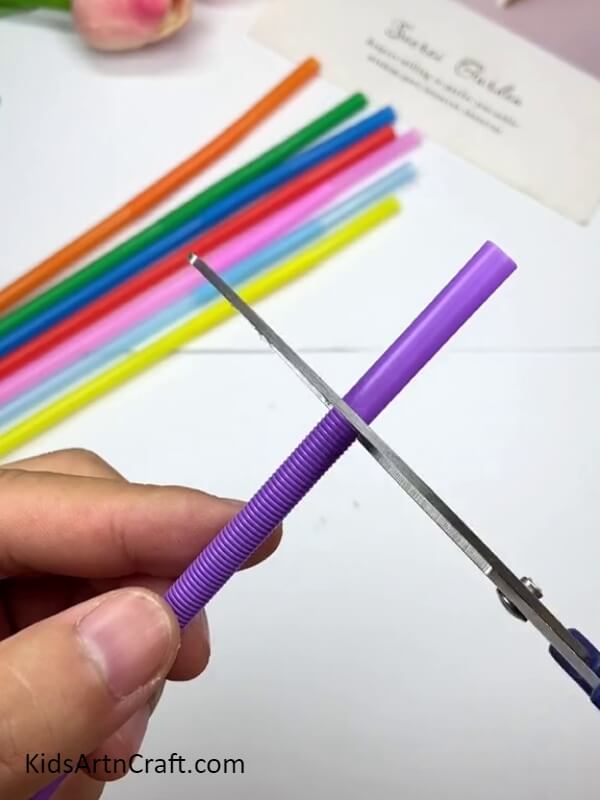
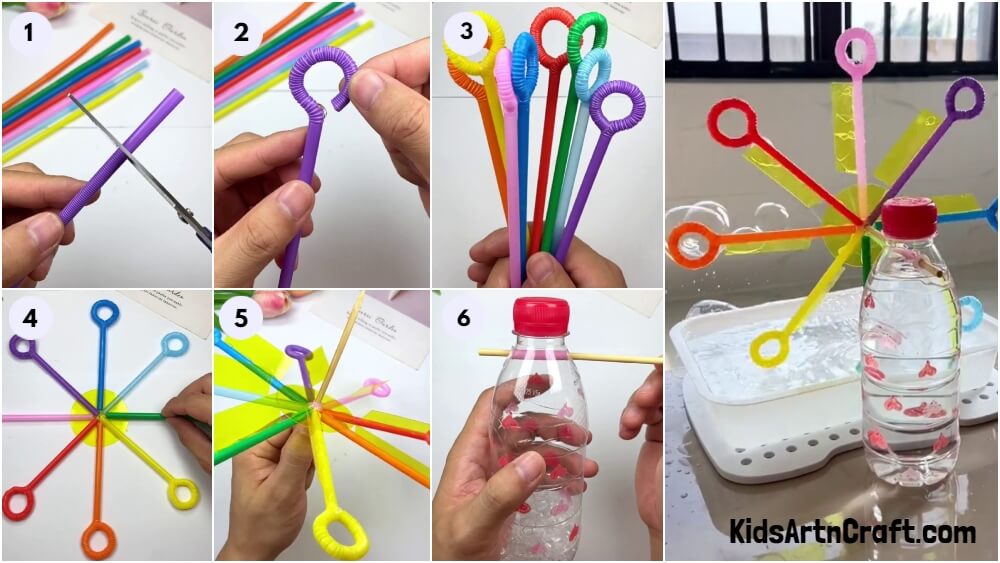
Take the straw and cut the upper portion of the wavy part of the straw using a scissor.
Step 2: Bring The Straw To A Circular Shape
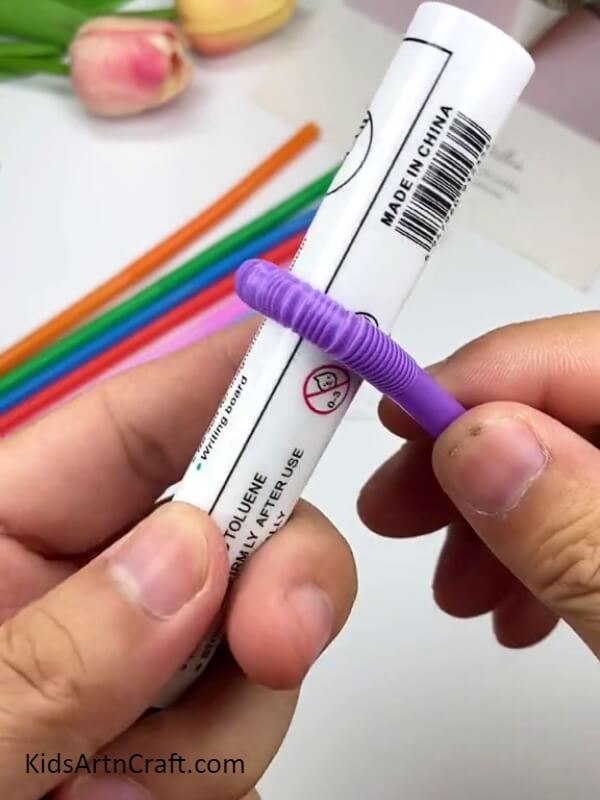
Use any circular thing to bend the wavy part of the straw into a circle.
Step 3: Join The Mouth To Form The Bubble Blower
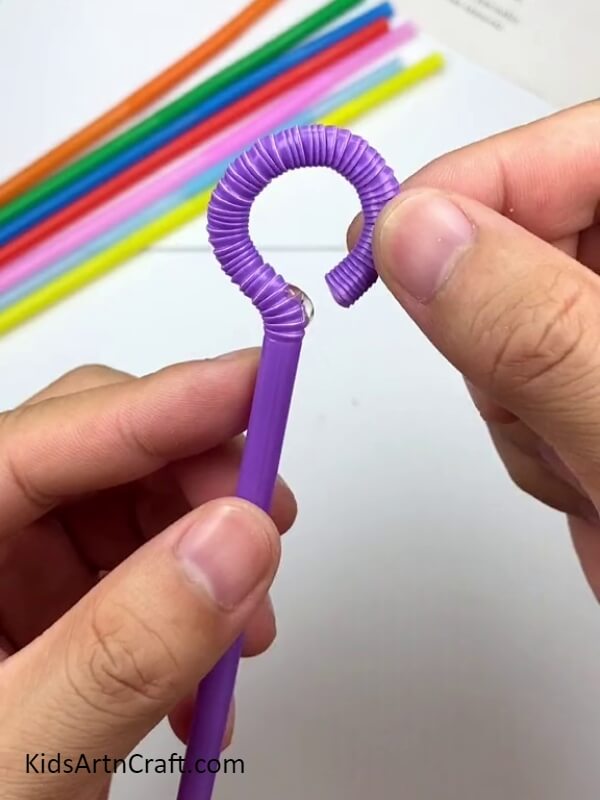
After getting the circular shape, Join the open end of the straw to the other end with glue. This will form the mouth of the bubble blower.
Step 4: Colorful Bubble Blowers
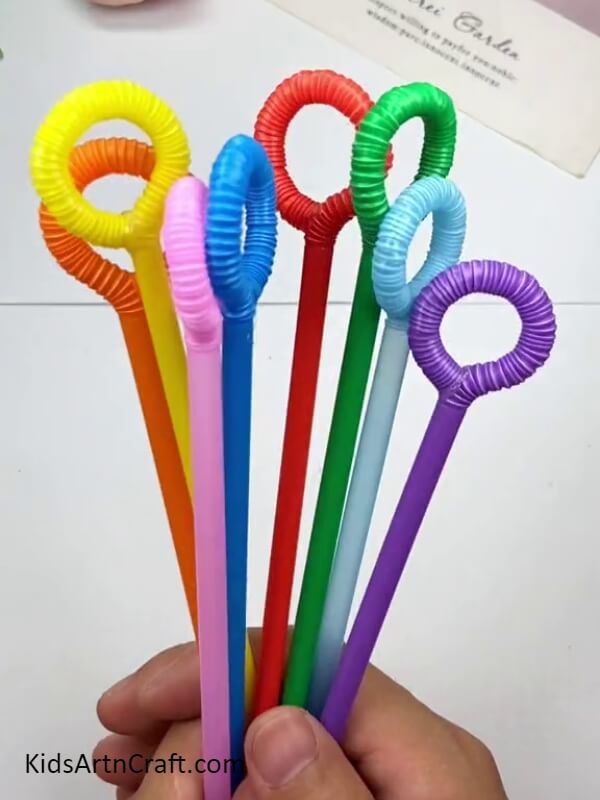
Make multiple colorful bubble blowers using the same above-mentioned procedure.
Step 5: Stick Some Glue To The Bubble Blower
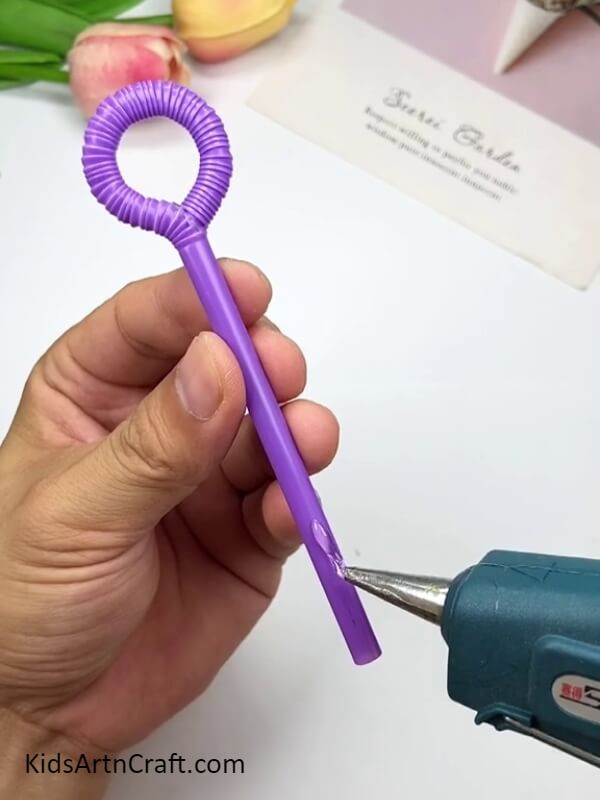
Stick some glue at the bottom of the bubble blower. Wanna know why? Let’s go to the next step to find out!
Step 6: Stick The Bubble Blower To The Circular Plastic Surface
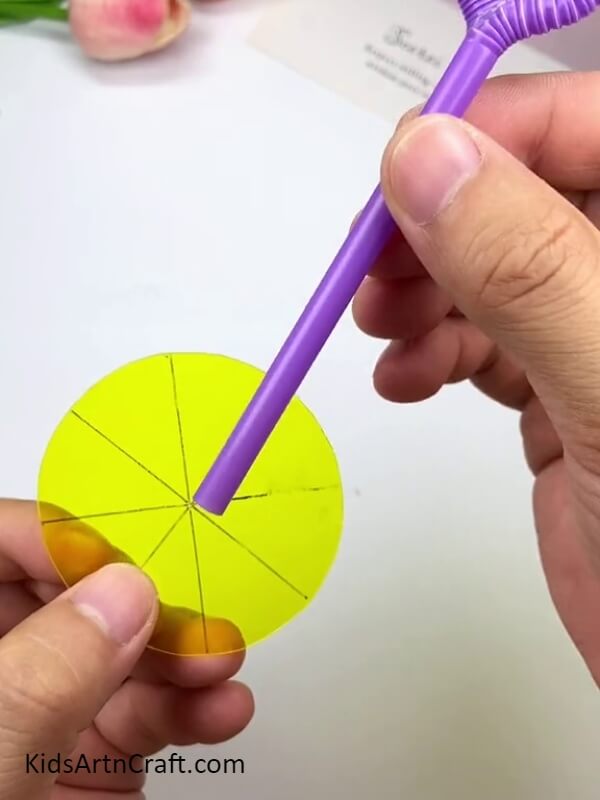
Cut up a circle of the transparent plastic surface. Mark the surface in equal triangular lines just like in the picture above. Now stick one of the bubble blowers on that line on the plastic surface.
Step 7: Multiple Bubble Blowers In A Circle
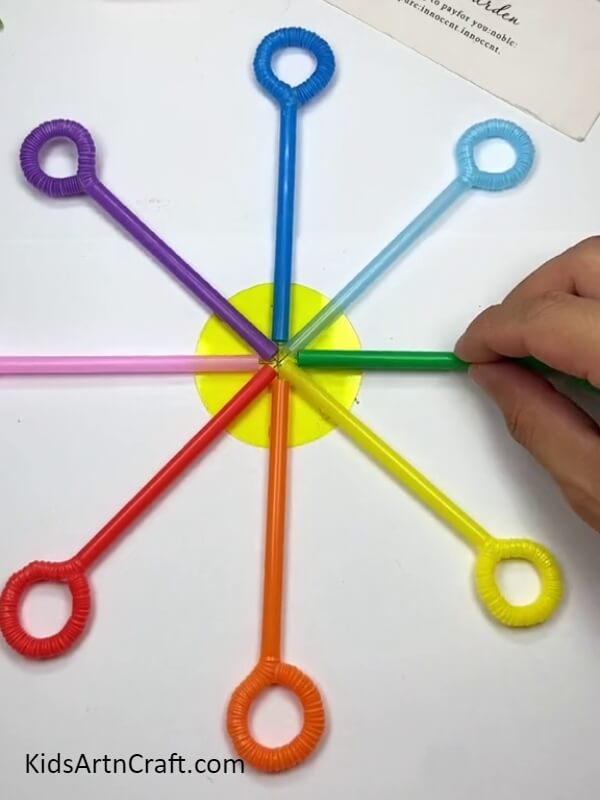
Stick all the bubble blowers on the lines of the plastic surface. This looks like a circular wheel of rainbow!
Step 8: Mechanism Of The Bubble Blower
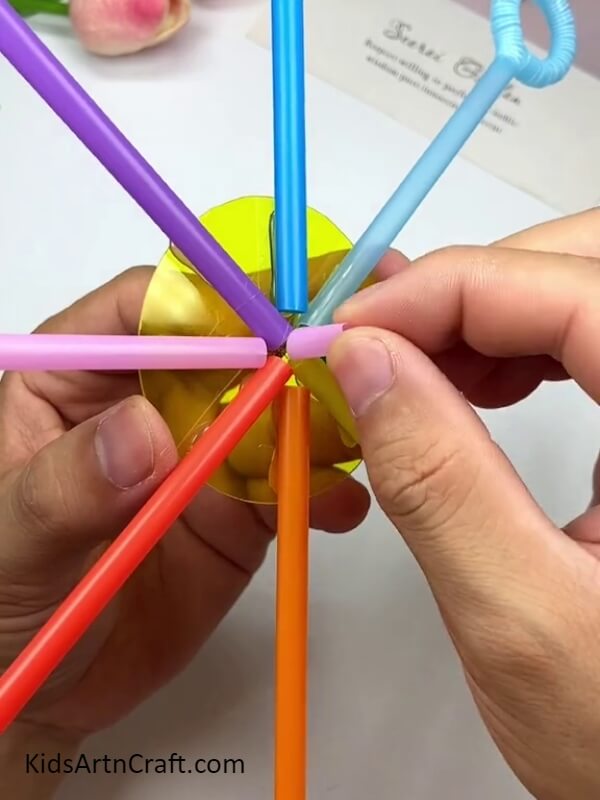
Cut a small tip of the straw and stick it in the middle of the bubble blower wheel using glue.
Step 9: Stick Rectangular Bits Of Plastic Paper To The Bubble Blowers
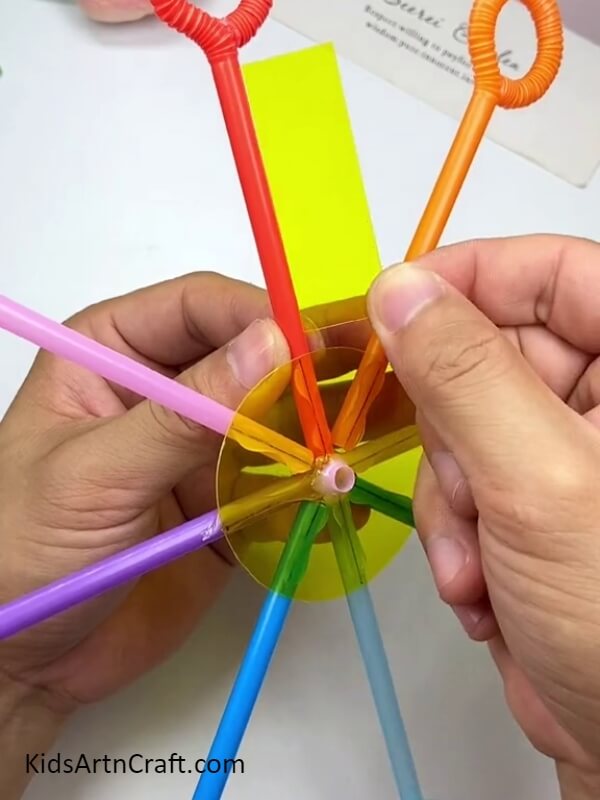
Cut up numerous rectangles of plastic paper. Stick each of these rectangles to the stick of the bubble blowers.
Step 10: Wooden Stick Through The Bubble Blower
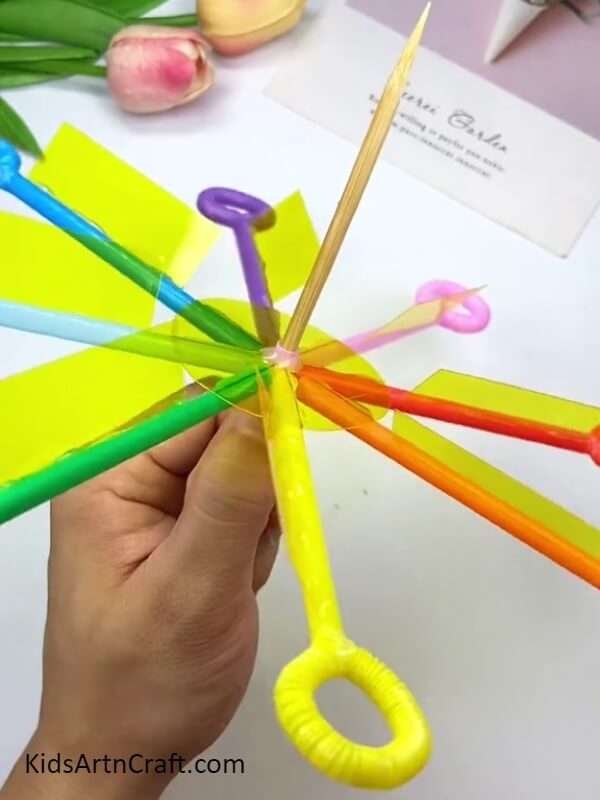
Put inside the wooden stick through the middle of the straw that we had stuck in the bubble blower.
Step 11: Piercing Through The Bubble Blower Bottle
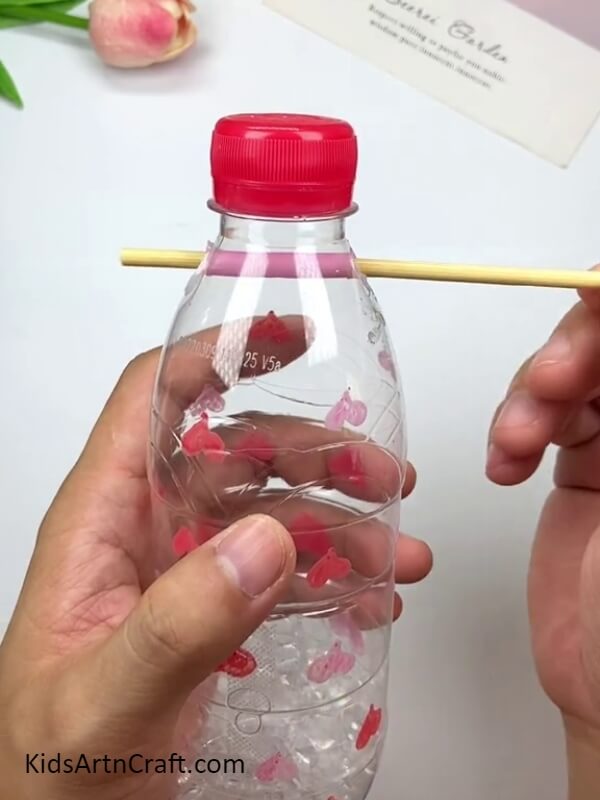
Pierce the other end of the wooden stick through the upper part of a plastic bottle. This will serve as a stand for the bubble blowers.
Step 12: Soap For Bubbles
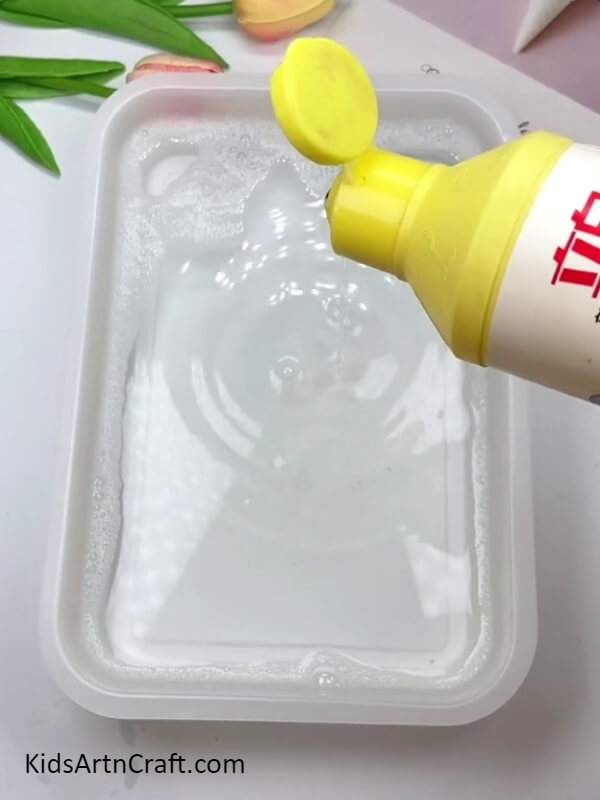
Pour some liquid soap in a container to make the bubbles from the bubble blower.
Your Craft Is Ready!!
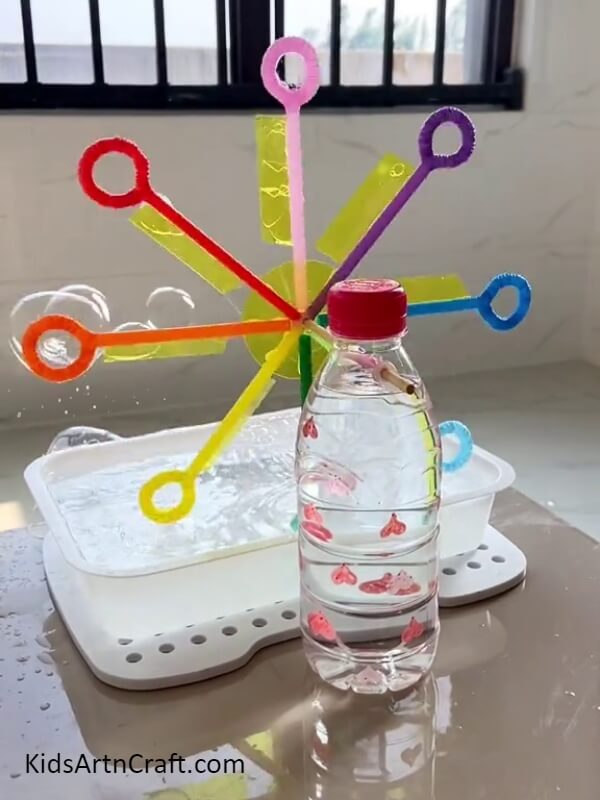
Turn the pointed end of the wooden stick to make bubbles from the bubble blower that you have made. The bubbles are looking so beautiful. Good job! This DIY tutorial on making straw bubble blowers will teach the kids that the craft is fun and easy. Make your bubble blowers now!
Hope that you like this article on DIY straw bubble blowers. We would love to hear your thoughts on this article in our comments section below. Please do visit our website for other such articles on DIY craft.
Thank you for visiting our website.
Follow us on Youtube for art and craft tutorials and much more.
More Articles from Kids Art & Craft
- DIY Easy Paper Chick Craft For Kids
- DIY Heart Shape Cat Craft for Valentine’s Day
- Heart Shaped Paper Mouse Craft Step by Step Tutorial
- How to Make Easy Paper Snowflakes Tutorial
- DIY Paper Tree Crafts for Kids Easy Tutorial


