


Paper Crafts
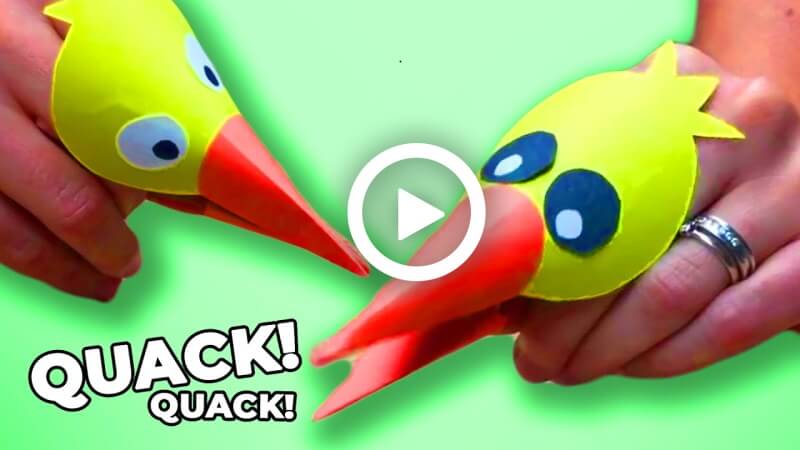
How To Make a Paper Chick – DIY Chick – Paper Craft

Learn how to make a paper chick with this easy-to-follow DIY Chick Paper Craft tutorial! From cutting and folding to assembling, this craft project is great for kids and adults alike!
This paper chick craft is very simple to make. You will not require a lot of things to make it, and you will enjoy it as well. You can make these with your kids, and they will have fun. This paper chick craft does not take a lot of time and is super easy to make. Even these are good for attracting kids, and it’s a great craft for decor at parties. You can gift these to the little kids coming to the party, and they will enjoy playing with them. Your kids can also make these for their play as well as for their friends. Here are some steps given below to make this amazing paper chick craft. Check it out, and you will love the result. You can decorate these in your kid’s room, and they will love to play with their new toy. Try this easy paper chick craft with your kids, you both will like it and have fun making it.
How To Make a Paper Chick – DIY Chick – Paper Craft
Materials required:
- A4 sheets (yellow, orange, white)
- Marker
- Scissor
- Glue
Procedure:
- Take a yellow sheet, draw a circle, and cut it out with the help of the scissors.
- Now take an orange-colored paper and cut out 2 small square shapes.
- Take one square shape and fold it in half; it will look like a triangle.
- Now open it and fold both sides in as shown in the video.
- Take the glue and paste the sides of the paper; it will form a cone.
- Take the other square paper and do the same as before, and make it in the form of a cone.
- Now take the white paper and draw 2 circles, and cut them out.
- Take a marker and draw dots on the circles; it will look like eyes.
- Now take the cone-shaped paper and cut the remaining portion to make it equal from the bottom.
- Take the other cone and cut a little, and make the bottom curve.
- Take the remaining portion of the first cone and paste both cones together with the help of that.
- Now take the yellow circle and apply glue on one side, and put that side inside the cone as shown in the video.
- Take the eyes and paste them onto the yellow circle.
That’s it! You are done with your paper chick craft. It’s very easy to make, and you will require a few minutes to make it. Try these crafts with your kids, and they will enjoy making and playing with them. Your kids can make these for themselves and their friends, and they can have fun wearing them on their fingers. These crafts are good for gifting the kids, as they will be happy to have a new toy for playing. So, do give it a try and make your kids happy by making these for them.
FAQs
Q1. What materials do I need to make a paper chick?
Answer: You will need paper, scissors, glue, markers, and a ruler to make a paper chick.
Q2. What kind of paper should I use?
Answer: You can use any kind of paper you like, but printer paper or construction paper works best.
Q3. What shape should I cut out for the chick’s body?
Answer: You can use a circle, oval, or rectangle for the body.
Q4. How should I draw the beak?
Answer: Draw a triangle and then cut it out.
Q5. How should I draw the eyes?
Answer: Draw two small circles and then cut them out.
Q6. How do I attach the beak and eyes to the chick?
Answer: Use a bit of glue and place the beak and eyes on the body.
Q7. How do I make the wings?
Answer: You can draw two small feathers on a piece of paper and then cut them out.
Q8. How do I attach the wings to the chick?
Answer: Use a bit of glue and place the wings on either side of the body.
Q9. How do I make the feet?
Answer: Draw two small feet on a piece of paper, cut them out, and then glue them to the bottom of the body.
Q10. How do I attach the tail feathers?
Answer: Draw three small feathers on a piece of paper and then cut them out. Glue the feathers to the back of the body.
For More Chicken Craft Ideas
Fast and Easy Chicken Crafts For Kids
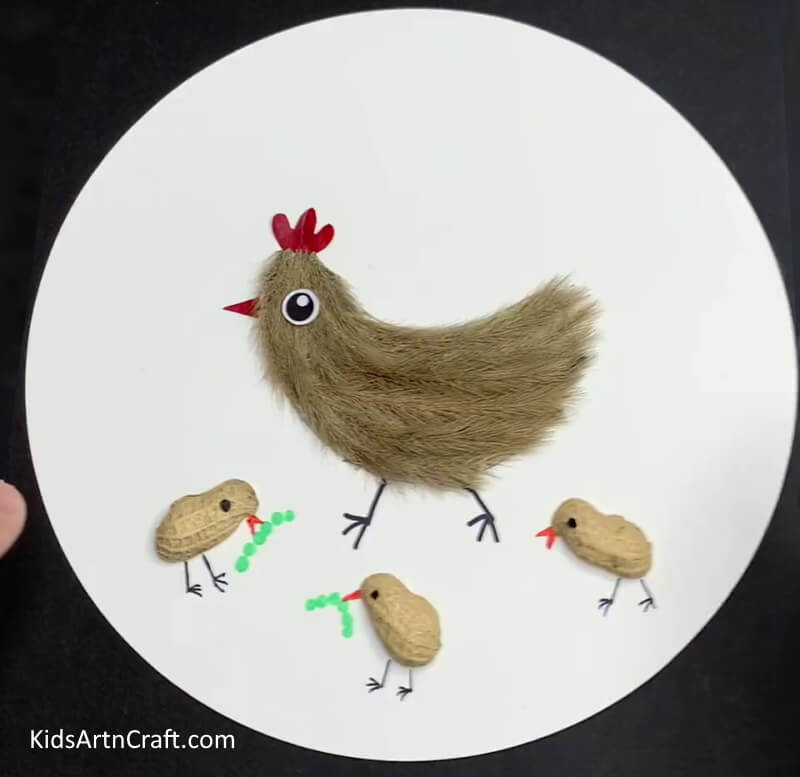
Image Source/Tutorial: Kids Art & Craft
These fast and easy chicken crafts for kids are perfect for any age! They are fun, creative, and can be completed in no time. Perfect for a craft night or a rainy day!
This DIY paper chick craft is a simple and creative activity that kids will absolutely love. It is easy to make, budget-friendly, and perfect for spring or Easter celebrations. Whether you are a parent, teacher, or craft lover, this adorable chick paper craft is a wonderful way to encourage creativity and hands-on learning in children. Try different colors, decorations, and backgrounds to make your chick craft even more unique and fun!
Spark creativity with amazing crafts and fun-filled activities for kids. Join our Telegram family and follow us on YouTube & Facebook for daily inspiration!
Reviewed By Rachit Gupta
Read More:
- Classroom Decor Paper Craft Ideas for Kids
- Creative Paper Craft Ideas for Kids
- Crumpled Paper Crafts for Kids
- Cute 3D Paper Craft Ideas for Kids
- Cute Paper Craft Ideas for Kids


