DIY and Crafts
Duct Tape Projects Ideas For Kids

Are you looking for some unique duct tape crafts? There are so many great DIY duct tape projects out there that narrowing it down to just 33 was challenging. Duct tape and imagination may be used to build everything from shoes and clothing to furniture and home decor.
Duct (Duck) tape is also waterproof, and it comes in more colors and designs than I can count, so it can be used for a lot more than just holding things together in the craft room.
Duct Tape Projects Ideas For Kids
Read More:15 Awesome and Fun Fingerprint Crafts for Kids
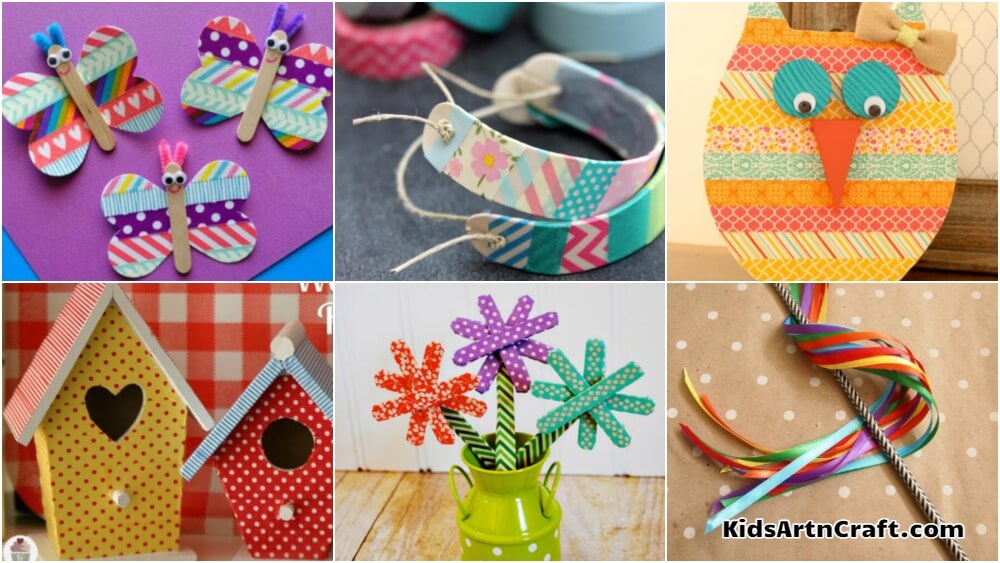
Tape Birdhouse
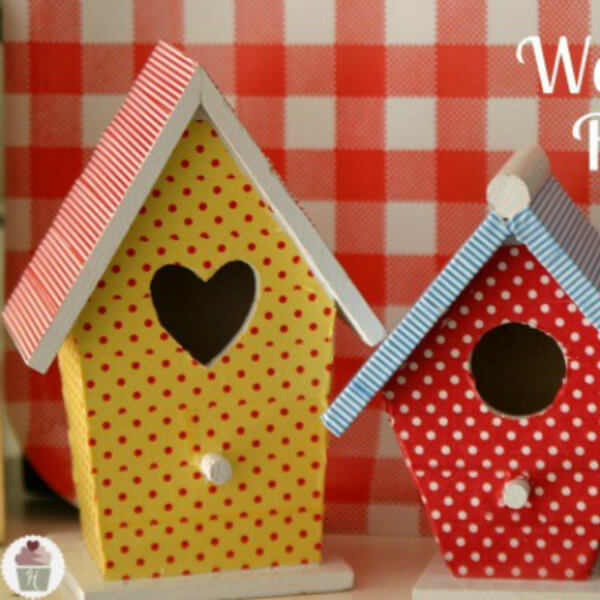
Image Source/Tutorial: Hoosier Homemade
Aren’t they the cutest?
To begin with, you will need some wooden birdhouses. Gather your Washi Tape and a good coat of white spray paint for the Birdhouses. Then unleash your inner creativity and decorate your birdhouse. For around $1.25…these little gems would also make a great gift! Have fun!
The Bomb Unicorn
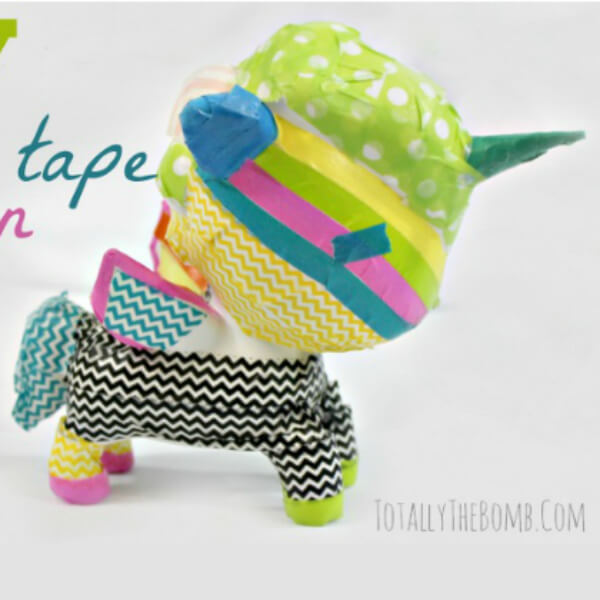
Image Source/Tutorial: Totally The Bomb
Just about anything can be Washi-fied!
This incredibly simple technique may be used to adorn a variety of items with washi tape. Trophies, action figures, baseballs, hockey pucks, you name it, I’ve decorated it. Spray paint your unicorn white. Let your unicorn dry really well. Then use your tape to cover it. You can make zig-zags, patterns, and a variety of other things. That’s it!
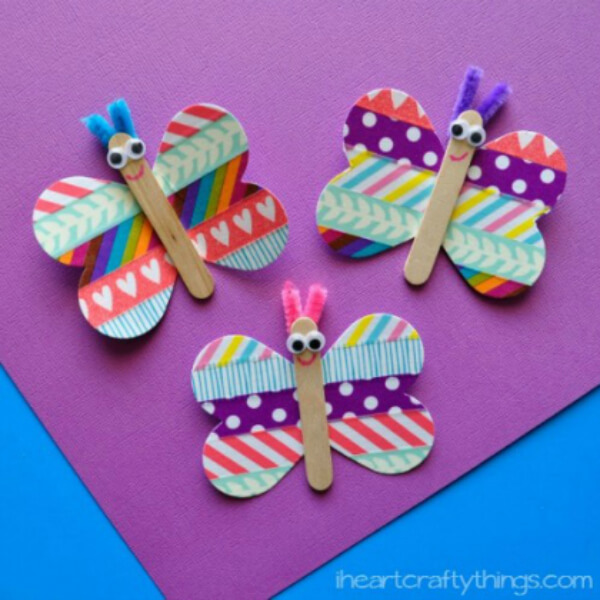
Butterfly Craft
Can also be turned into magnets!
Cut your white cardstock paper into fourths to begin. Use washi tape to embellish your small cardstock piece. Directly fold your cardstock piece in two. Slide the folded end into the heart punch, leaving a small amount of space free at the bottom (see picture above).
The heart is punched out. You’re left with little butterfly wings in the shape of a heart. In the center of your butterfly wings, glue a tiny popsicle stick. Glue on two little googly eyes and draw a mouth with your red marker to complete your washi tape butterflies.
City Play Mat
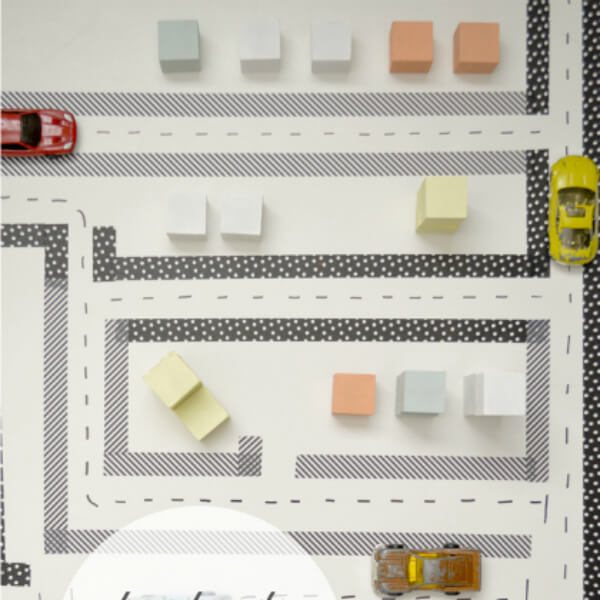
Image Source/Tutorial: Playful Learning
Time to plan a city!
To build a road, place two pieces of tape approximately an inch apart. Place roads throughout your board, connecting them in a variety of ways, just as in a real city. Buildings should be placed in the free spaces around the board. Instead of being torn, the tape looks finest when it is clipped off the roll.
This phase would be enjoyable for older children who want to participate in the “city planning!” process.
Popsicle Stick Dolls
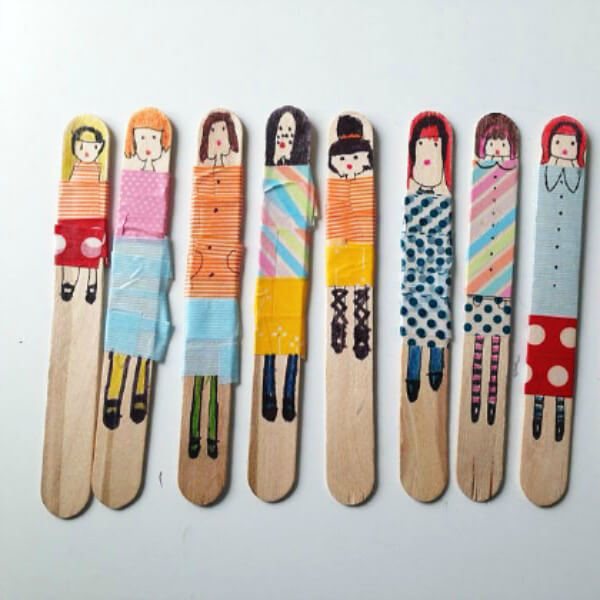
Image Source/Tutorial: Molly Moo Crafts
Creativity can come in all characters.
This easy kid’s craft is a must-have for every home and school since it allows youngsters to design their own unique figures in a short amount of time – and we all know how much they like ‘immediate gratification. Let us know in the comments below how did you find this.
Read More: 15 Creative & Fun Art Projects for Kids
Diy Recycled Toys
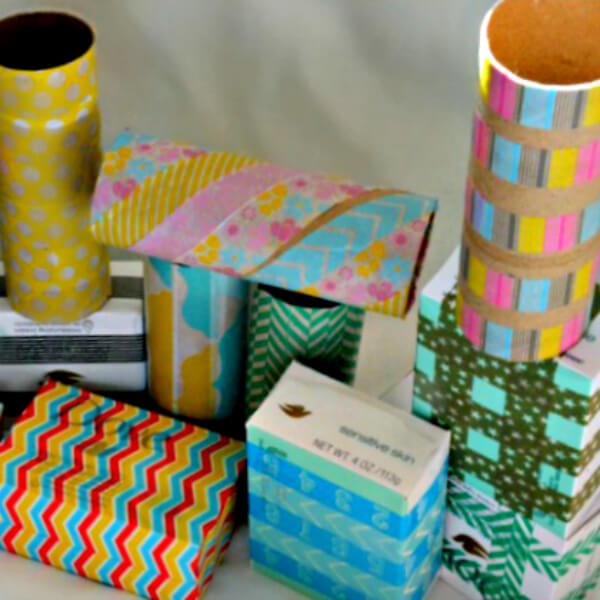
Image Source/Tutorial: inspiredmama
Transform trash to beautiful.
Working with tape, as well as scissor practice, is an excellent approach to help children develop fine motor skills. It doesn’t take much to turn your trash into some colorful, gorgeous building blocks, and these DIY toys will undoubtedly inspire a lot of inventive play in the future.
Clothespin Dragonfly
A great kid’s craft for summer!
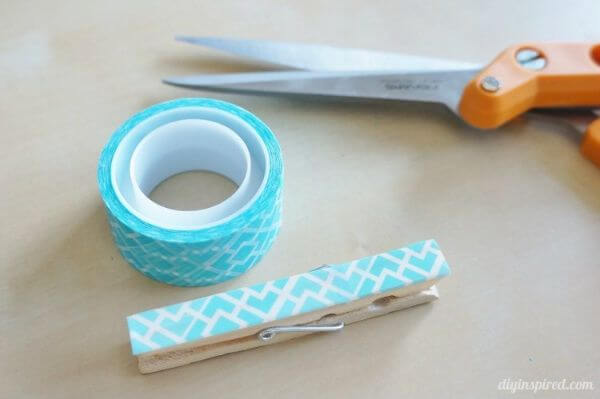
Two clothespins can be made from a tiny Washi tape roll sliced in half lengthwise. Choose any pattern and color you like. After that, cut a strip of fabric tape about 3.5″ long. Fold it in half lengthwise again, this time with the sticky side facing out.
The wings will adhere to the inside of the clothespin neatly, and you should be able to open and close it without the two sides colliding. Change the shape of the wings to make different bugs or insects, such as butterflies, beetles, ladybugs, or flies.
Headband Craft
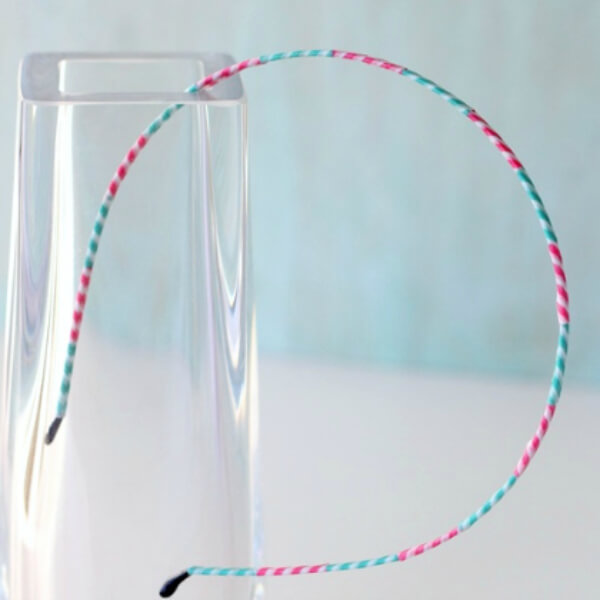
Image Source/Tutorial: Madigan Made
Easy way to decorate your long hairs.
This is the most straightforward project. All you’ll need is a headband that’s been left blank. The only other thing is washi tape. Easy enough. That is all there is to it. This craft can be done with any sort of washi tape. You’ll observe that patterned tapes appear differently on the headband. So give this a shot.
Hot Air Ballon
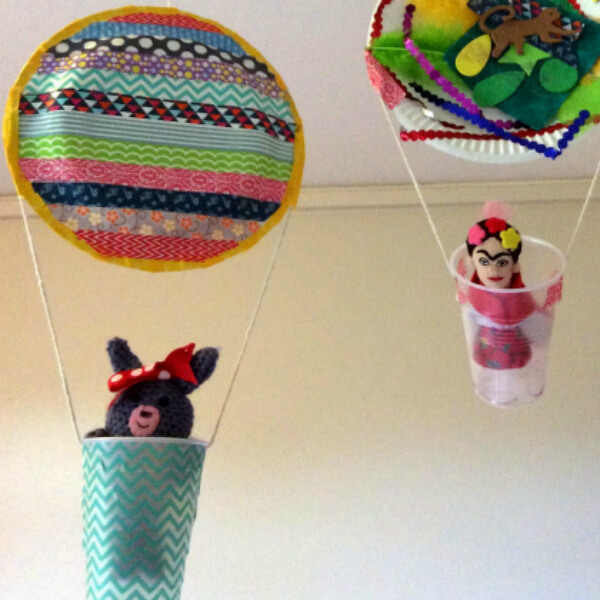
Image Source/Tutorial: Honey Bee Books
One of the favourite craft supplies to work with!
To begin, cut your tissue paper into little squares and have the youngsters practise cutting. Take your paper plate and apply a generous amount of glue on the remaining portion of the plate. Children should add tissue paper on top of the glue until the entire paper plate piece is covered.
Cut out the additional hot air balloon features from the cardstock while they’re at it. For the rope that attaches the basket to the balloon.
Personalized Keyboard

Image Source/Tutorial: Hallecake
Washi tape is a simple way to personalize your keyboard.
How to make your keyboard fun?
Cut teeny-tiny tape pieces the size of your keys.
Place them on the table.
If you cut the pieces somewhat smaller than your keys, it will help.
You can also use a sharpie to right on the tape.
Read More: 15 Easy Tissue Paper Crafts For Kids
Washi Tape Activity
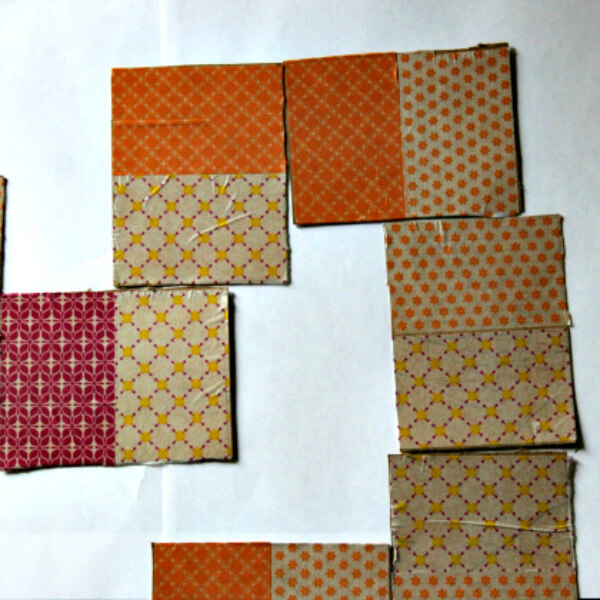
Image Source/Tutorial: Sparkling Buds
Cut down the empty cereal box’s side tab. Regular washi tapes are two inches wide. Take cards that are 4 inches wide. The measurement will vary depending on the size of your tape. The cards are 3 inches long. Kids can do single image matching activities and when they get a hang of it they can use this for memory games. Also, these can be used as dominos. Have Fun!
Popsicle Stick Flowers
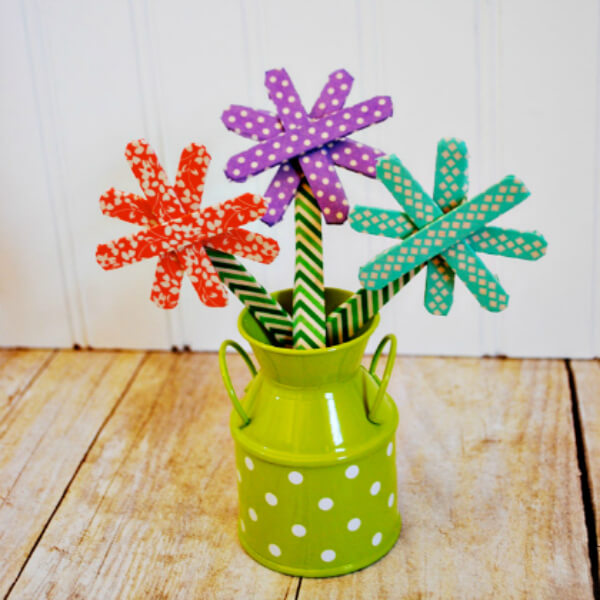
Image Source/Tutorial: The Benson Street
They will brighten your day.
Begin by wrapping the washi tape around the popsicle sticks. Popsicle sticks are the perfect size for washi tape. It neatly covers the front and sides of the sticks. For the stem, use tape to cover an ordinary popsicle stick. My color scheme was green.
Simply tighten the edges of the stick together. Toss the mini sticks together with the hot glue gun. Begin by constructing across with the first two sticks, then make a second cross with the remaining two sticks on the opposite side of the first. Just a dab of hot glue in between the sticks will enough.
Cute Owl Craft

Image Source/Tutorial: Washi Tape Crafts
The Perfect Little Addition To Your Spring Decor!
Start by painting the owls, apply the washi tape when the paint has dried. On your cutting mat, flip the owl over to the washi tape side. With your Exacto knife, trim the excess washi tape. Apply the owl’s eyes with your hot glue gun to finish it off! This would make the perfect addition to your spring decor or even a little girl’s room!
Washi Tape Puzzles
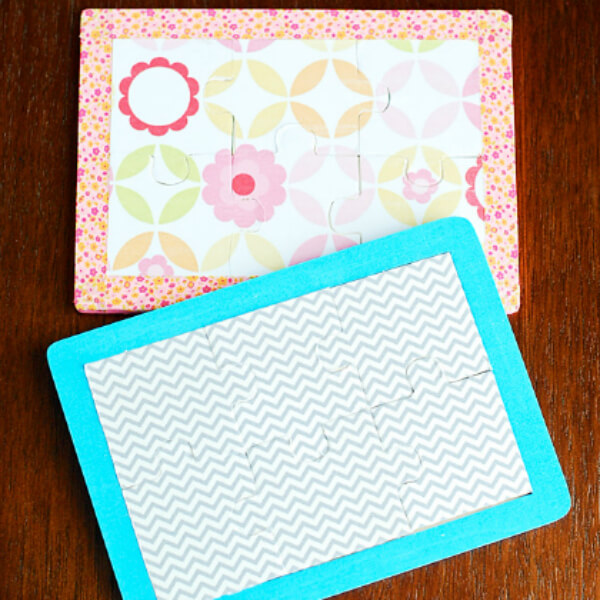
Image Source/Tutorial: A Pumpkin and A Princess
This is what a momma’s heart needs!
Paint the puzzles’ borders pink and blue to make the washi tape puzzles. The washi tape sheet in the grey puzzle is actually a washi tape sheet. Then, because washi tape is semi-transparent, paint one of the puzzles white. Then gently applied a washi tape layer on top of the jigsaw pieces once the pant was dry.
Magic Ribbon Wands
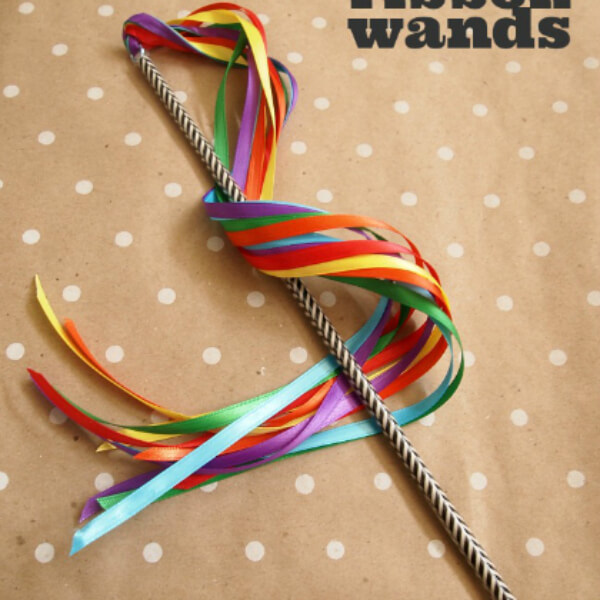
Image Source/Tutorial: Becoming Martha
If you’re looking for a simple, affordable, fun spring craft that your kids will love.
Ribbon wands are incredibly easy to make, and after seeing how much fun my kids had with them, I knew this craft would be a hit. Cut the ribbon to the lengths you choose. Tie one ribbon to the end of the dowel at a time. With some hot glue, keep it from slipping or coming undone, and let it dry completely.
Once the ribbon wands are dry, give one to each child and let them run around outside on a beautiful spring day! They are seriously going to have so much fun with their new wands!
Read More: 15 Fun Balloon Science Experiments for Kids
Toilet Paper Snake Craft
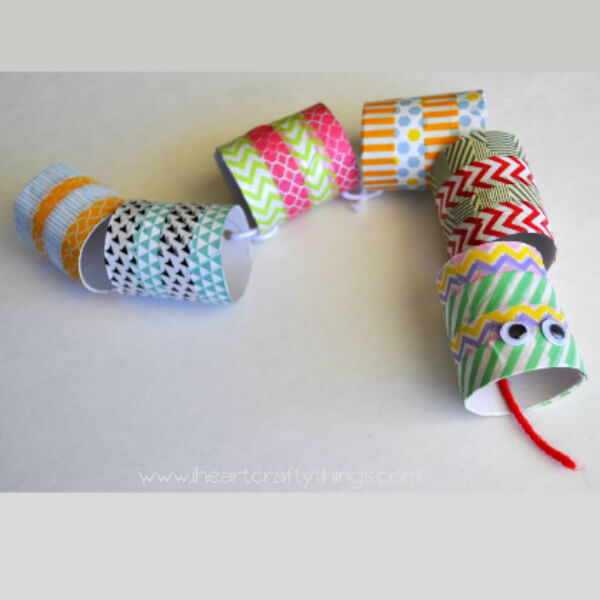
Image Source/Tutorial: Brassy Apple
A child that loves washi tape?
Cut the three toilet paper rolls in half and arrange the pieces to form a long snake. Collect the washi tape you’d like to use. Decorate your toilet paper rolls however you like with washi tape. After you’ve completed designing your pieces, position your snake exactly where you want it and use your hole punch to attach the toilet paper roll pieces together. Remove any extra string. One of my favorite aspects of this craft is that there was no dirty painting involved, making it ideal for those looking for a low-maintenance activity.
Spin Drum for Kids
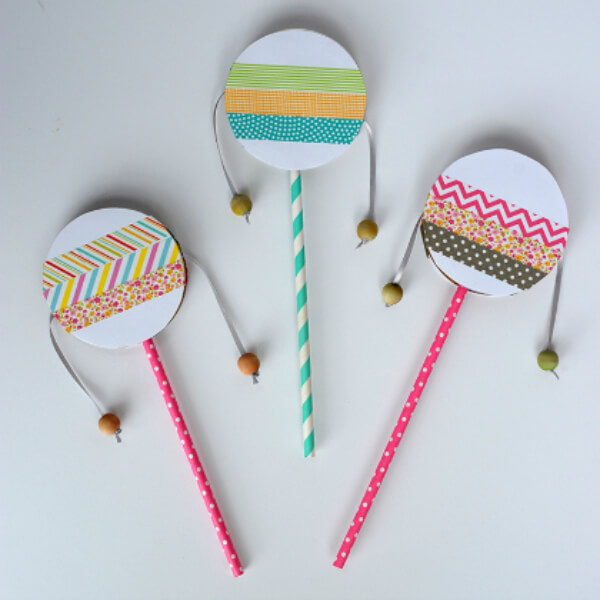
Image Source/Tutorial: aliceandlois
Let the kids make some noise.
Make a circle out of your cardboard. Allow your child to decorate the circles. Hot glue the thread to the back of one of the circles, ensuring that there is an even amount of thread dangling from either end. At the end of each thread, tie and secure the beads. Glue the craft stick to the bottom of the circle with hot glue.
Every icon needs its signature look, so let your kids choose the symbols, words, and patterns that suit their personality best.
Popsicle Bracelet
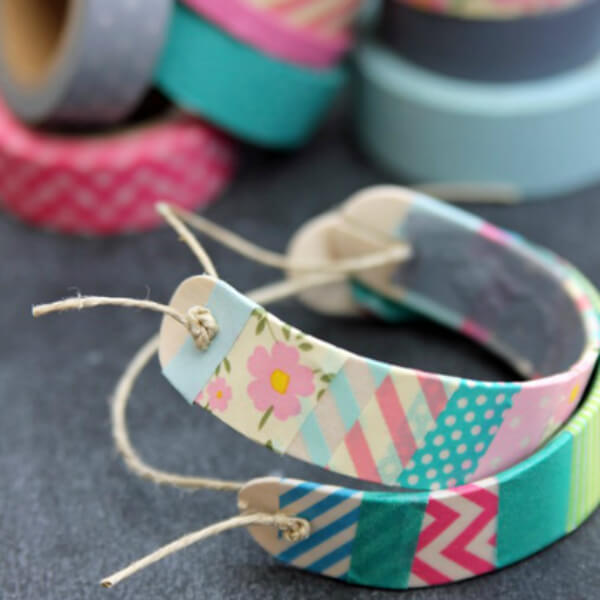
Image Source/Tutorial: Mama Miss
For some mama-kiddo bonding time, try this simple and easy craft!
Begin by immersing the popsicle sticks in water for at least two days, Pull them out of the water after a few days of soaking and begin carefully sculpting them into a bracelet shape. Bend them cautiously, as they will shatter. Now comes the exciting part: personalizing your bracelets! Wrap the washi tape around the bracelet in two-inch strips all the way around, leaving a little room at the end.
When you’re done wrapping, cut a long strip to cover and enclose the loose connectors on the inner band, creating a smooth interior. Pull the cord through the slot and secure it with a knot on the outside. Let us know in the comments what you think about this one.
I hope you will like our Duct tape projects ideas and i will definitely recommend you to try to make this fun loving craft with your friends, if you want to get some more crafts ideas than surely checkout posts on www.k4media.com and do let me know in comment section which craft idea you like the most.
Read More:
- 15 Lovely Pom Pom crafts for kids
- 15+ DIY Homemade Wind Chimes Crafts for Kids
- 15+ Easy Independence Day Activities for Kids
- Easy DIY Cement Projects for Home Decoration
- Diary Decoration Ideas For Girls


