


Paper Crafts
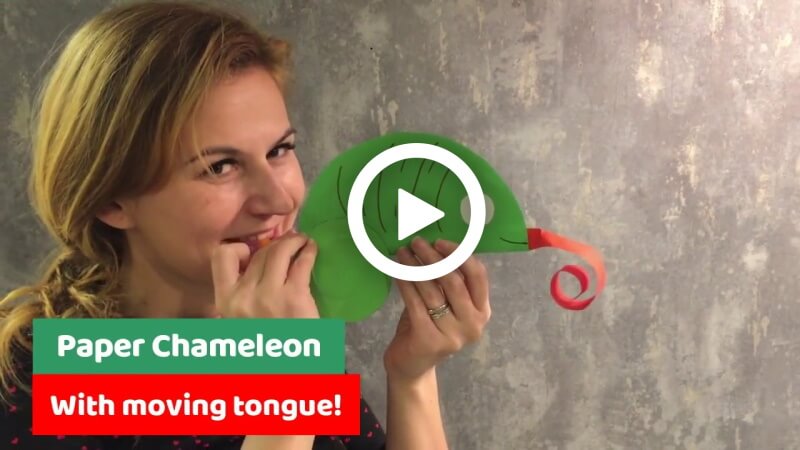
How to Make a Paper Chameleon with a Moving Tongue

Hello, darling readers! Let’s make a very cute animal today. We know that having a strict daily work-life and that must be so stressful. So, sometimes you must want to do something new. Here we come to bring you a new interesting craft idea. As you might know, the craft is a very good medicine to remove stress and tension.
Today’s craft animal will be a paper chameleon. Interesting right! But the most interesting thing about the craft will be its moving tongue. Chameleons are a kind of creature we are all fascinated by. These creatures can be beautiful and interesting at the same time. The quality of changing their colours and hiding always amazes us. The big, long tongue also amazes us. So, without wasting any time, let’s get started with the process!
Why Kids Love This Moving Chameleon Craft
This paper chameleon with a moving tongue craft is a fun and interactive activity that children absolutely enjoy making and playing with. The moving tongue feature makes the craft more exciting and realistic, helping kids stay engaged for longer periods. Children love pretending the chameleon is catching insects with its long tongue, making this activity both creative and imaginative.
How to Make a Paper Chameleon with a Moving Tongue
Materials:
- A big neon green circle paper.
- A small neon green circle paper.
- A white paper.
- A long red colour strip.
- A long straw.
- A black marker pen.
- A brown colour marker pen.
- A pencil.
- A glue stick.
- Scissors.
Procedure:
- Take a big neon green circle shape, fold it in half from sidewise by making a fold line in the middle.
- Unfold the paper.
- Apply glue on one side of the middle fold line inside the circle with a glue stick.
- Take a big straw and a long red colour paper strip, attach the straw to the middle fold line by leaving a little portion of it under the circle.
- Most of the part of the straw will be inside the paper, but a little part from the outside will be out.
- Attach the red strip from its tip to the start of the inside part of the straw with the glue stick.
- Attach the glued portion you previously glued to the circle and fold it in half like before by attaching the other part with the glue stick.
- The chameleon’s body will be ready!
- Take a small green circle and draw a curved circle shape on it like a chameleon’s tail with the pencil.
- Cut out the draw portion from the side by making a curved chameleon’s tail with scissors.
- Attach it under the back of the chameleon with the glue stick.
- Take a white paper, cut out two small circles of the same size with scissors.
- Draw very small eyeballs on the circles.
- These will be the eyes.
- Attach the eyes on both sides of the chameleon.
- Grab a brown colour marker, draw lines on the chameleon to make it more realistic.
- Put a smile on both sides of the tongue of the chameleon with a black marker pen.
- Blow the wind from the straw and then saw the tongue moving.
- Your cute paper chameleon will be ready!
Look how amazing it looks! You can make your paper zoo by making a chameleon. You can follow our other animal crafts to make that happen. One of the interesting features of the chameleon is its moving tongue, which is also the best part of this craft.
You can play with them in your home and can shock your friends. But don’t scare them! You can make a giant chameleon by using a large piece of paper. As these creatures are especially known for their colour-changing quality, you can also use colouring papers to make them. Those are just our little suggestions, but we know with your creative mind, you can do something more interesting with it. So, grab some stationery and your paper chameleon toy!
FAQ’s on How to Make a Paper Chameleon with a Moving Tongue
Q1. What supplies do I need to make a paper chameleon?
Answer: You will need colored paper, scissors, glue, a pencil, and a ruler.
Q2. How do I make the body of the chameleon?
Answer: Cut out two ovals from colored paper, then glue them together to make the body.
Q3. How do I make the legs of the chameleon?
Answer: Cut out two strips of paper and shape them into legs. Glue the legs onto the body.
Q4. How do I make the eyes of the chameleon?
Answer: Cut out two circles from colored paper and glue them onto the body.
Q5. How do I make the tongue of the chameleon?
Answer: Cut out a triangle from paper and glue it onto the body.
Q6. How do I make the tongue move?
Answer: Attach a piece of string to the triangle and then tie it to the bottom of the body.
Q7. How do I make the tail of the chameleon?
Answer: Cut out a long strip of paper and then curl it up to form the tail. Glue it onto the body.
Q8. How do I make the stripes of the chameleon?
Answer: Cut out thin strips of paper and glue them onto the body.
Q9. How do I finish the chameleon?
Answer: Glue a piece of string to the back of the chameleon to hang it up.
Q10. How do I make the chameleon look realistic?
Answer: Paint the chameleon with acrylic or watercolours.
This paper chameleon with a moving tongue craft is a creative and educational DIY activity that combines fun, learning, and imagination. Children enjoy making the colorful chameleon and playing with its moving tongue feature while improving important motor and creative skills. Whether used at home, in classrooms, or during holiday craft sessions, this interactive animal craft is sure to become a favorite among kids.
Reviewed By Jatin
Read More:
- How to Make A DIY Paper Cat
- How to Make A DIY Paper Lion
- How to Make a Flying Paper Butterfly
- How to Make a 3D Apple Paper Card – Step-by-Step Instructions
- How to Make A Colorful Paper Cube


