


Kids Activities
How to Make a Paper Duckling

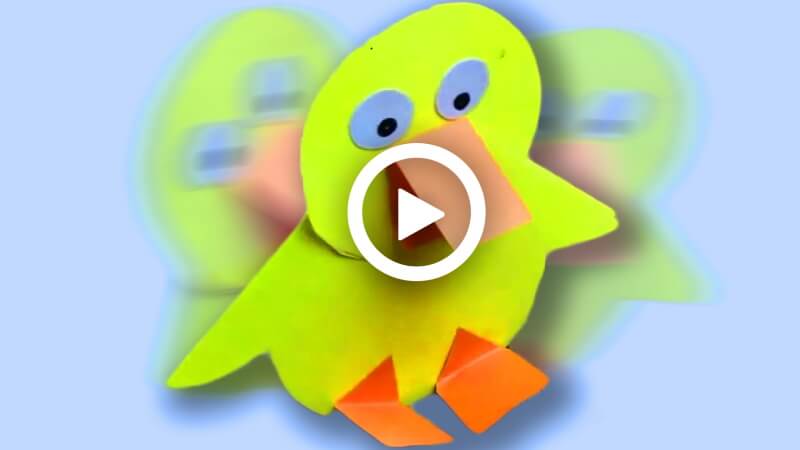
Today you’re going to learn to make a paper duckling. Interesting right! But the most interesting thing about the craft will be its swinging legs. The duck is a kind of animal we are all fascinated by. These birds can be beautiful and interesting at the same time. They produce our meat and eggs. They are also domesticated as pets for many.
How to Make a Paper Duckling
Materials:
- A yellow-colored paper.
- A big yellow circle.
- An orange colour page.
- A white paper.
- A black marker pen.
- A pencil.
- A cup.
- A glue stick.
- Scissors.
Procedure:
- Take a big yellow circle-shaped paper, fold it in half from the side.
- Fold the folded half circle from top to bottom.
- Unfold it.
- Attach the second fold sides with a glue stick.
- Draw a circle with two straight sides on it with a pencil.
- To understand the drawing shape properly from the reference video.
- Cut out the drawn part with scissors.
- This will be the duckling’s body.
- Take the same yellow colour paper as the previous one and a cup, place the cup over the paper, and draw the cup’s outline with the pencil.
- Cut out the drawing circle with scissors.
- Take a white paper, cut out two circles of the same size from it with scissors.
- Grab a black marker pen and draw cute eyeballs on the circles.
- These will be the duckling’s eyes.
- Attach the eyes to the middle of the circle with the glue stick.
- Take an orange colour page, cut out three small rectangular pieces from it with scissors.
- Take a rectangular orange piece and fold the tip of it a little.
- Attach the folded portion of the piece to the circle’s middle with the glue stick.
- It will be the duckling’s beak.
- Take the other two rectangular pieces, fold the tips of them a little.
- Cut the folded tips into a triangle shape with scissors.
- Attach the triangle portion of the pieces to the bottom sides of the duckling’s body with the glue stick.
- Attach the circle or the duckling’s head to the top of the duckling’s body with the glue stick.
- Your cute duckling will be ready!
P.S- You can use different coloured paper as per your help.
Look how amazing it looks! The best part is the swinging legs of the duckling. So, hurry up, grab your stationery, and let’s make a cute paper swinging duckling.
Fun Facts About Ducklings for Kids
Ducklings are adorable baby birds that love water and enjoy swimming with their families. Adding fun facts to your craft article makes the activity more educational and improves user engagement. Here are some interesting duckling facts you can include:
- Ducklings can swim just a few hours after hatching.
- A mother duck is called a “hen,” and a male duck is called a “drake.”
- Ducks communicate with soft quacking sounds.
- Ducklings often follow their mother in a line called a “duck parade.”
- Ducks have waterproof feathers that help them float easily on water.
Educational Benefits of Paper Duckling Craft for Children
Making a paper duckling craft is not only fun but also helps children learn important skills. Craft activities encourage creativity and hands-on learning while keeping kids engaged away from screens.
Skills Kids Can Learn:
- Improves fine motor skills through cutting and folding
- Enhances hand-eye coordination
- Encourages creativity and imagination
- Helps children identify shapes and colors
- Builds focus and patience
- Supports early learning about birds and nature
Paper crafts are also excellent classroom activities for preschoolers and kindergarten students.
Tips for Making the Best Paper Duckling Craft
To make your duck craft look neat and colorful, follow these simple tips:
- Use bright yellow craft paper for a realistic duckling appearance.
- Child-safe scissors are recommended for younger kids.
- Add googly eyes to make the duck look cute and expressive.
- Use thick chart paper if you want the craft to stand properly.
- Decorate the background with pond drawings, grass, or clouds for a fun display.
Easy Variations of This Duck Craft
You can make this duckling craft even more exciting by trying different creative ideas:
1. Paper Plate Duck Craft
Use a paper plate as the duck’s body and add paper wings and legs.
2. Handprint Duckling Craft
Trace your child’s hand on yellow paper to create wings for the duck.
3. Origami Duck
Older children can try simple duck origami folding activities.
4. Duck Family Craft
Create multiple ducklings in different sizes to make a cute duck family scene.
These activities keep children entertained while boosting creativity and storytelling skills.
FAQs on How to Make a Paper Duckling
Q1. What materials do I need to make a paper duckling?
Answer: To make a paper duckling, you will need a sheet of paper, a pair of scissors, a pen or marker, and some glue.
Q2. How long does it take to make a paper duckling?
Answer: Generally, it takes about 30 minutes to make a paper duckling.
Q3. Can I make a paper duckling without scissors?
Answer: Yes, you can make a paper duckling without scissors. You can use a craft knife instead.
Q4. Do I need to use a specific type of paper to make a paper duckling?
Answer: You can use any type of paper you like. For best results, use a lightweight paper such as copy paper or construction paper.
Q5. Can I make a paper duckling with other shapes?
Answer: Yes, you can make a paper duckling with other shapes, such as a circle or a triangle.
Q6. How do I make the eyes for my paper duckling?
Answer: You can make the eyes for your paper duckling with a pen or marker. You can also use buttons or beads if you like.
Q7. What kind of glue should I use to make a paper duckling?
Answer: You can use any type of glue you like. For best results, use a craft glue such as hot glue or Elmer’s glue.
Q8. How do I attach the wings to my paper duckling?
Answer: You can attach the wings to your paper duckling with glue. You can also use paper clips or staples if you like.
Q9. Can I make a paper duckling with different colors?
Answer: Yes, you can make a paper duckling with different colors. You can use different colored papers or use markers or paint to make the duckling any color you like.
Q10. How can I make my paper duckling look more realistic?
Answer: You can make your paper duckling look more realistic by adding details such as eyes, beaks, and feathers. You can also use different colors and textures to make it look more realistic.
Making a paper duckling craft is a wonderful way for kids to explore creativity while learning about birds and nature. This simple activity uses basic craft materials and helps children improve important developmental skills through fun and hands-on learning. Whether at home or in the classroom, this adorable duck craft is sure to bring smiles and encourage imaginative play.
Discover amazing crafts and fun-filled activities for kids! Join our Telegram family and follow us on YouTube & Facebook for daily creativity.
Read More:
- How to Make A Paper Butterfly
- How to make a Paper Butterfly – DIY Folding Butterfly – Paper Craft
- How to Make a Paper Dinosaur – Step-by-Step Instructions
- How to Make a Paper Dog
- How to Make A Paper Fish


